
Conference check-in: how to prepare for welcoming attendees
How to prepare check-in at a conference or trade fair: plan the desks, badges, staff training and how to handle tricky cases at the entrance.

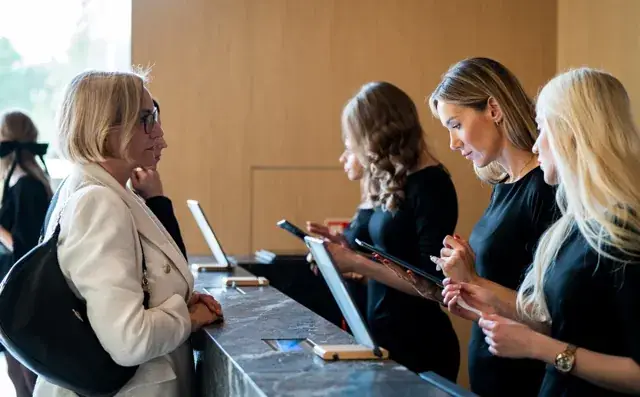
At check-in, a few small problems quickly add up to a queue. One attendee is looking for their ticket on their phone, staff are putting a pack together, and the next person is asking about buying a ticket on the spot. That is why preparing conference check-in should start with walking through the guest’s whole journey: from the message with the ticket to collecting the badge and walking into the room.
Help attendees get their ticket ready before they reach the desk
Send a practical reminder the day before the event. Attach the ticket or explain where to find it, and point out the entrance, parking and cloakroom. If the venue has several halls, a map will help. Share the same information on the event website, so attendees can come back to it without searching their inbox. A push notification can help, but some people have them turned off, so don’t base all your communication on it.
On site, it helps to have someone who greets guests in front of the desks, helps them choose a queue and reminds them to have their QR code ready. That way attendees look for their ticket while they are still waiting. At the desk, staff can go straight to checking the registration and handing out materials.
How many check-in desks do you need at peak arrivals?
Check how many guests will arrive within a short time and what you will need to do for each of them. The number of registered people is not enough to plan check-in. What matters is the time of the first session, travel, accommodation and how materials are handed out. If you are organising another edition, look at the check-in times from the previous event.
Ten seconds per person gives, in theory, 360 people an hour at a single desk. That calculation assumes continuous work at the same pace. In practice you need to add searching for registrations, changing printer supplies, questions and explaining access rights. Measure the time of the whole check-in during a rehearsal, then leave a margin for harder situations. Printing speed alone does not describe how fast check-in works.
From Natalia’s experience, coffee, breakfast and time for a relaxed conversation before the programme gave some attendees a reason to arrive earlier. If you can prepare a morning like that, tell people about it in advance. It helps invite people to a wider arrival window, although you still need to be ready for a peak in traffic.
Signs must be visible above the queue
Walk the route from the car park to check-in and see where people could get lost. Attendees should know where to go before they start asking staff. A sign standing on the desk quickly disappears behind the first row of people, so put signs higher up as well, where they can be seen from the back of the queue.
Divide the desks to match the way you work. With badges printed in advance, a split by surname with a clear division of letters works well. Speakers, exhibitors and partners may need extra help, and on-site sales take longer than checking a ready ticket. Plan a separate lane for these cases and a point for sorting out mismatches.
If a speaker ends up in the regular queue, help them where they are already standing. A separate desk is meant to make entry easier, and sending a guest to the start of another queue usually just adds problems.
Prepare the materials and a comfortable desk
Put the welcome packs together before check-in opens. After scanning a ticket, staff should be able to reach for a ready set, without hunting for further items in boxes. At a larger scale, assign someone to restock bags, badges and lanyards. The person welcoming guests should not have to walk away for another box at peak time.
Set up the tablet, printer and spare supplies so that the person serving guests does not have to stand up or move things with every print. Check this layout during the rehearsal; a comfortable setup also depends on the person working at the desk. Attach lanyards to badges in advance, if the way you hand them out allows it.
When is a self-service kiosk useful?
A kiosk can help when guests have similar access rights, scan their ticket and collect a simple badge. The check-in process is predictable then. With several types of wristbands, packs and additional access rights, part of the work still has to be done by a person.
In that situation, consider a mixed approach: self-service for simple pick-up and staffed desks for the other groups. Also decide where a person whose ticket is not recognised should go. Someone has to help them without holding up the next attendees at the device.
Train the team on the equipment they will use
Send the instructions in advance, and practise the whole process together on site. Each person should scan a test ticket, look up a registration by surname, print a label and hand out the materials. While you are at it, check the error messages, changing the roll and where the spare supplies are kept.
The team also needs information about the venue. Attendees will ask about the cloakroom, toilets and rooms, and speakers will ask who is meeting them. At an international event, make sure staff can help in the right languages. Knowing how to use the scanner is not enough to welcome guests.
Also practise mismatched access rights, for example when someone says they have a VIP ticket but the registration does not confirm it. Staff need to know who makes the decision and how to call them. Searching the whole venue for the coordinator stops the work and makes it harder to explain the matter calmly to the attendee.
Check connectivity and agree a backup plan
Start the equipment in its final location before check-in opens. The test should cover the connection to the right event, reading a ticket and printing correctly. Switching on the printer in the back room does not confirm that the desk at the entrance will be ready to work.
Prepare a secure network for check-in and agree a procedure in case the internet goes down. If you plan an offline list, limit it to the information you need and control access to it. Don’t leave attendee data on the desk. Decide how to record emergency entries and how to reconcile them with the system later; don’t assume automatic syncing without checking what the tool you use can do.
Staff should have access to the data and actions needed at their desk. If the system offers individual staff accounts and an activity log, include them when preparing the team. Agree the terms of staff work and data processing in line with the working arrangement you have adopted.
Use early pick-up and data after the event
At trade fairs, you can hand out badges to exhibitors while the stands are being built. With 100 stands of three to four people each, that is a group of 300 to 400 potential recipients of materials. If you plan early pick-up and tell exhibitors about it, some of them will be able to sort it out before the morning opening.
After the event, compare entry times with the plan and collect staff feedback on what held up the desks. Separate service time from waiting time: a QR scan tells you when the ticket was checked, but not how long the attendee stood in the queue. To assess that part of the experience you need separate observation.
A short check-in rehearsal before opening
Ask the team to go through five situations at the prepared desks:
- The attendee has their QR code ready: staff check the ticket and hand out the whole pack.
- The attendee cannot find their ticket: a staff member looks up the registration and confirms it is the right person.
- The registration has different access rights from what the attendee says: the team passes the matter to the coordinator.
- The printer is running out of supplies: staff replace them and get back to work.
- An organiser’s decision is needed: everyone knows how to call the right person without leaving the desk.
A rehearsal like this quickly shows what still needs to be agreed. You collect the data needed at the entrance during sign-up, so plan in advance which information your staff will need. See how Hi Events brings together attendee registration and ticket sales, and take welcoming guests into account when you prepare sign-up for your event.
Read on
All articles →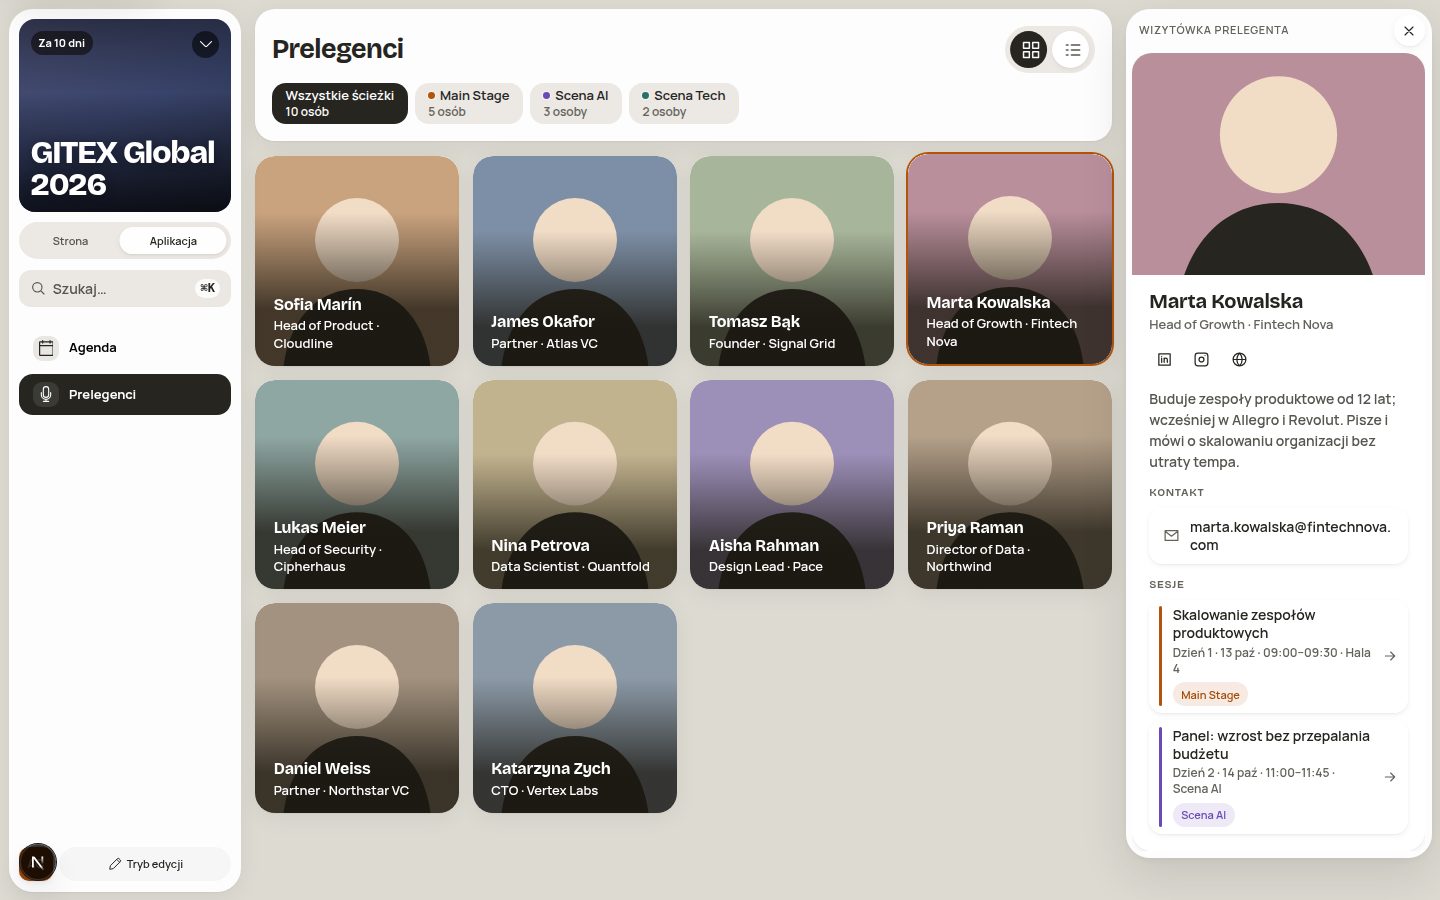 Planning
Conference planning without the chaos. 8 problems Hi Events solves
The programme in Excel, sign-ups in a form, speaker bios in four emails. Eight organiser problems and real screens from Hi Events.
 Community
How to build community between conferences and meetups
How to stay in touch with attendees after a conference: meetup examples, the host’s role and ideas for your first month working with a community.
 What’s new
Why we built Hi Events from scratch
Why did the Meeting Application team create Hi Events? On organisers’ experience, a new brand and joining registration with the event app.