
Your first event, step by step
From draft to publication: name and dates, consents, tickets, content, modules, credits and the „Publish event” button.
Every event starts as a draft that only your team can see. In a draft you can set everything up and test it at no cost. When you're ready, you publish it with one button.
To create an event you need an organization. If you do not have one, read Organization — set up the profile, website and community.
Step 1. Create a draft
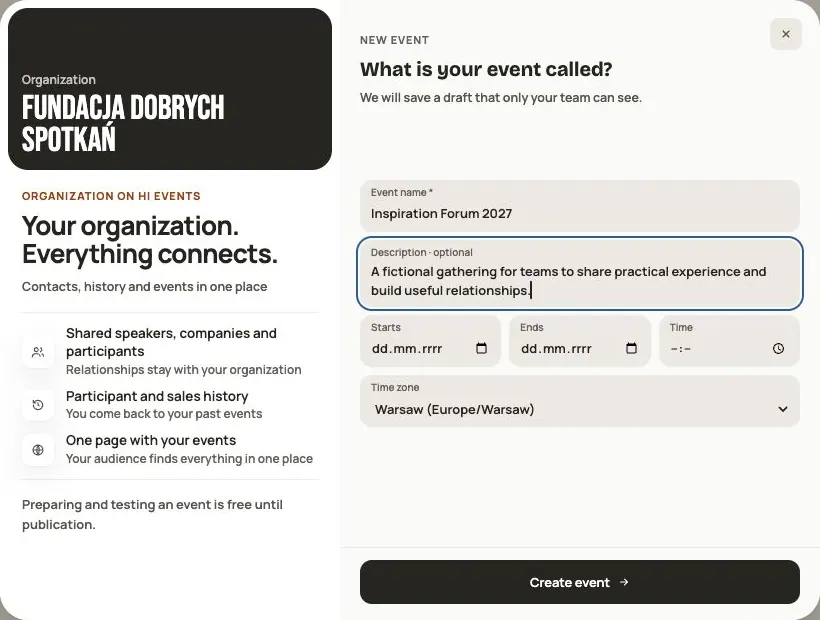
- In your organization, click Create an event (or New event in the events and organizations switcher).
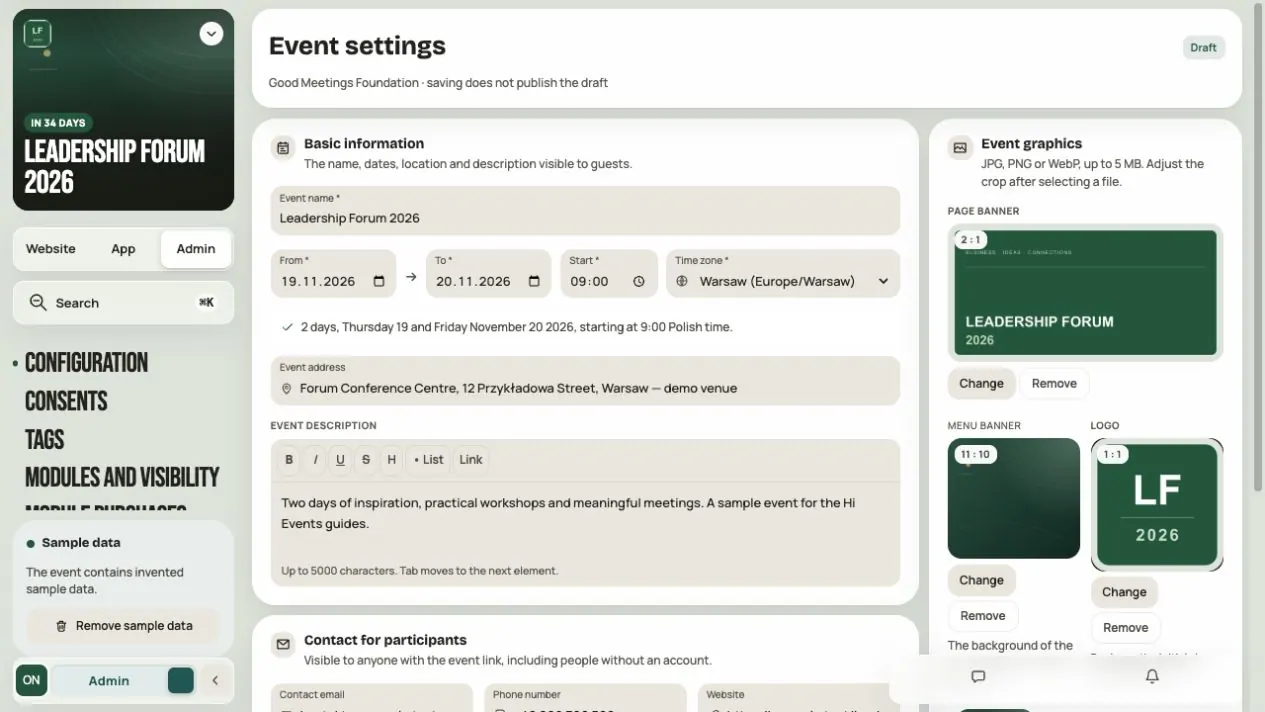
- Enter the event name (2 to 120 characters) and, if you like, a description (up to 5,000 characters).
- Set when it starts and ends, the time and the time zone.
- Click Create event.
Your draft is ready. You set up everything else in the event panel, in Admin mode.
If saving is not confirmed, choose Retry the same attempt. If you leave the form, check the organization’s drafts before creating another event: the draft may already exist.
Step 2. Prepare the consents
In Admin → Consents, publish the event terms and the privacy policy. Registration can't start without these two documents. You can also turn on marketing consent, ticket terms and reception terms.
In the organization profile, fill in the name, address and email of the data controller. This is also needed to publish.
Step 3. Set up registration and tickets
In Admin → Registration you add ticket types, prices, bundles, add-ons, workshops and discounts, and set up sales. Click View shop to see the shop the way participants will. Orders in a draft are test orders.
Step 4. Add content
- Agenda: sessions, breaks, tracks and rooms,
- Speakers and companies in Business Hub,
- Event website: description, cover and subpages,
- Appearance: colours, font and the app's look.
Missing content doesn't block publication. You can add it later too.
Prepare your content languages
For a Polish and English event, configure content languages in Admin → Languages. In editors, switch between PL / EN and supply both texts. Changing your account language translates the controls; it does not write your agenda, articles or quiz questions.
Prepare the primary language first. You can complete the second language before making it available to participants. Check both the website and app in each language.
Step 5. Choose modules
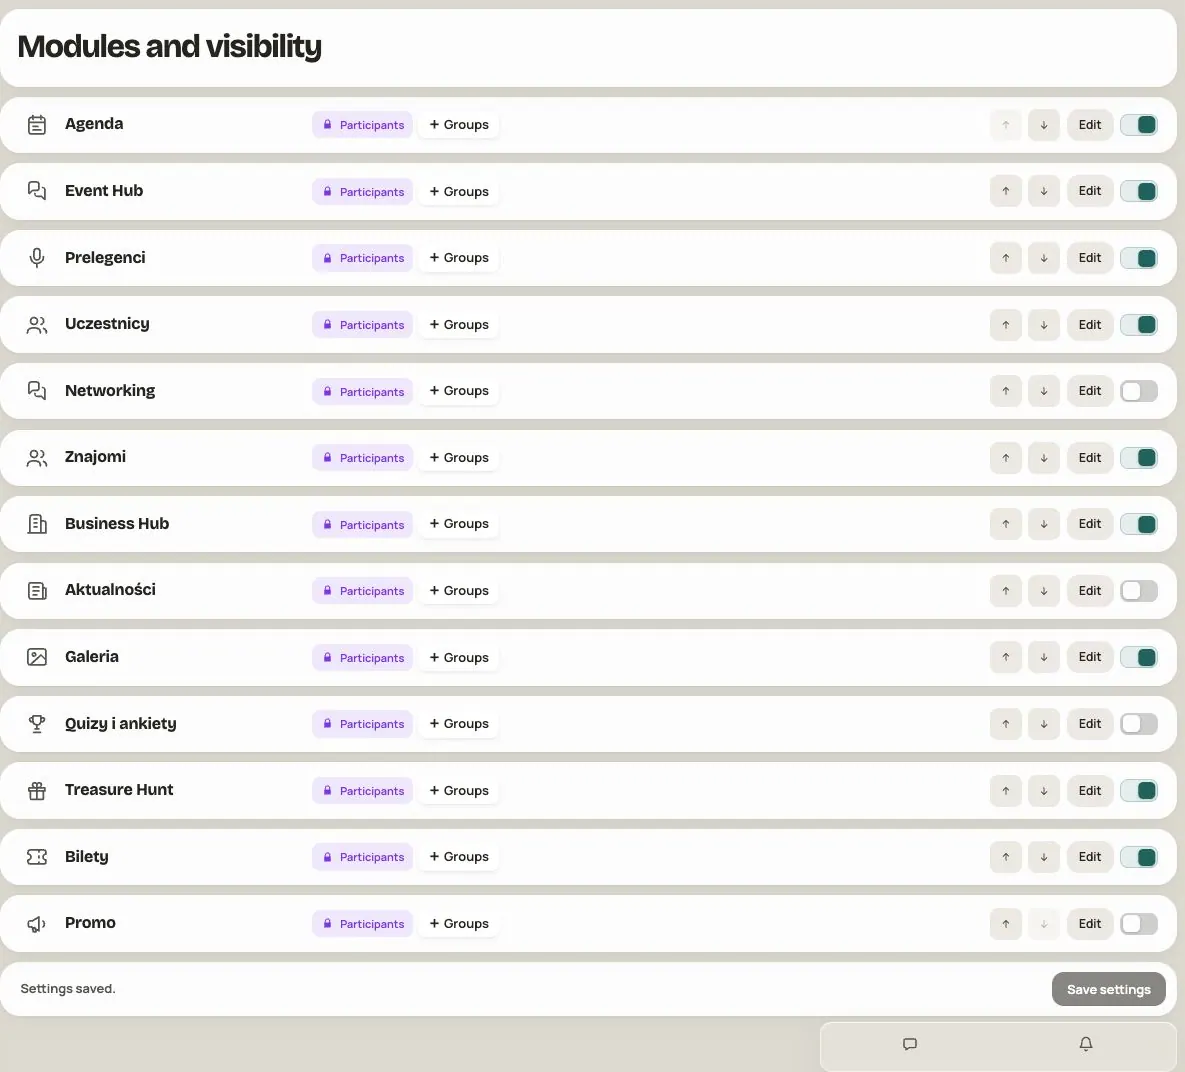
In Admin → Modules and visibility you decide which modules participants see, and which groups. You buy paid modules (for example Networking, Polls & quizzes, News) in Admin → Module purchases. A paid module that is on for participants but not bought blocks publication: buy it or turn it off.
Step 6. Publish
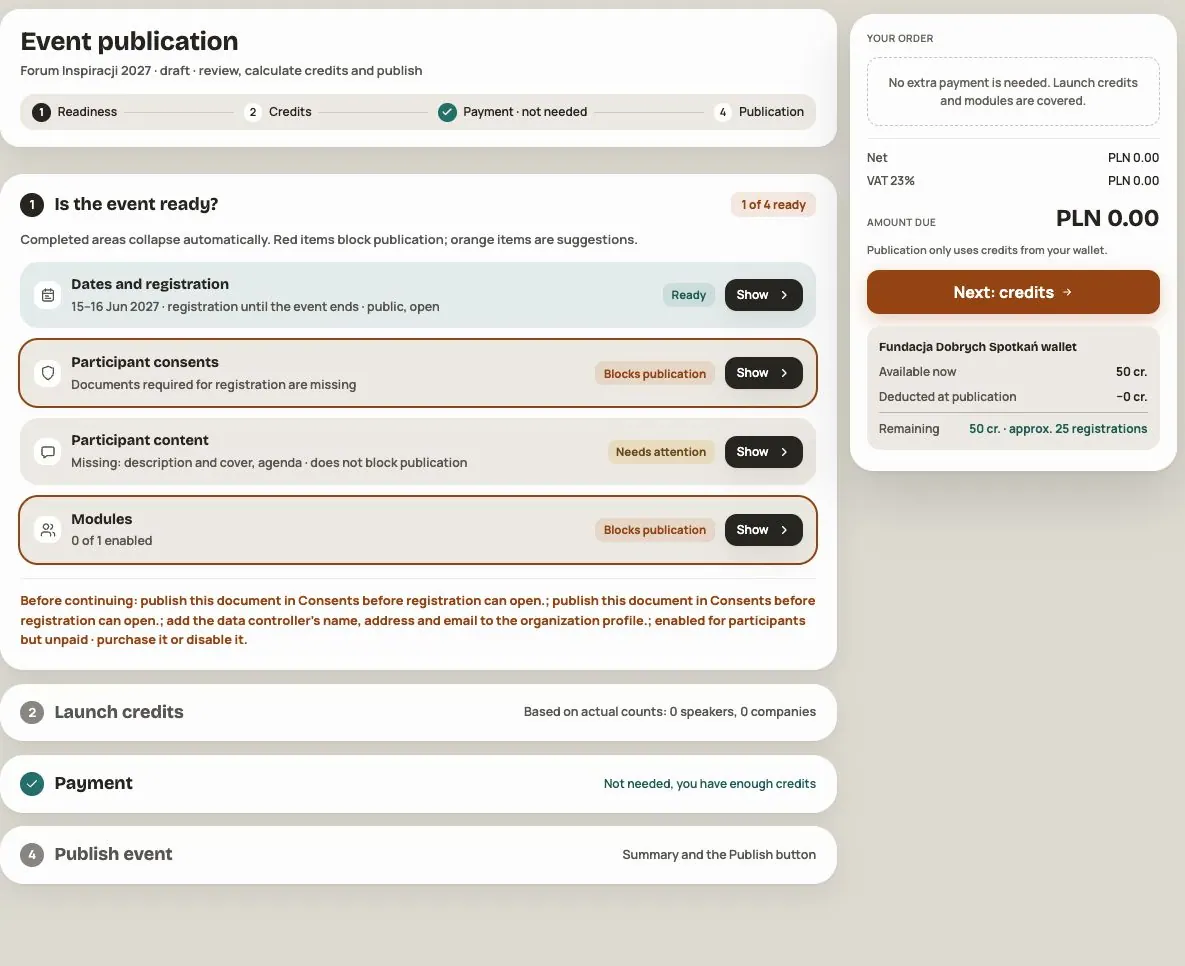
Go to Admin → Publication. Publishing has these steps: Readiness → Credits → Payment → Publication.
- Readiness shows what is ready, what is worth fixing and what blocks publication. Here you also set:
- visibility in the organization's list: public or hidden (link only),
- access to the event: open, entry after signing in, or an access code after signing in (the code is 8 to 128 characters).
- Credits shows how many credits will be used at publication (for speakers and companies) and how many will remain. If you're short, you buy them in the Payment step.
- Click Publish event. The website and registration start right away.
Important: a published event can't go back to being a draft. You can, however, hide it from the organization's list.
After the event
In Admin → Publication you can end the event (the website stays, but no one can join) or archive it (participants lose access, and you keep the data).
Frequently asked questions
Does a draft cost anything?
No. No credits are used in a draft, and you can test paid modules with your team without a licence.
What do participants see while it's a draft?
Nothing. Only your team and the people you invite to test can see a draft.
Publication is blocked. What do I do?
Look at the items marked Blocks publication in the Readiness step. Most often the published consents, the data controller's details, credits, or the purchase of a paid module that is turned on are missing.
Read on
All articles →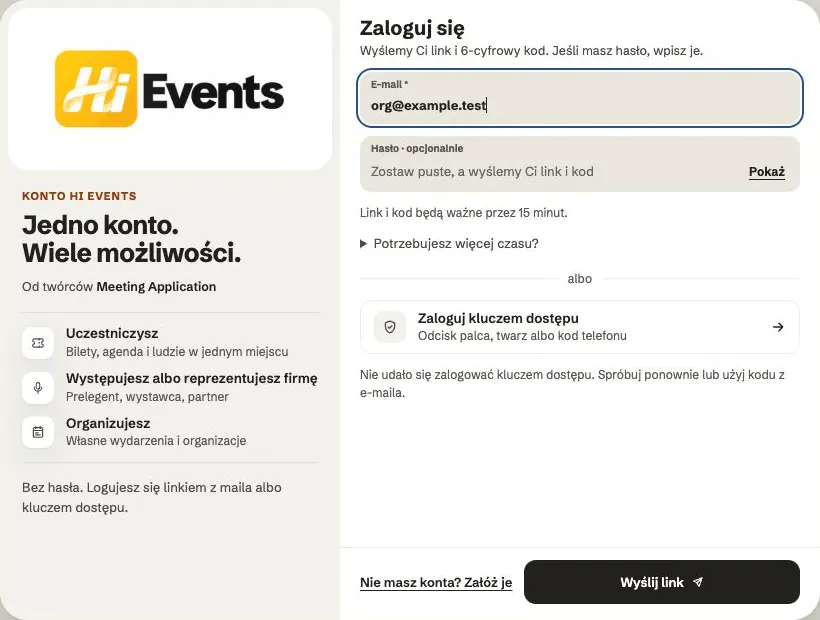 Help
Signing in: link, code, password and passkey
Four ways to sign in to Hi Events, how to set or change your password, and how to sign in with your fingerprint.
 Help
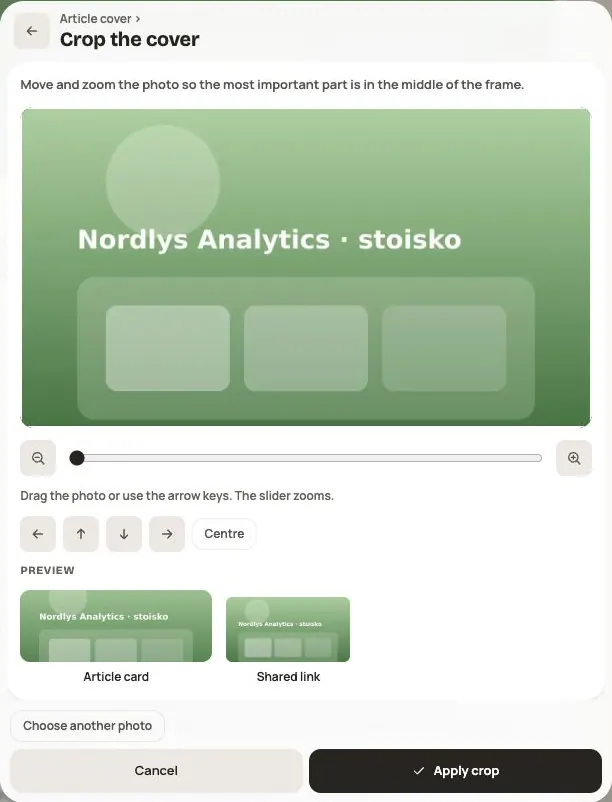
Photos and files: formats and limits
Which photos you can add, how big they can be, and what to do when a file won't upload.
 Help
Admin panel — prepare and launch your event
Set up event details, invite your team, choose modules and audiences, check readiness and publish the event.