
Organization — set up the profile, website and community
Complete the organization profile, gather your events on one website with a Calendar and start a community between events.

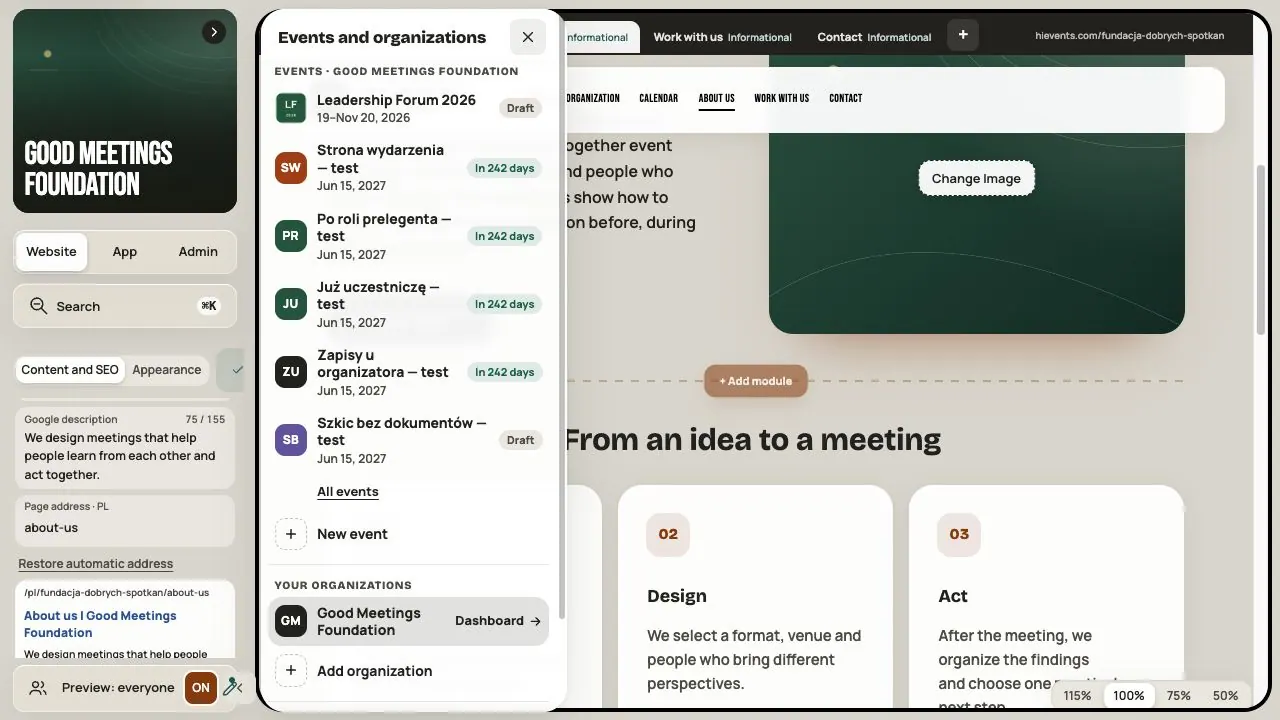
An organization is your company, foundation or team. It gathers all your events. The profile, website and community belong to the organization. The programme, tickets and participants belong to a specific event.
Step 1. Choose the organization
After signing in, choose your organization in the switcher at the top of the menu. One account can have several organizations. Before making changes, check the name in the header: is it the organization or an event?
No organization yet? Click Organize, enter a name and accept the Hi Events General Licence Terms. For the next edition of an event, don't create a new organization. Add the event to the same one.
| Area | What you set here |
|---|---|
| Organization | Profile, data controller details, website, appearance, community, subscription |
| Event | Dates, venue, programme, speakers, companies, registration, documents, event website |
| My account | Your own profile, tickets and settings |
In the organization you switch between Website, App and Admin, just as in an event.
Step 2. Complete the profile
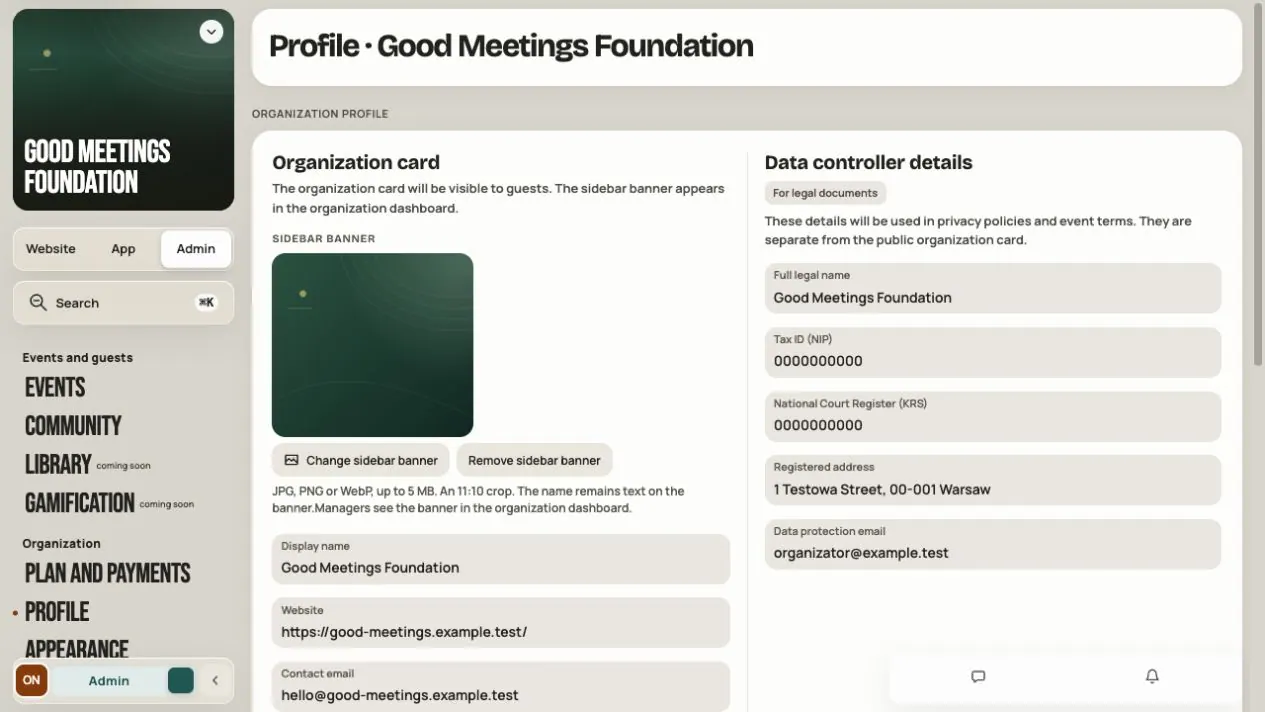
Go to Admin → Profile. In the Organization card, enter:
- Display name — the organization's name, not the title of your next event.
- Website — the full address with https://.
- Contact email — for general questions.
- City and description — what you do and for whom.
- Sidebar banner — an image in the organization panel. It isn't the website banner.
Below are the Data controller details: full legal name, tax ID, KRS, registered address and an e-mail for personal data matters. Enter the organization's details, not your private ones. These details go into event documents, such as the privacy policy.
Click Save changes. If you see Another manager saved a newer profile, choose:
- Load newer details — replaces your entries with the saved version.
- Keep my entries to save again — keeps your text for you to check.
Organization languages
The Languages card sits beside the profile. The organization's primary language is the default for new events. Existing events keep their own language.
- Save your profile changes.
- Add a second PL or EN version. It starts hidden.
- Complete the organization description and website in the second language. Legal details, contact and other shared fields are edited in the primary version.
- Use Show to make the version available to guests. Adding it does not translate the content.
Hide keeps the text. You must hide a second version before removing it. Making it primary requires complete texts; with a published website it must also be visible. Event documents are separate.
Step 3. Manage events
The organization's event list has filters: All, Drafts, Upcoming, Current, Past and Archive. Click an event to open it. Create event starts a new event in this organization.
Once you turn on the community, the event list is in App → Events.
Step 4. The organization website
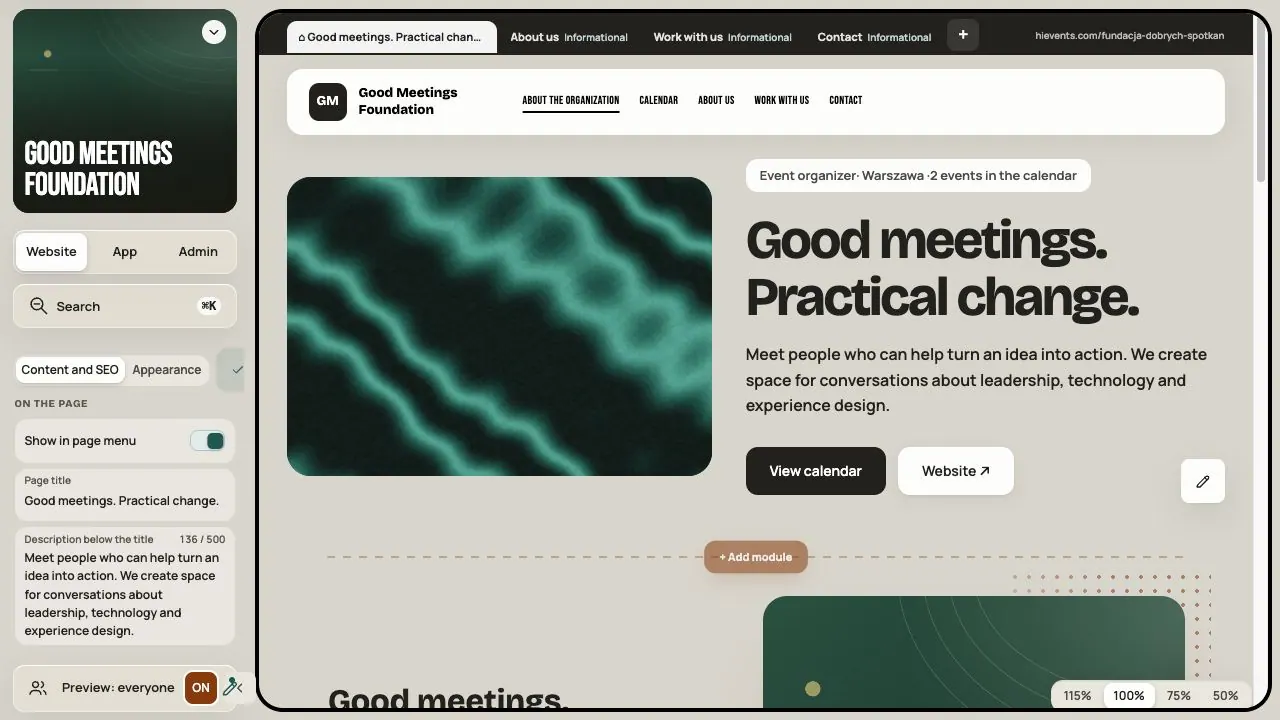
Click Website at the organization level. It's one address for all your events.
For guests to see the organization website, you need:
- A Standard, Pro or Dedicated subscription. The Free subscription has no organization website.
- At least one event that is published and shown on the organization's public list. It can be a past event.
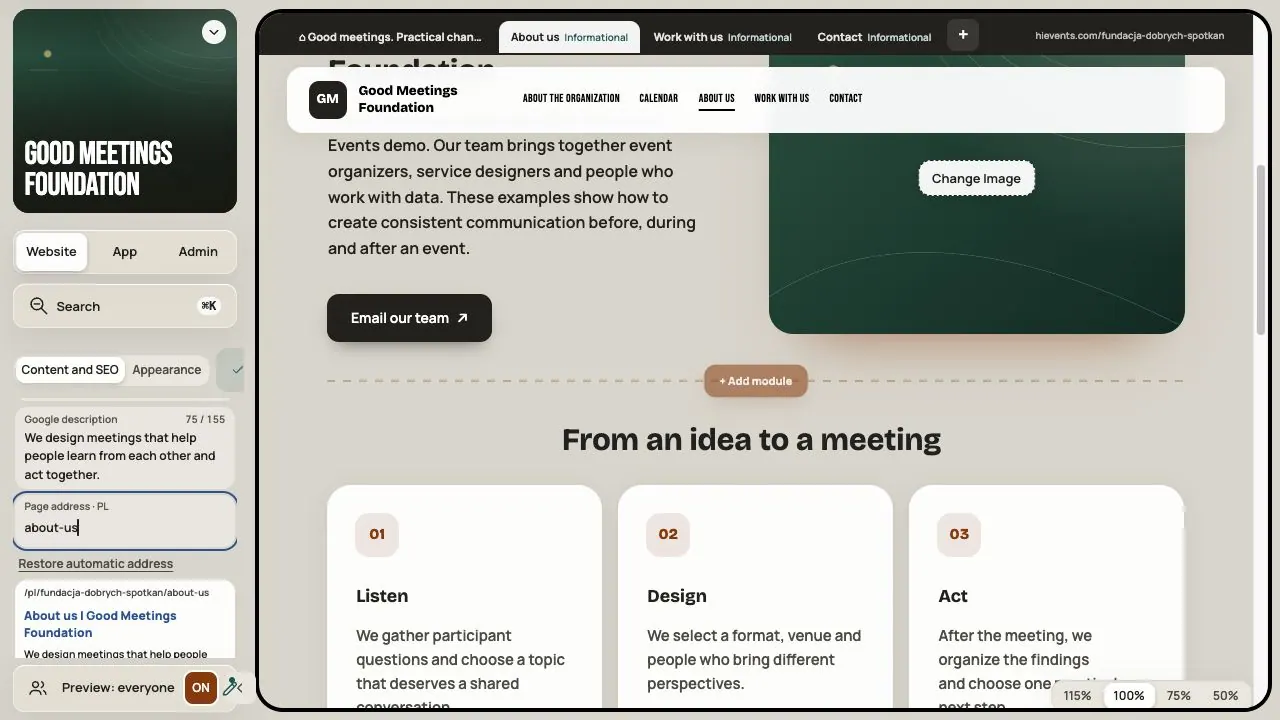
Click Open the page editor or turn on Admin mode. The editor works the same as for the event website. Before leaving, wait for All changes saved.
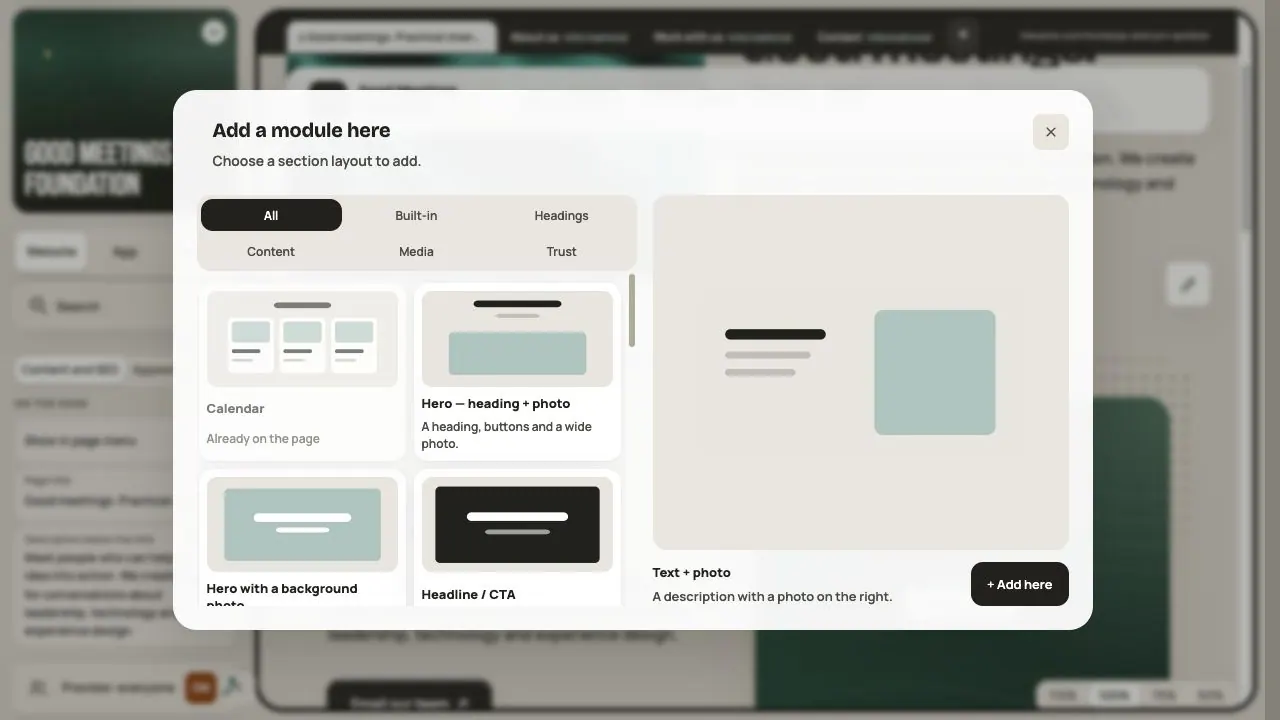
On the organization website you can add the Calendar and content blocks: text with a photo, tiles, FAQ, gallery, map, video, statistics and testimonials. You can't add the Agenda, speakers or Business Hub here. They live in specific events.
Step 5. Set up the Calendar
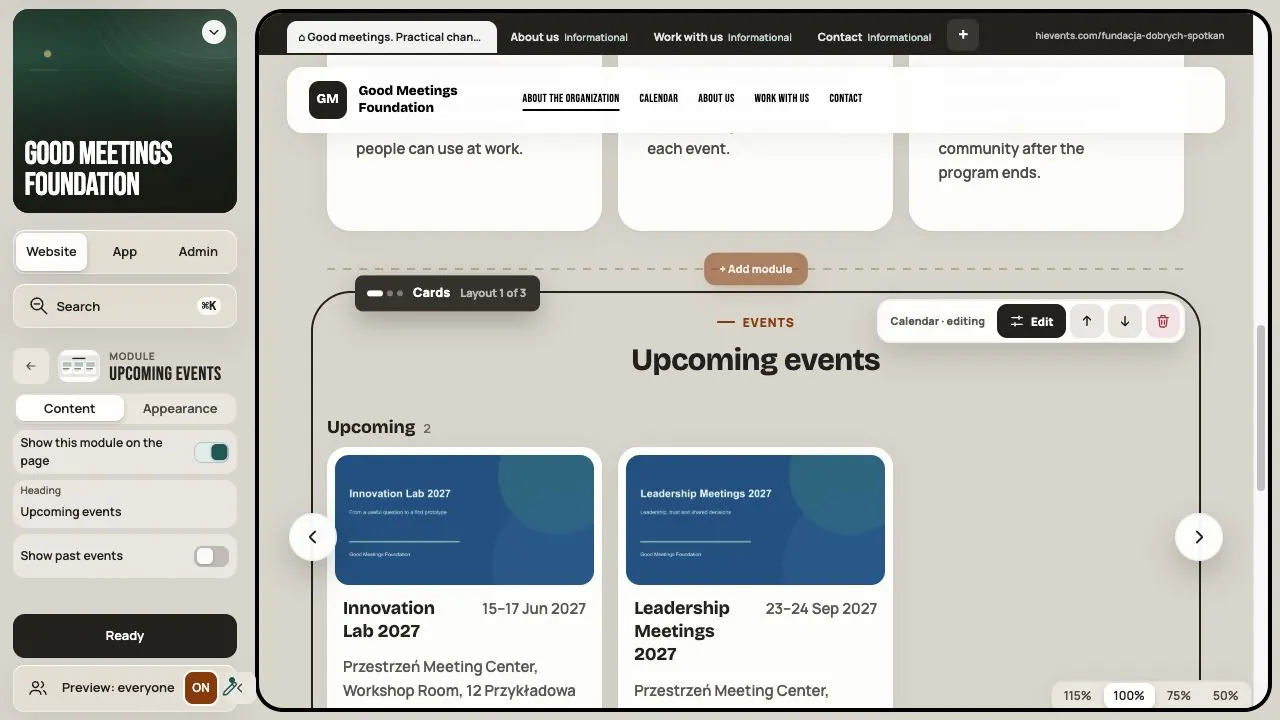
The Calendar shows the organization's events: name, dates, venue and banner. You don't need to retype them.
- Only published or past events shown on the public list appear.
- Drafts, archived and hidden events don't appear.
- Layout: Cards, List or Featured (the next event shown large, later ones beside it).
- Show past events decides whether past events are visible.
Step 6. Add subpages
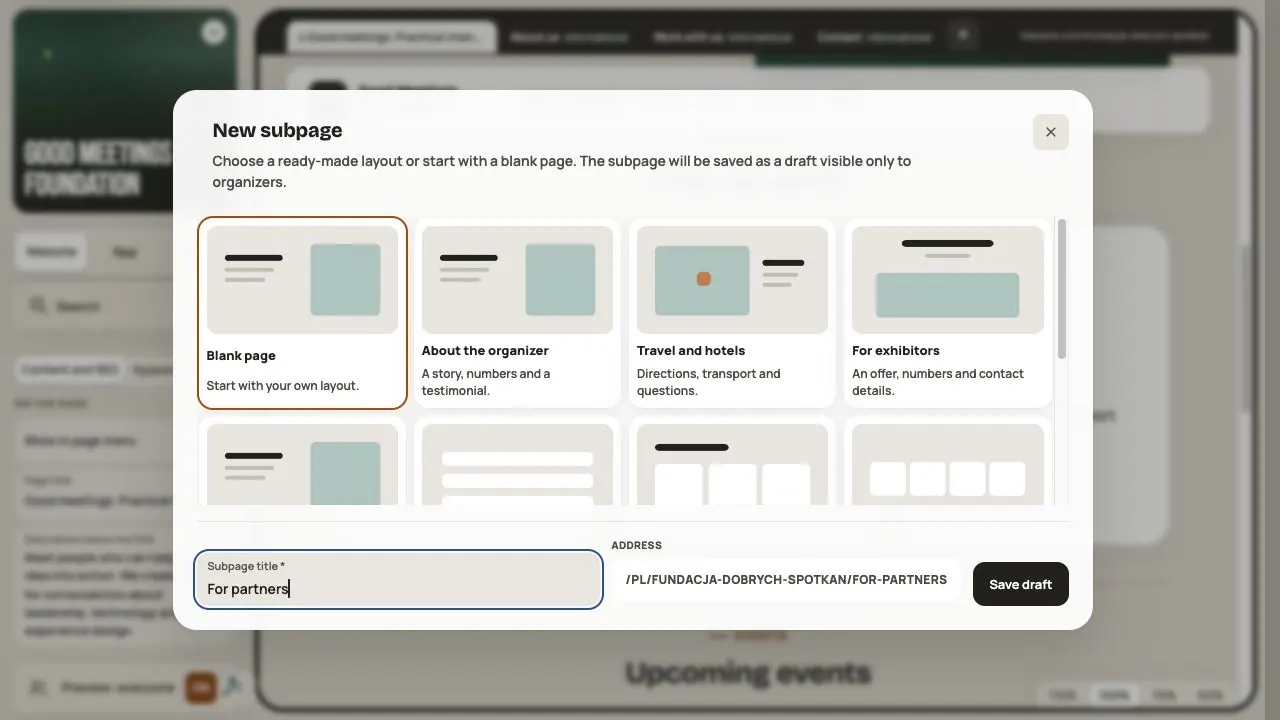
Click Add page from template. Choose a template or a blank page and enter a Subpage title.
- An organization can have up to 30 custom subpages.
- A subpage address can't be the same as the address of one of the organization's events.
- Save draft saves the subpage for organizers only.
- Publish shows it to guests.
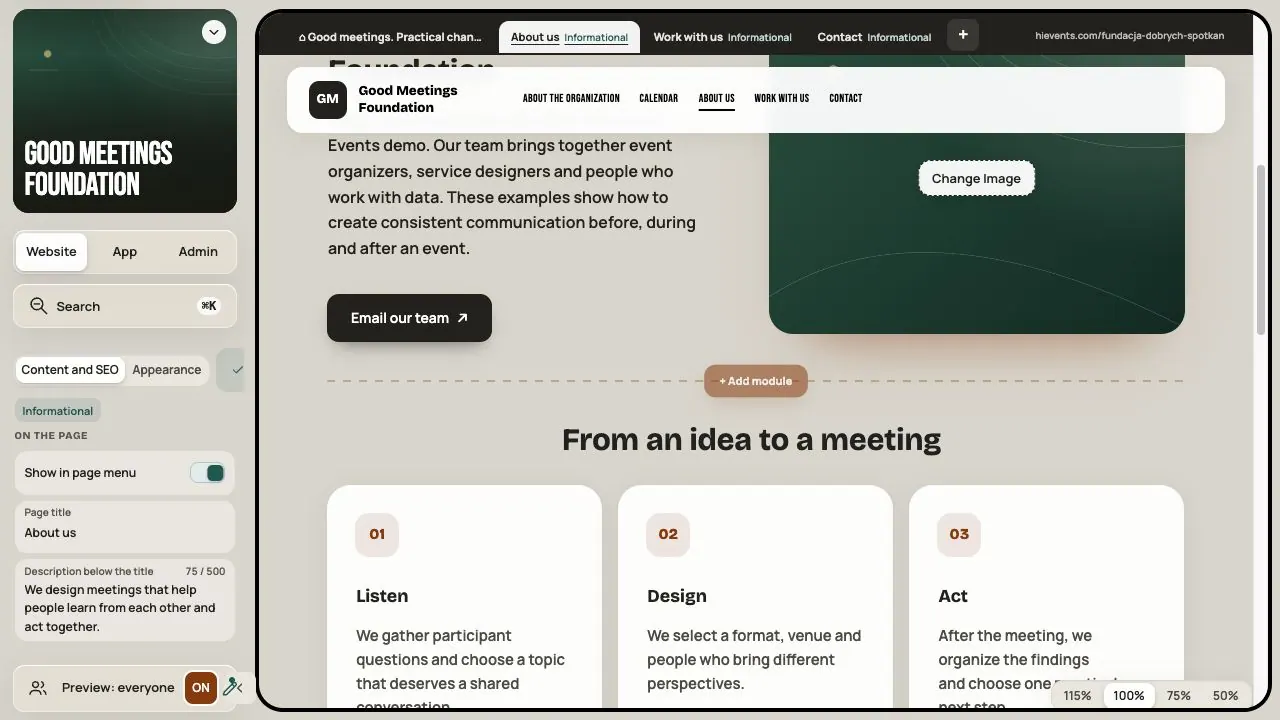
- Show in page menu adds it to the menu. When turned off, the subpage still works at its address.
In the page settings you set the Google title (up to 60 characters), description (up to 155 characters) and sharing image. You set Organization website indexing on the home page.
Step 7. Organization appearance
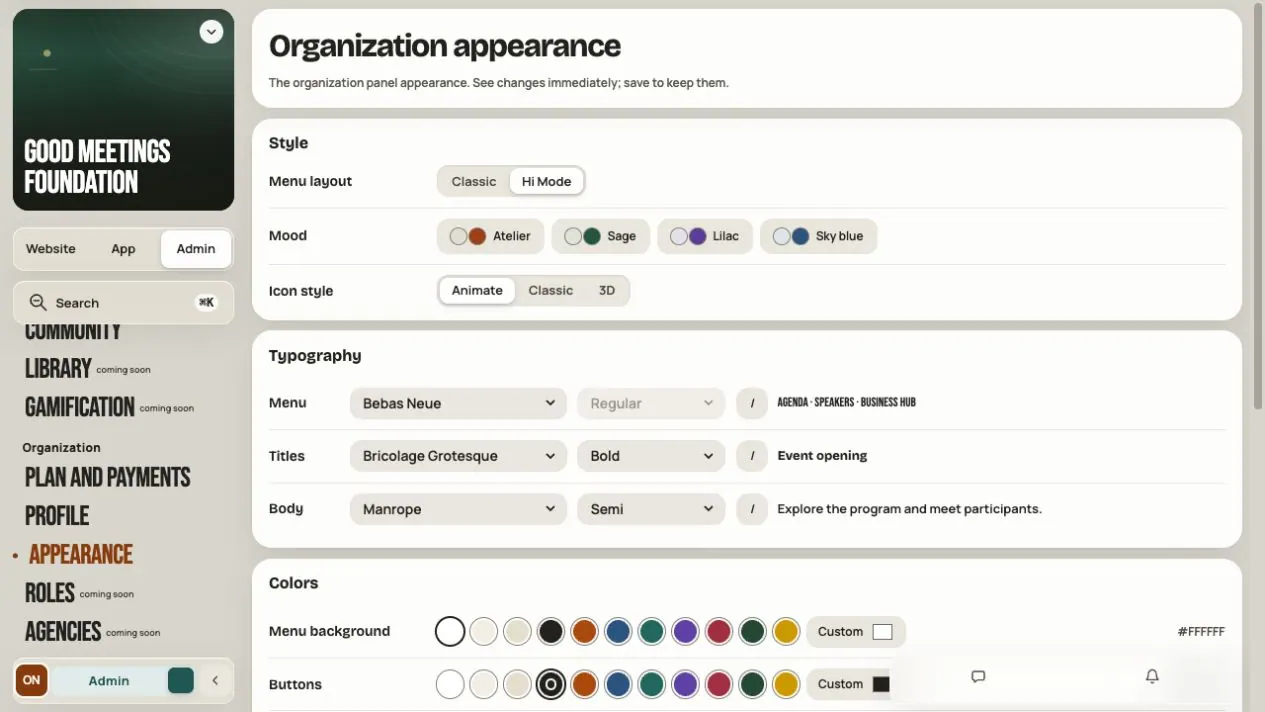
Go to Admin → Appearance in the organization. Set colors, fonts, shapes and background. Click Save changes.
The organization's appearance and the event's appearance are set separately. Check the website on a computer and on a phone.
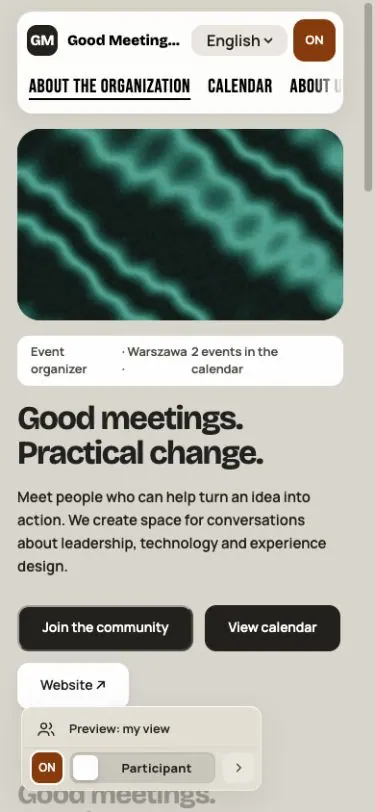
Step 8. Start the community
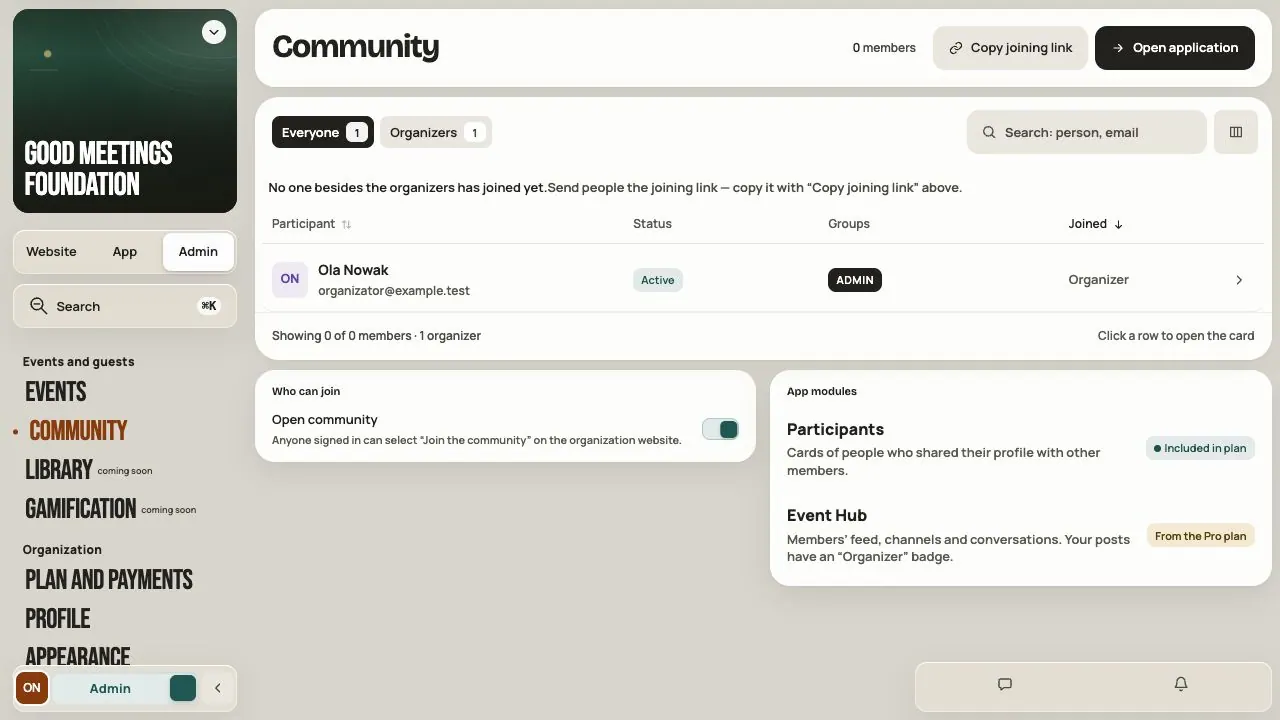
Go to Admin → Community and click Enable community. The community works right away.
In Who can join, choose:
- Open community — anyone signed in joins with the Join the community button on the organization website.
- Closed community — for participants of the organization's events.
| Community module | From which subscription |
|---|---|
| Participants | Standard |
| Event Hub | Pro |
In Participants, members see only the profiles their owners chose to share.
Who has what access
| Person | What they can do |
|---|---|
| Organization manager | Manages the organization and its events |
| Manager of one event | Works only on that event |
| Speaker, company manager | Completes their card in the event |
| Community member | Uses the community, doesn't manage the organization |
Library, Gamification, Roles and Agencies in the organization menu are marked "coming soon". They don't work yet.
Find your subscription, credits and purchase history in Plan and payments. Individual terms appear under Your offer — see accepting an offer in three steps. Ticket orders are handled in the event's Registration.
Before you share your organization
- You're working in the organization, not an event.
- The profile and data controller details are saved.
- The subscription includes the website, and a published event is on the public list.
- The Calendar shows the right events.
- Subpages are published and have good addresses.
- The website looks good on a phone.
Frequently asked questions
Do I create a new organization for every edition of an event?
No. Add the next event to the same organization.
Why can I see the organization website but a guest can't?
Check the subscription and whether at least one event is published and shown on the public list. As a manager you see more than a guest.
Why isn't an event in the Calendar?
Drafts, archived and hidden events don't appear in the Calendar. Past events appear only with Show past events on.
Does turning off Show in page menu hide a subpage?
No. The subpage disappears from the menu but still works at its address.
Will changing the profile fix event documents?
Not straight away. Publish a new document version in Admin → Consents in the event.
Where are events after I turn on the community?
In the organization's App → Events.
Read on
All articles →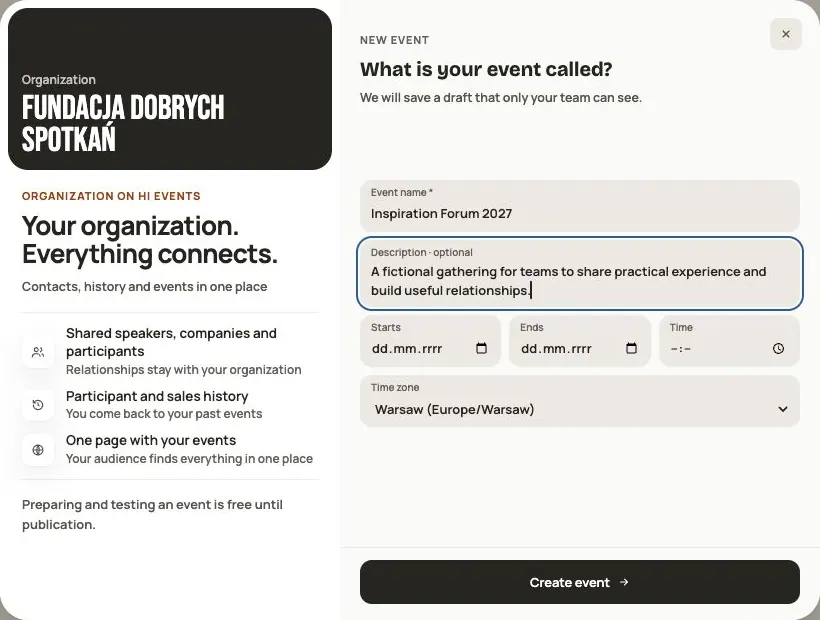 Help
Your first event, step by step
From draft to publication: name and dates, consents, tickets, content, modules, credits and the „Publish event” button.
 Help
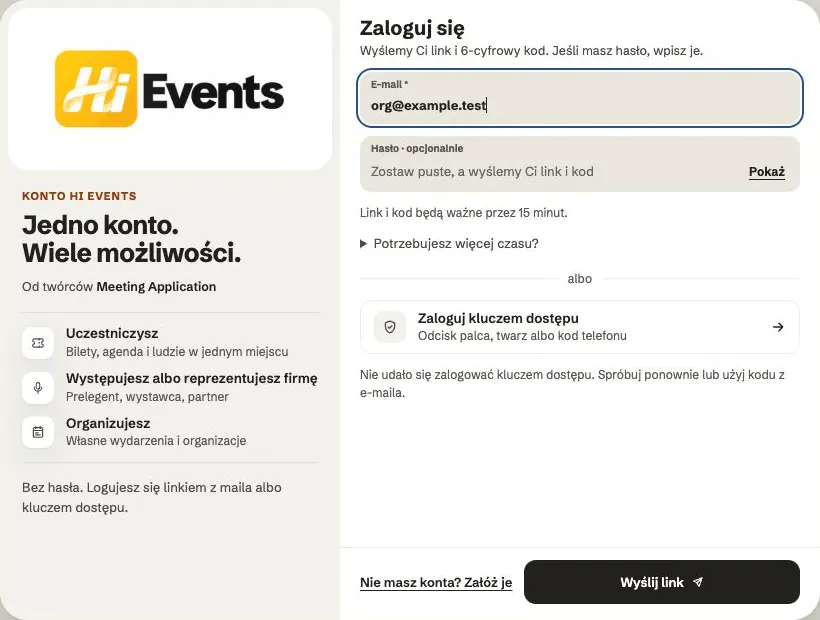
Signing in: link, code, password and passkey
Four ways to sign in to Hi Events, how to set or change your password, and how to sign in with your fingerprint.
 Help
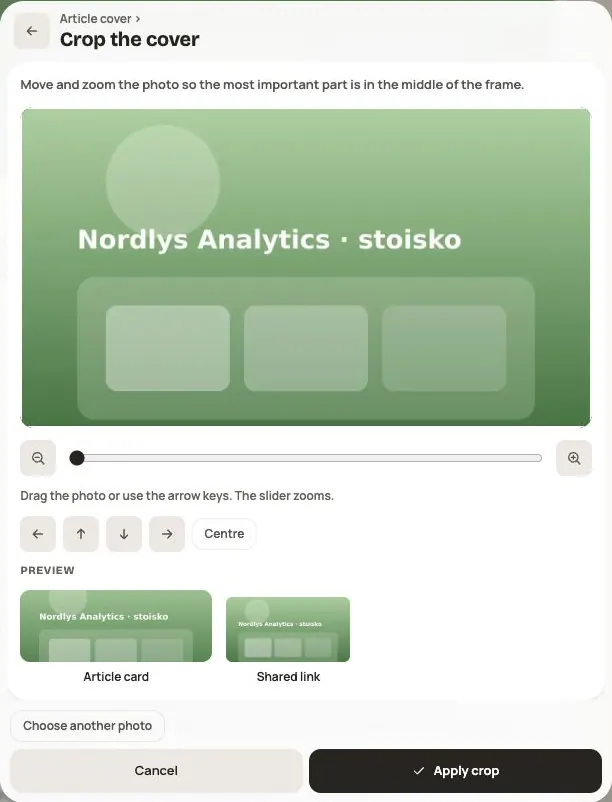
Photos and files: formats and limits
Which photos you can add, how big they can be, and what to do when a file won't upload.