
Admin panel — prepare and launch your event
Set up event details, invite your team, choose modules and audiences, check readiness and publish the event.

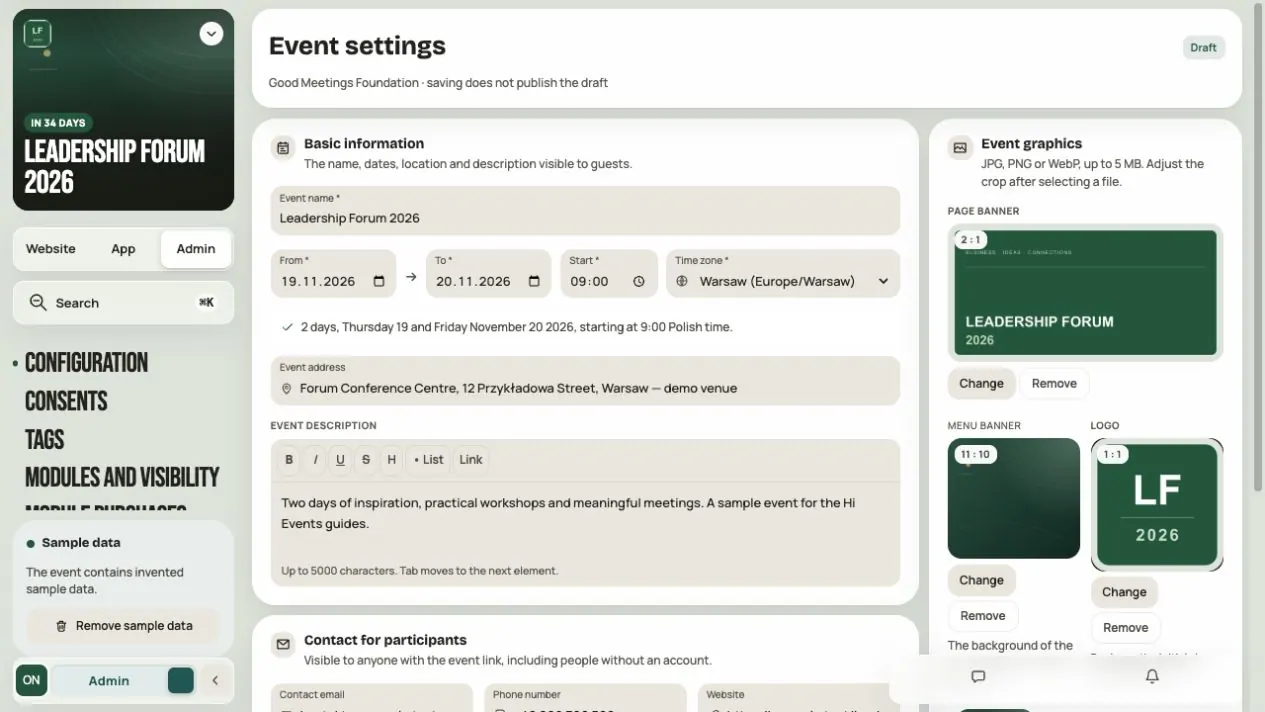
In the Admin panel you prepare your event and launch it. You set details, invite your team, choose modules and decide who sees what.
Step 1. Open Admin
Choose an event from the list. Turn on Admin mode and click Admin. Configuration opens.
At the top you switch between three places:
| Place | What you do here |
|---|---|
| Website | The event website for visitors |
| App | Agenda, Speakers, Business Hub and other modules. In Admin mode you edit their content. |
| Admin | Configuration, modules, roles, registration, e-mails and publication |
Admin mode gives you editing tools. When it's off, you see the event as a participant does. Turning it off doesn't publish anything.
Step 2. Fill in the basic information
In Admin → Configuration → Basic information, enter:
- Name — 2 to 120 characters.
- Dates — from when to when. The end can't be before the start.
- Start time and time zone.
- Event address — venue name, street, city.
- Event description — who the event is for and what participants will get from it.
You set sessions and their times in the Agenda. Changing the event dates doesn't move sessions. After changing dates, check the programme.
Step 3. Contact and graphics
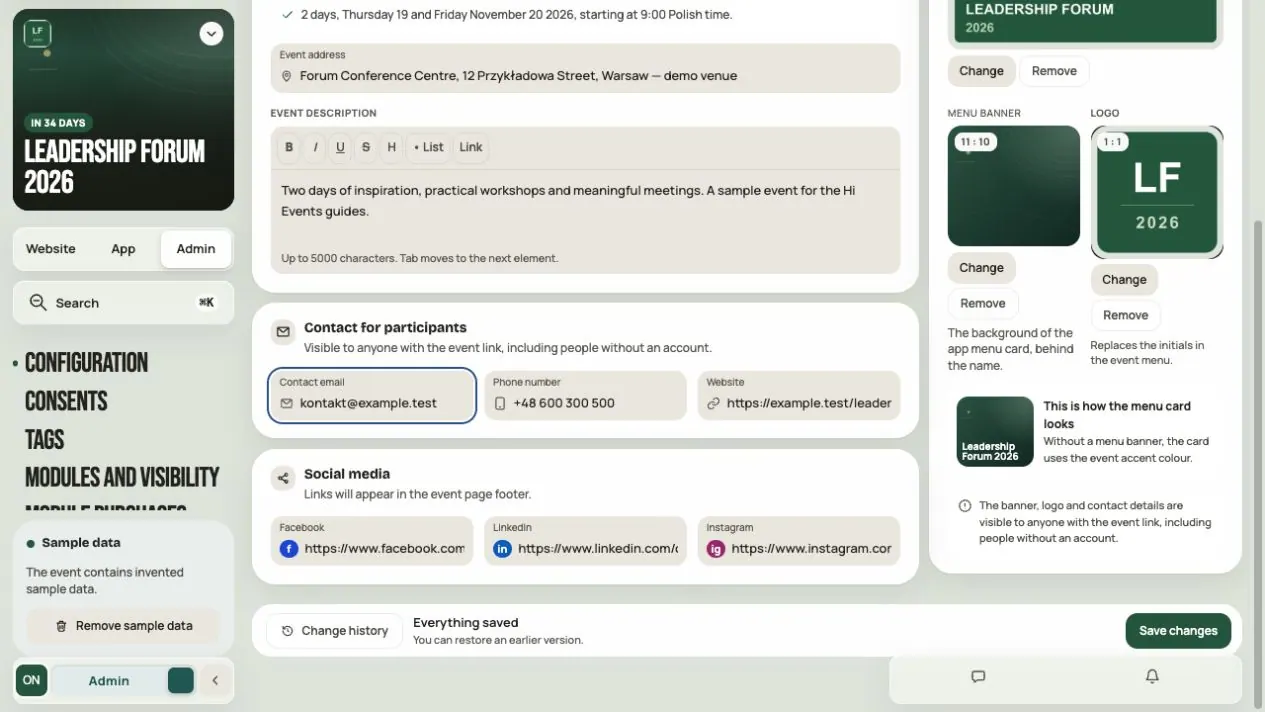
Contact for participants: e-mail, phone and website. Anyone with the event link can see it, including people without an account. Don't enter an internal contact.
Social media: links to Facebook, LinkedIn and Instagram. They appear in the event page footer.
Event graphics:
| Graphic | Format | Where it shows |
|---|---|---|
| Page banner | Landscape 2:1, e.g. 2160 × 1080 px | On the website and event cards |
| Logo | Square | In the menu, instead of initials |
| Sidebar banner | 11:10 | Behind the event name in the app menu |
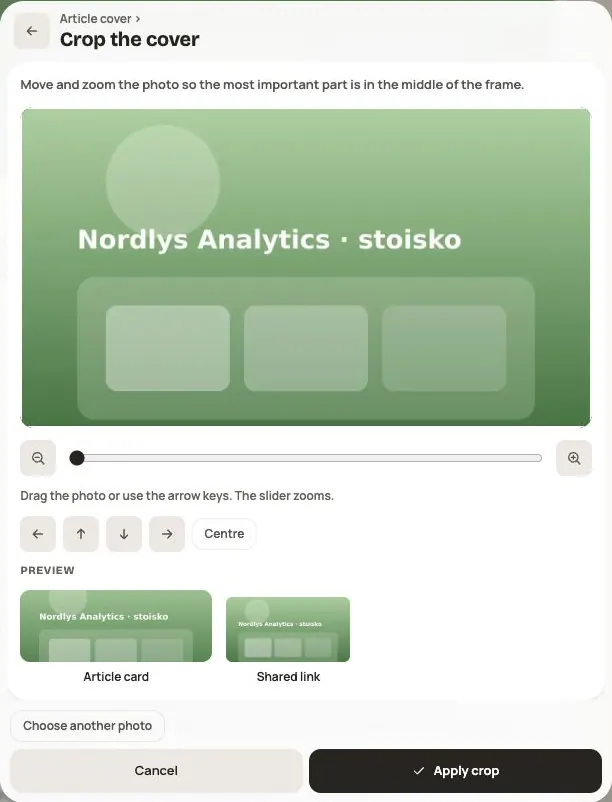
Files: JPG, PNG or WebP, up to 5 MB. Adjust the crop after selecting a file.
Step 4. Save changes
Click Save changes and wait for Saved. Undo discards unsaved changes.
- In a draft, saving doesn't publish the event.
- In a published event, guests see changes right away.
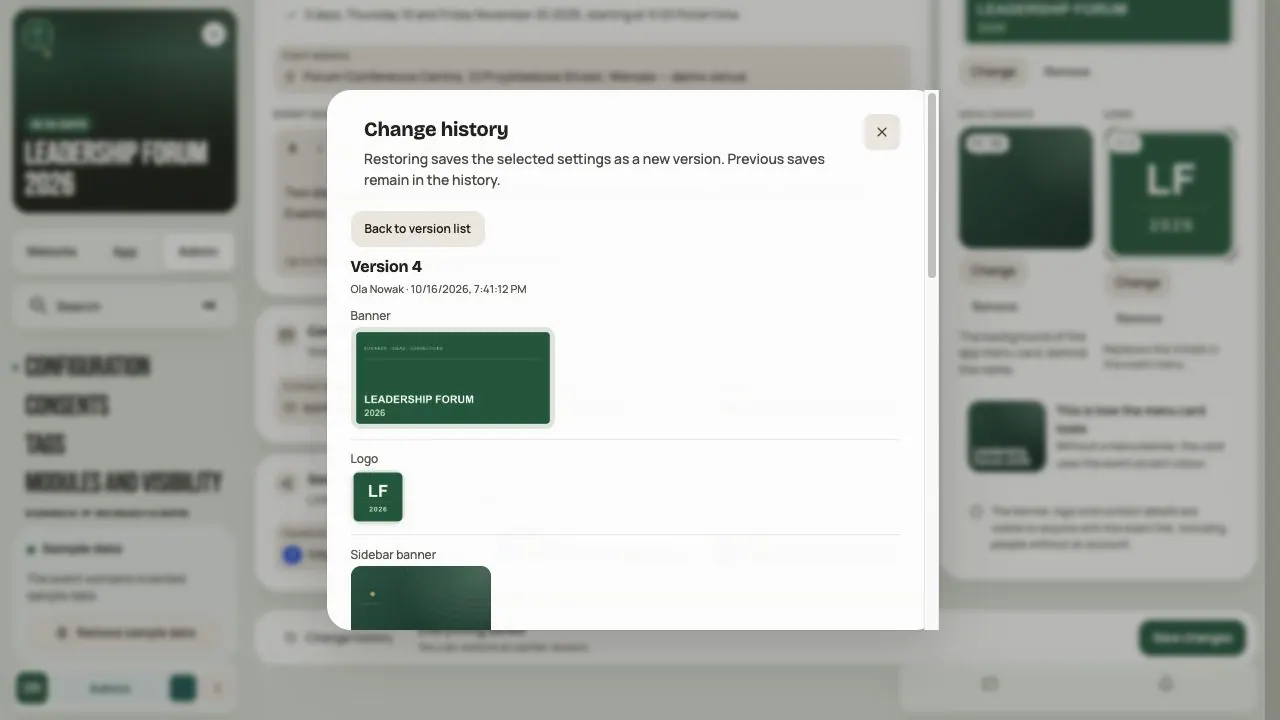
Change history shows earlier versions of the configuration. Restore version saves the chosen version as a new one. Old versions stay in the history. The history covers only the configuration, not the Agenda, participants or orders.
If someone on your team saved changes at the same time, choose:
- Keep my entries and refresh the version — keeps your text for you to check.
- Load current settings — replaces your text with the saved version.
Prepare content in two languages
In Admin → Configuration, use the Languages card to manage the primary language and a second PL / EN version. A new second version starts hidden. Complete the module texts before choosing Show. The panel lists missing content by area. Hiding keeps the text; hide a version before removing it.
Language tabs let you enter your own translations. Prices, dates, limits and other shared fields are edited in the primary version. Changing the interface language does not translate event content or legal documents. Check the website and app in both languages.
Step 5. Invite your team
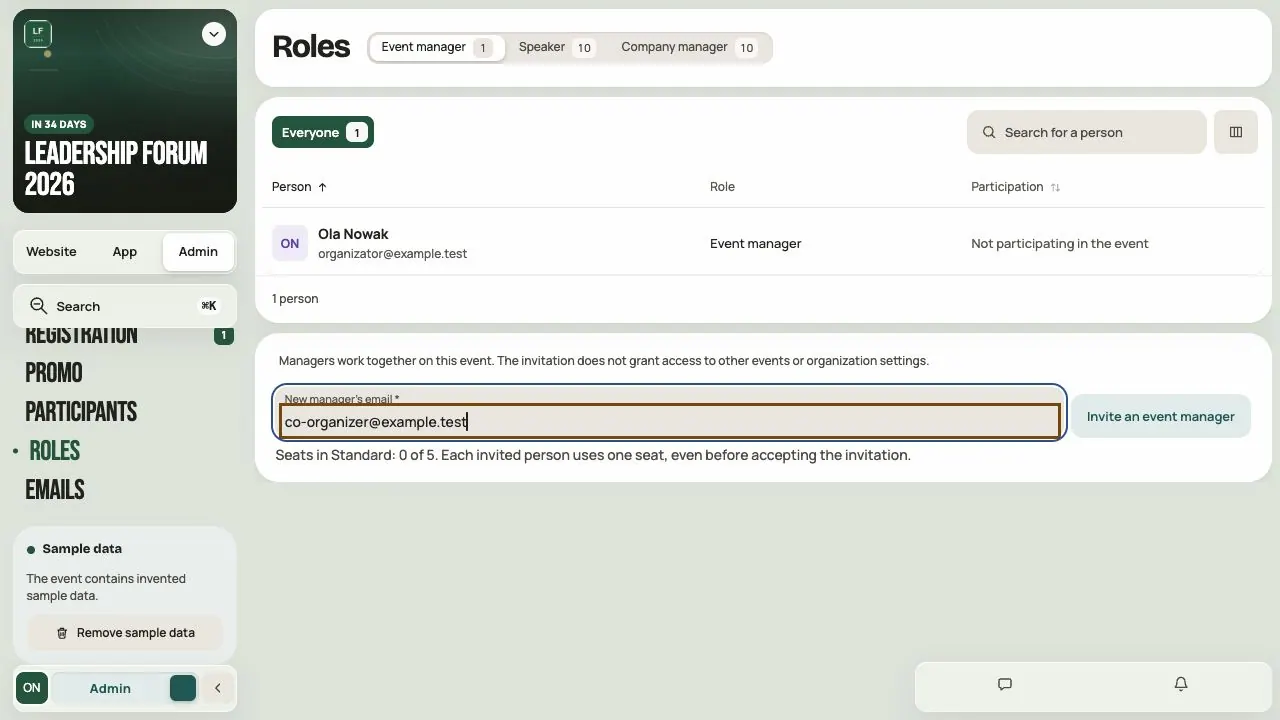
Go to Admin → Roles. There are tabs for Event manager, Speaker and Company manager.
| Role | What they can do |
|---|---|
| Organization manager | Manages the organization and events, invites managers, buys and publishes |
| Event manager | Prepares one event: programme, content, participants. Doesn't buy or publish. |
| Speaker, company manager | Completes their own card. Doesn't change event settings. |
To invite an event manager:
- Open the Event manager tab.
- Enter the New manager's email.
- Click Invite an event manager.
Only an organization manager can invite.
- Each invitation takes a seat in the subscription, even before it's accepted.
- The invited person signs in with that e-mail and accepts the Hi Events General Licence Terms.
- The invitation link is valid for 7 days.
- Revoke invitation works for invitations waiting to be accepted. It frees the seat.
You invite speakers and companies in Speakers and in Business Hub.
Step 6. Choose modules and audiences
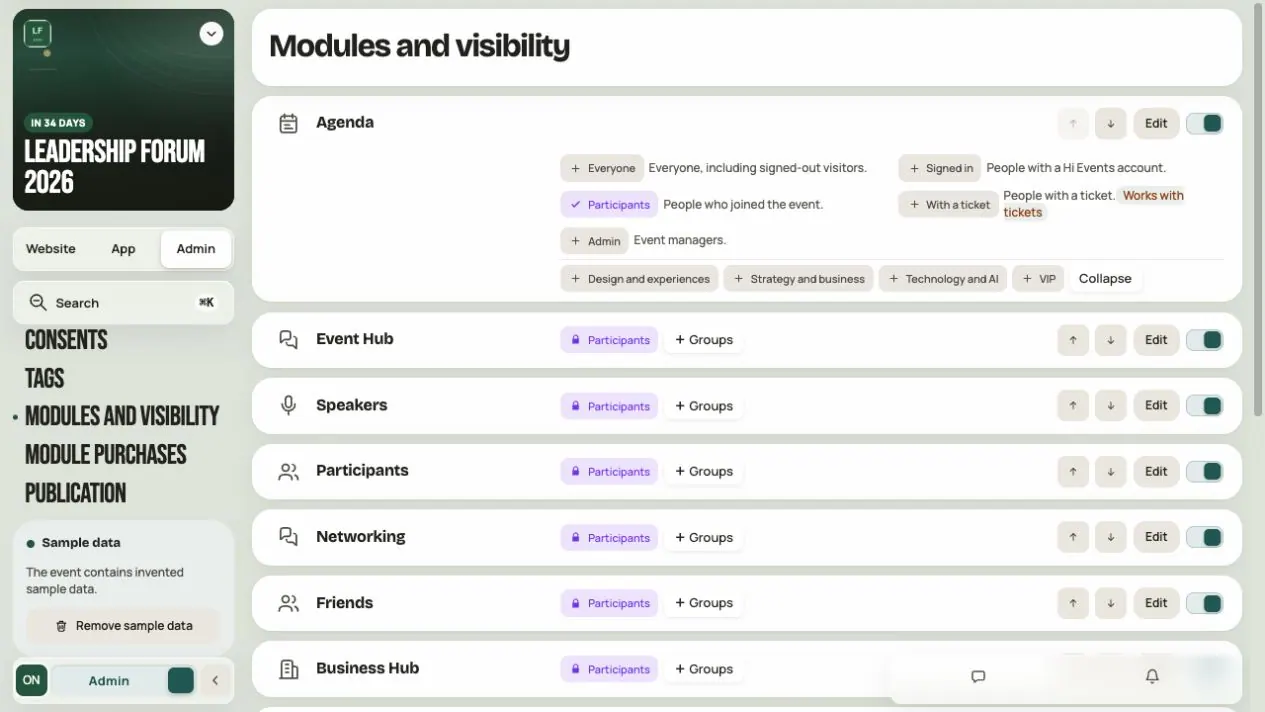
Go to Admin → Modules and visibility.
- Turn a module on with its switch.
- Click + Groups and choose who sees it.
- Use the arrows to set the menu order.
- Click Save settings.
System groups include Everyone, Signed in, Participants and Admin. You create your own groups, such as VIP, in Admin → Tags. Modules with people's data, such as Participants and Networking, can't be shared with Everyone or Signed in.
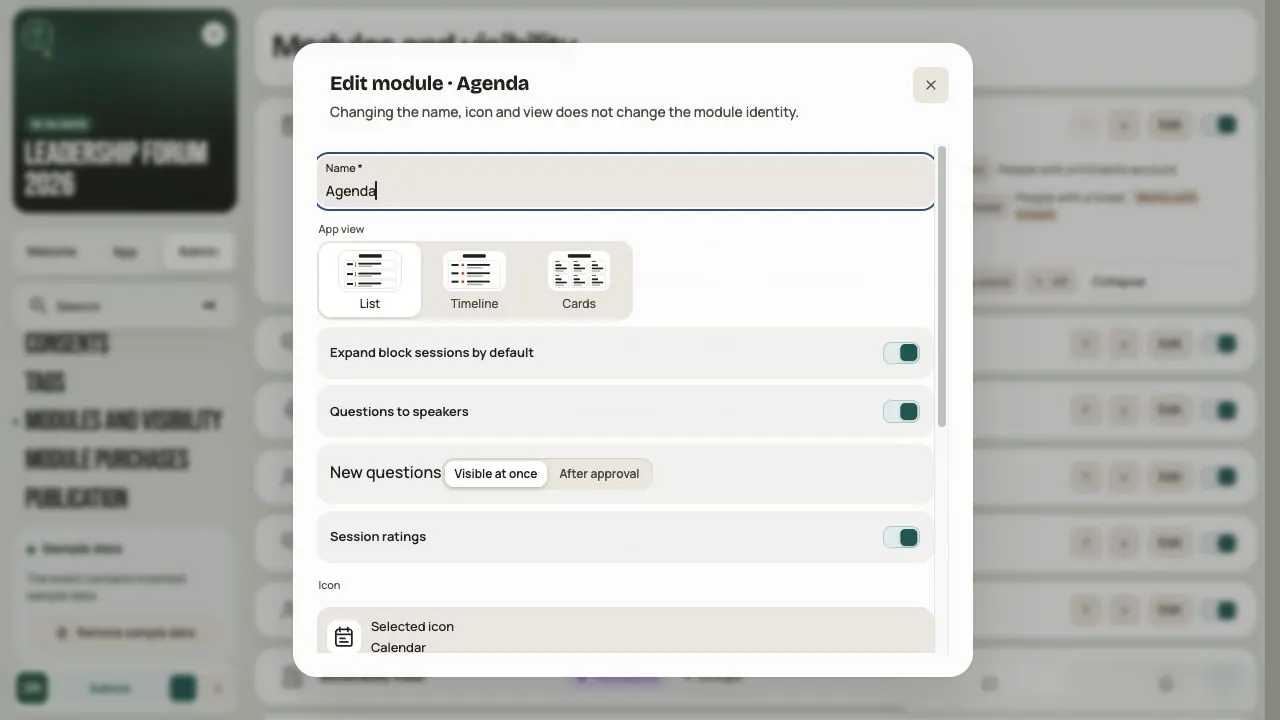
Click Edit on a module to change its name, icon and App view. Click Apply, then Save settings.
A turned-off module isn't visible to participants. Your team can keep preparing its content.
Check the result: turn off Admin mode and use Preview as a group.
Step 7. Paid modules
Paid modules are bought by the organization manager in Admin → Module purchases. Buying and sharing are two separate steps. After buying, turn the module on in Modules and visibility.
Turning a module off doesn't cancel the purchase or pause the licence. Prices are described in Pricing, credits and subscriptions.
Step 8. Check readiness
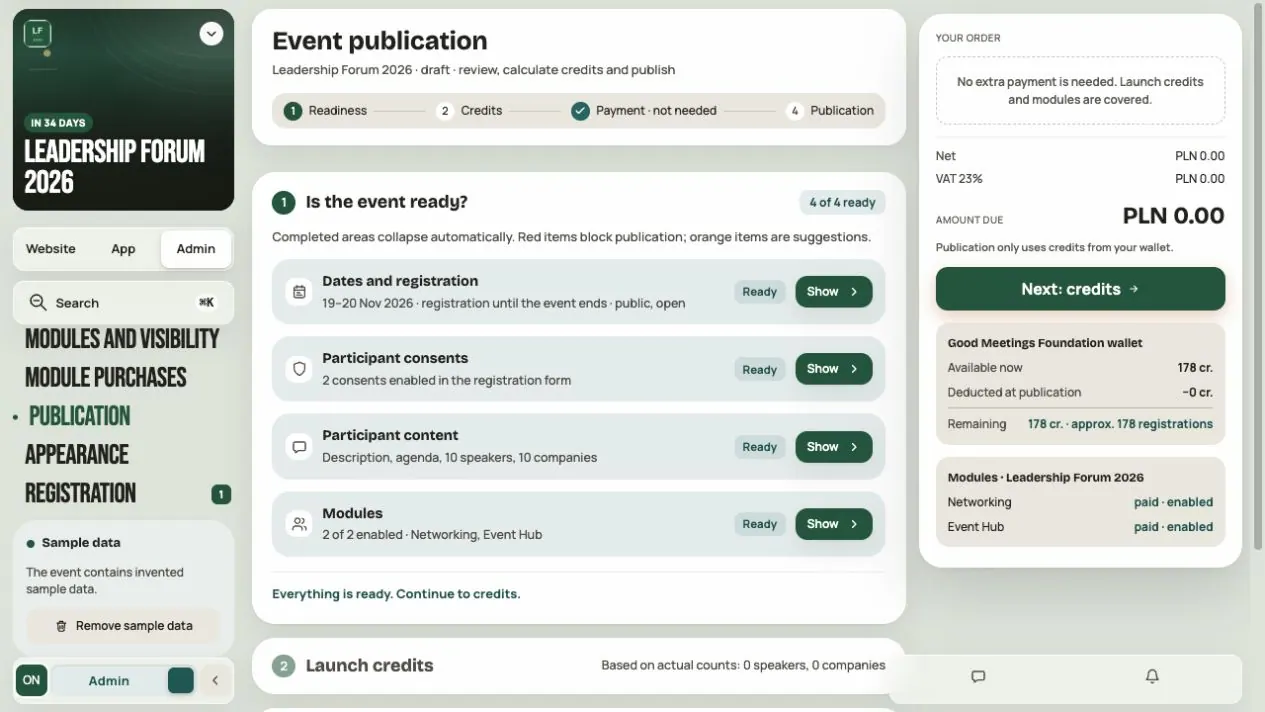
Go to Admin → Publication (available to the organization manager). Publication has steps: readiness, credits, payment and publication.
The readiness screen checks four areas:
| Area | What it checks |
|---|---|
| Dates and registration | Dates, time zone, access and sessions outside the dates |
| Participant consents | Privacy policy, event terms and data controller details |
| Participant content | Description, cover, Agenda, speakers and company logos |
| Modules | Whether paid modules have a licence or are included in the subscription |
- Blocks publication — you must fix this before publishing. The Complete or Purchase button takes you to the right place.
- Needs attention — a hint. It doesn't block publishing, but it's worth fixing.
Step 9. Choose the event access
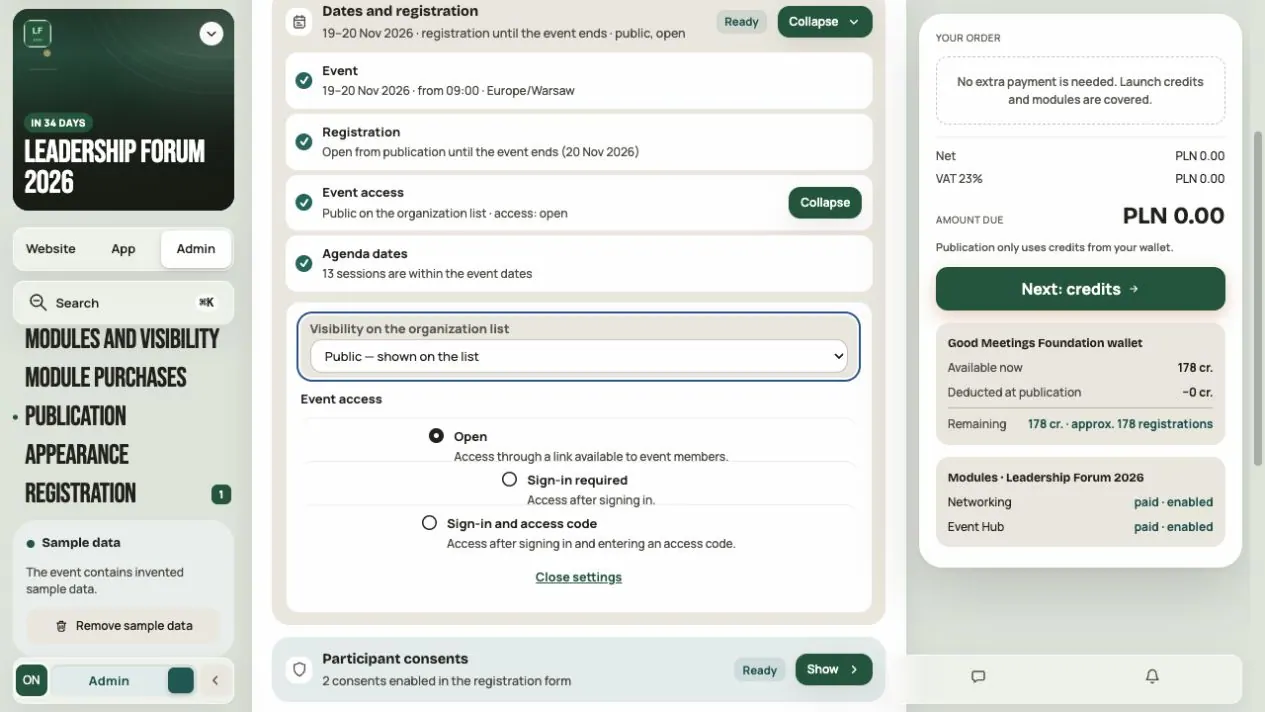
In Event access you set two things.
Visibility on the organization list:
- Public — shown on the list
- Hidden — link only. People with the link can still get in.
Event access:
| Option | What it means |
|---|---|
| Open | Access through the link |
| Sign-in required | People must sign in |
| Sign-in and access code | People must sign in and enter a code |
The code has 8–128 characters. Enter it and click Save code. After a change, the old code stops working. An access code isn't a discount code.
Step 10. Publish
- Check the event on a computer and a phone: the website as a guest and the app as a participant.
- In the credits step, check how many credits the launch will use.
- If a purchase is needed, check the payment mode on screen and pay for the cart. Hi Events service purchases can use Stripe or a test mode. Wait for the confirmed result; returning from the bank alone does not confirm the purchase.
- Read the summary and click Publish event.
Important:
- Publishing uses credits for speakers and companies.
- A published event can't go back to draft.
- On publication, Hi Events removes demo and trial data. Prepare your programme as your own entries.
After publication
| Status | What it means |
|---|---|
| Draft | You're preparing the event. Guests can't see it. |
| Live | The event is running. Guests see changes right away. |
| Ended | The website works, but nobody can join any more |
| Archived | Participants lose access. The organizer keeps the data. |
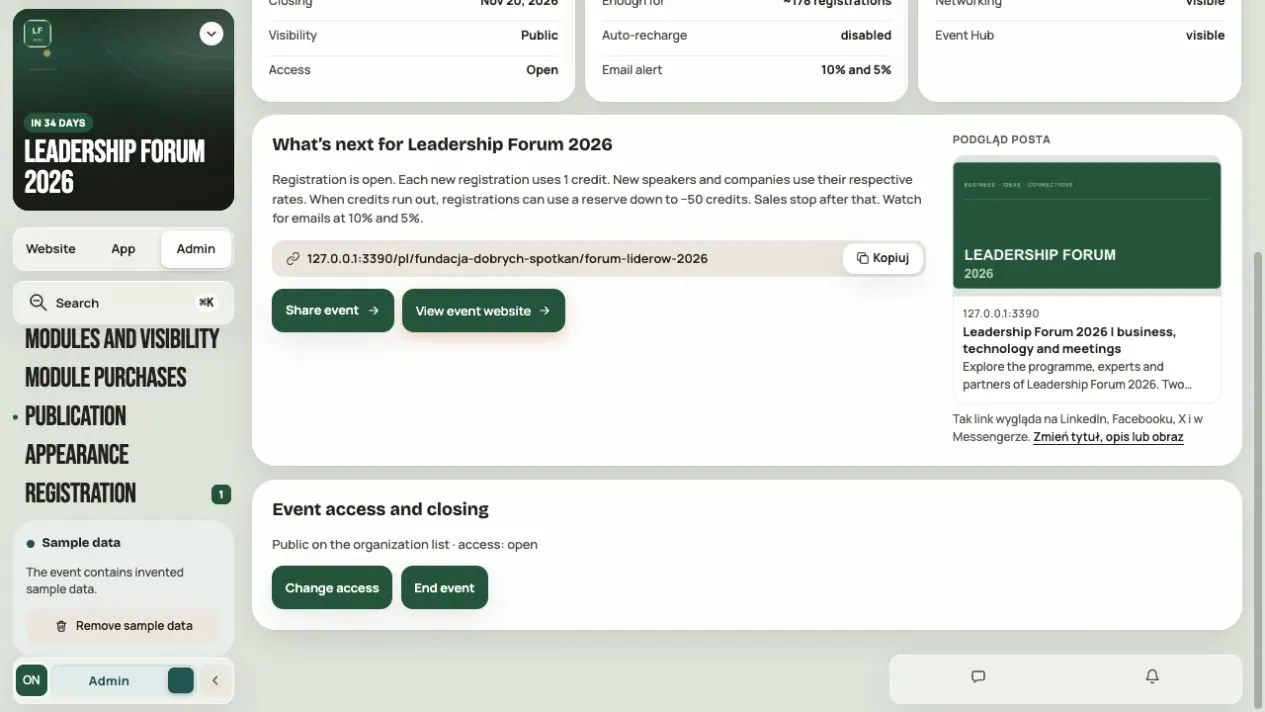
In Event access and closing:
- Change access — changes visibility or access.
- End event — turns off joining.
- Archive event — available after the event ends. Participants lose access.
There's no button to reopen an ended or archived event.
Before you launch
- The name, dates, time and time zone are correct.
- Contact, description and graphics are saved.
- Your team has the right roles.
- Modules and audiences are set.
- The privacy policy, terms and data controller details are ready.
- The website and app look good from a guest's point of view.
- The event access is chosen deliberately.
Frequently asked questions
Does saving the Configuration publish the event?
No. Use Publish event in Admin → Publication.
Why can't an event manager see Module purchases or Publication?
These places are for the organization manager.
A module is purchased, but a participant can't see it. What should I check?
Whether the module is on, has the right groups, the settings are saved and the participant belongs to the group.
Does hiding an event require a password?
No. Hiding only affects the organization list. To require a code, choose Sign-in and access code.
Will sessions move when I change the dates?
No. Check and correct the Agenda yourself.
Can I go back to draft or reopen an ended event?
No. If you only want to limit access, change the event access.
Will restoring a version undo programme changes?
No. It restores only the configuration: details and graphics.
What if a payment is waiting for the bank?
Wait a moment and refresh the status. Don't assume the payment worked until the panel confirms it.
Read on
All articles →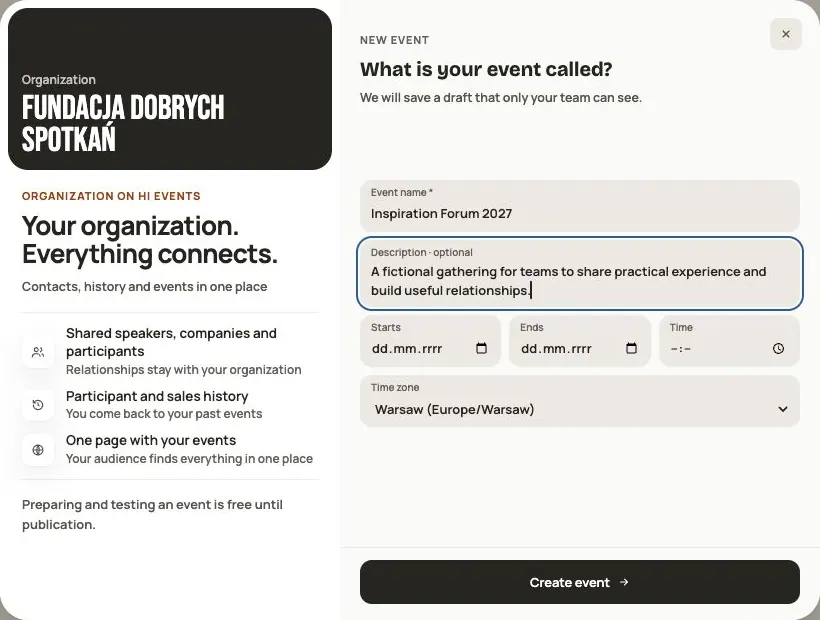 Help
Your first event, step by step
From draft to publication: name and dates, consents, tickets, content, modules, credits and the „Publish event” button.
 Help
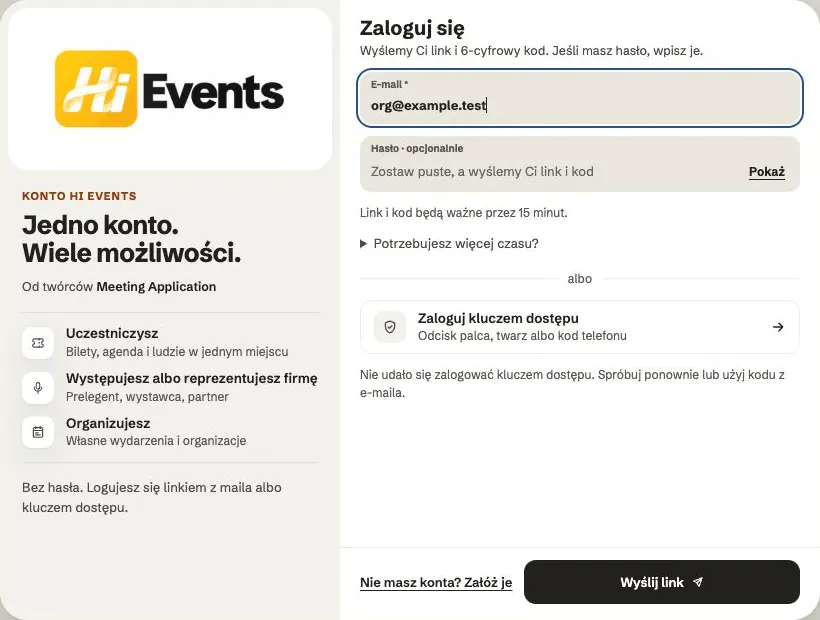
Signing in: link, code, password and passkey
Four ways to sign in to Hi Events, how to set or change your password, and how to sign in with your fingerprint.
 Help
Photos and files: formats and limits
Which photos you can add, how big they can be, and what to do when a file won't upload.