
Emails — prepare messages that guide participants
Set the sender, adjust system emails, build your own email, check it with a test and send or schedule it.

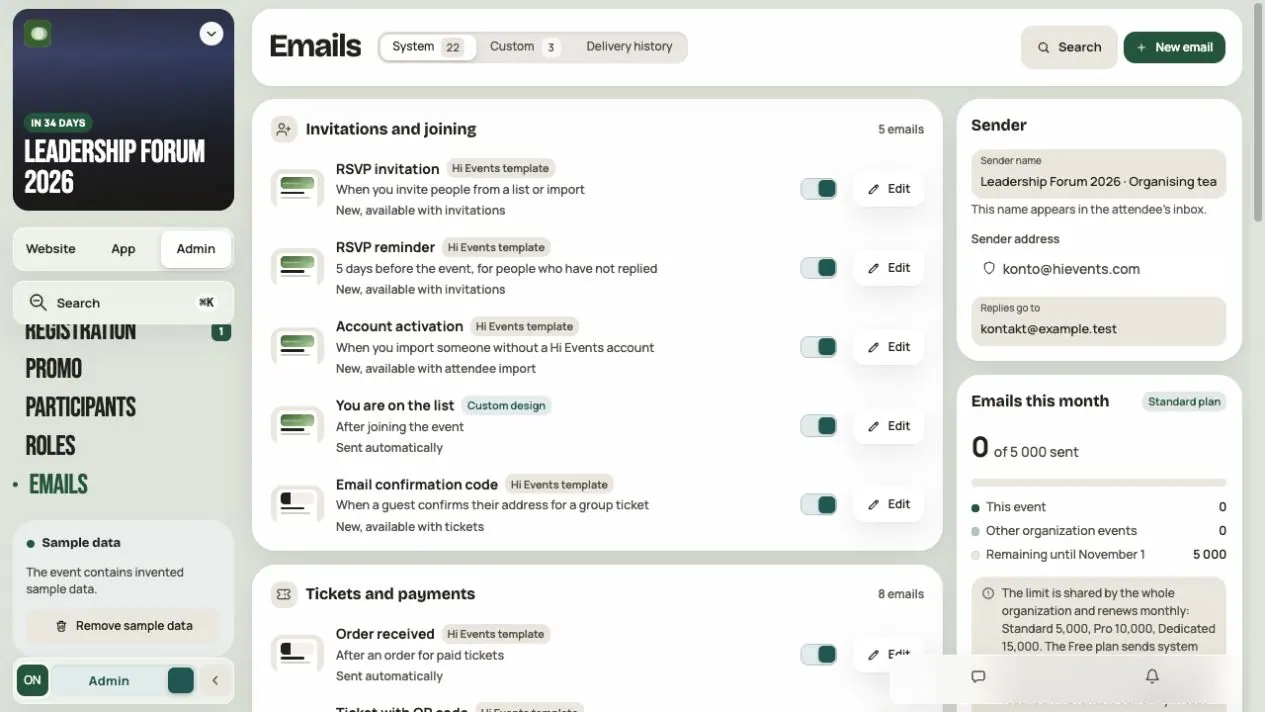
In Admin → Emails you prepare every message to participants: confirmations, tickets and your own emails, for example about getting there. There are three tabs:
| Tab | What's in it |
|---|---|
| System | Emails sent automatically: joining, order, ticket, application decision, a place from the waiting list |
| Custom | Your own emails. You send them right away or schedule them |
| Delivery history | When, to how many people and with what result a message went out |
How many emails you can send
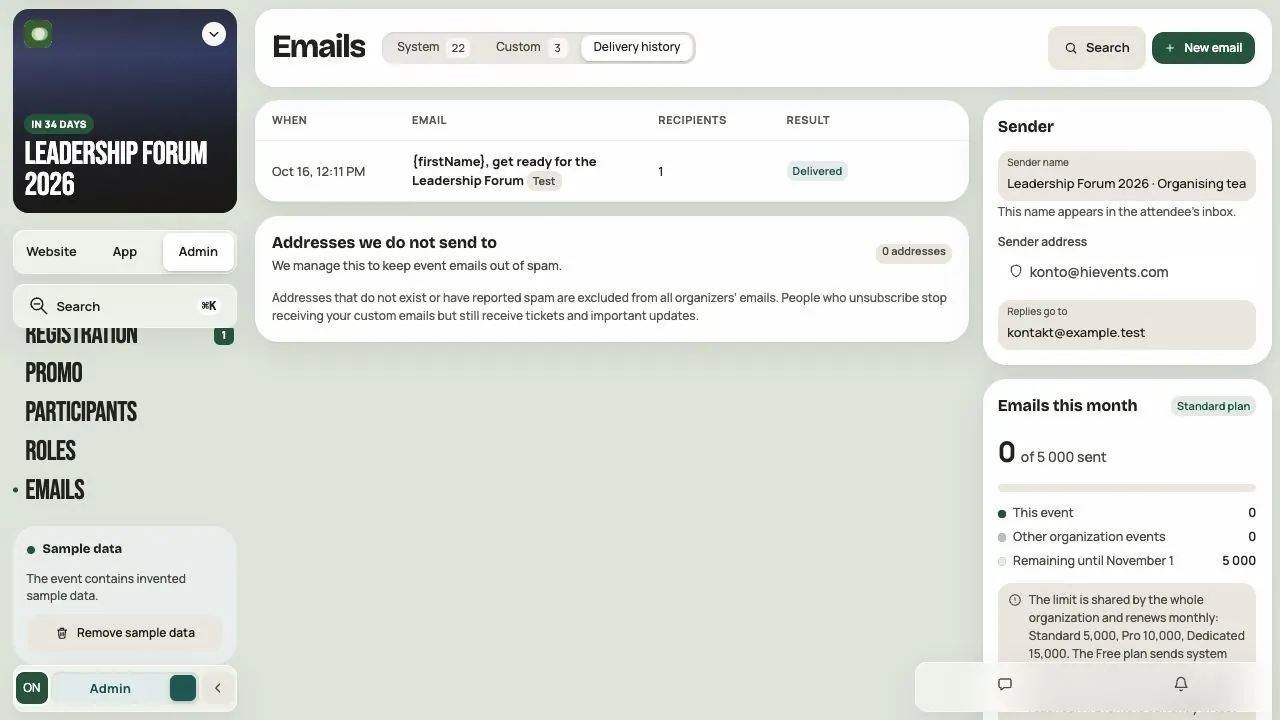
The limit for your own emails is shared by the whole organization and renews every month:
| Subscription | Emails per month |
|---|---|
| Free | system emails only |
| Standard | 5000 |
| Pro | 10,000 |
| Dedicated | 15,000 |
The custom-email limit does not include system messages such as ticket emails. Sending still depends on the relevant template being enabled and its process being available. You see current use under Emails this month. Scheduled emails count toward the limit of the month in which you schedule them.
Test mode: if the panel says Hi Events is in test mode, emails reach only addresses on the test list.
Step 1. Set the sender
Under Sender:
- Sender name, for example “Leaders Forum 2026”. This is the name participants see in their inbox.
- Replies go to: an address your team reads. If you leave it empty, we use the contact email from Configuration.
Messages always go out from konto@hievents.com. The sender name doesn't change that address.
Also complete the event's Configuration and Appearance: name, dates, venue, contact, logo. Emails use this information.
Step 2. Adjust system emails
In the System tab, click Edit next to an email. You can change the subject, preview text and content.
The status next to an email:
- Sent automatically – the email works on its own.
- Disabled – the email doesn't go out.
- New, available with… – the email waits for a feature that doesn't work yet. Editing it won't start it.
Applications have separate emails: pending, accepted, reminder, expired and rejected. Don't replace them with one “Thanks for signing up”. Participants need to know whether they have a place and whether to pay.
Turn off important confirmations only after reading the warning.
Step 3. Write your own email
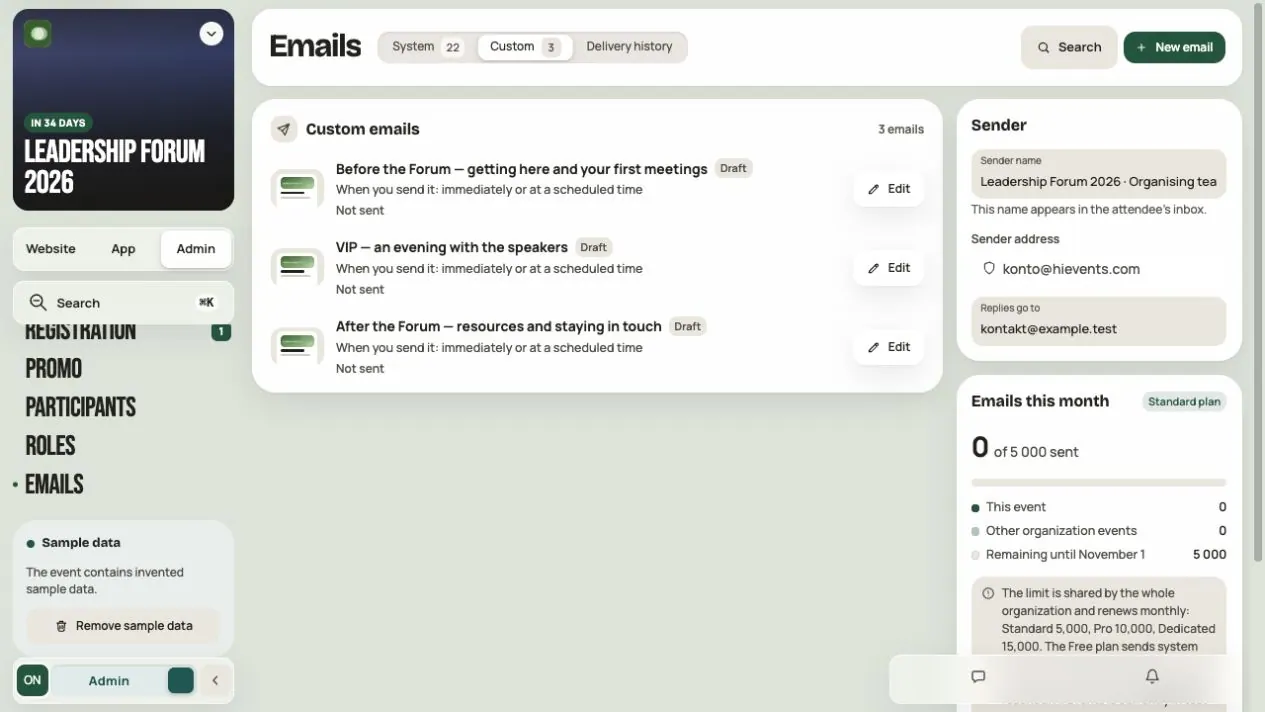
- In the Custom tab, click New email and give it a working name.
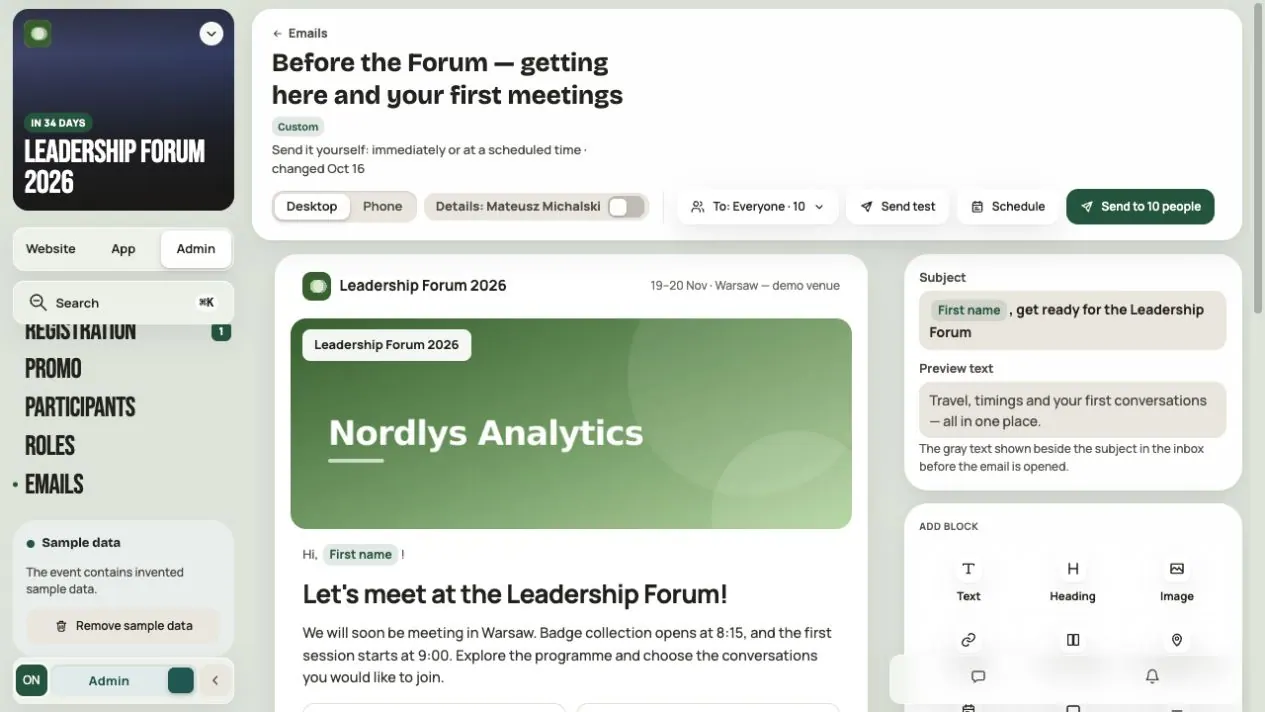
- Enter the Subject and Preview text (shown in the inbox next to the subject). Don't repeat the same sentence in both.
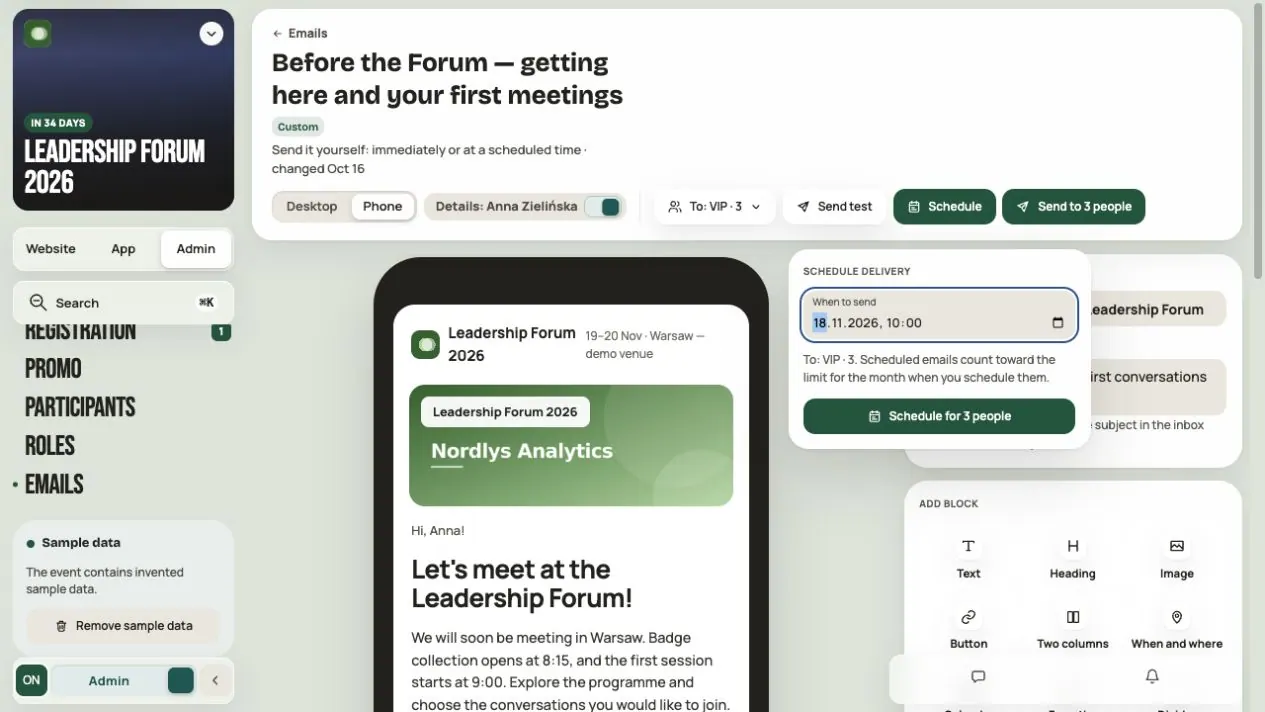
- Add blocks in the order participants need the information: greeting, the essentials (time, place), one button, sign-off.
Available blocks: Text, Heading, Image, Button, Two columns, When and where, Calendar, From the organizer, Divider and Space.
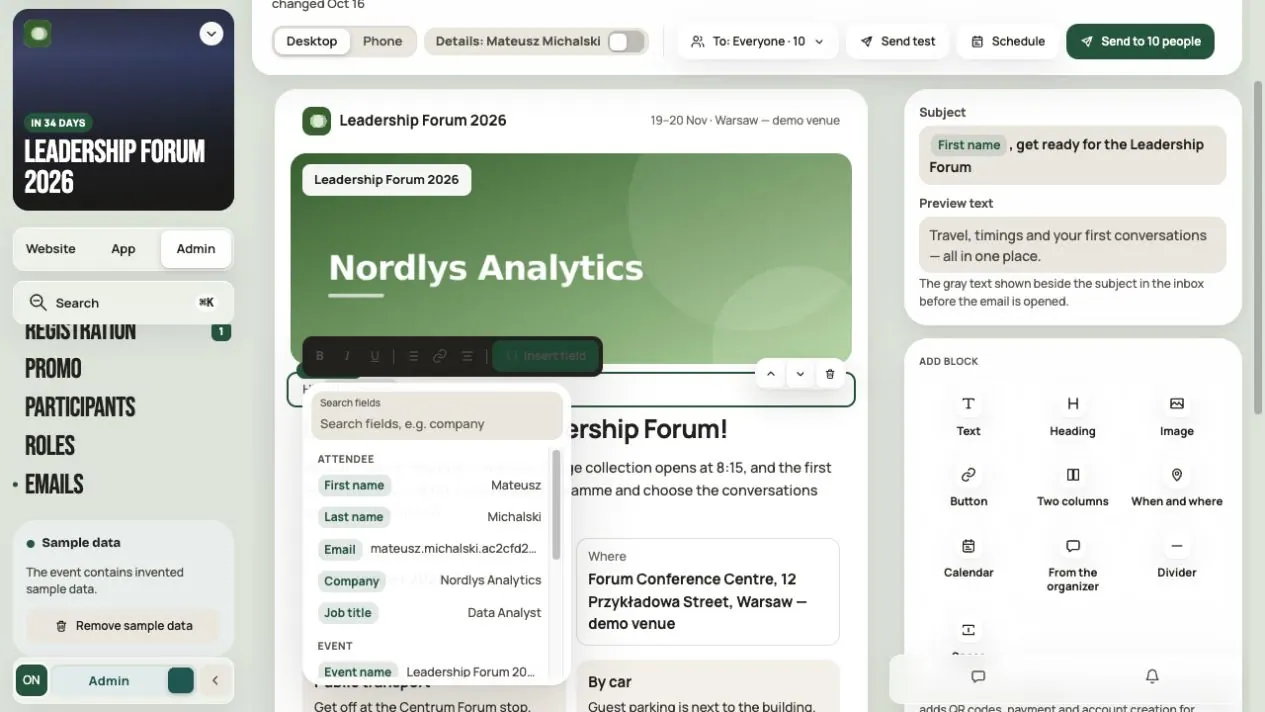
Insert field adds the person's or event's details, for example first name, company, event name or app link. Company or job title may be empty, so a simple “Hi [First name]!” is safest.
Don't put important times and instructions only in an image. Some inboxes hide images.
Prepare PL and EN
When the event has a second content language, the editor shows PL / EN tabs. Each version has its own working name, subject, preview text and complete block content. Complete both before sending; saving preserves the prepared texts together. Sending settings remain shared. Changing the interface language does not translate an email.
People with an account receive mail in their account language. A contact without an active, confirmed account uses the event's primary language. If a second version is hidden or its text is missing, the primary text is used; the message frame can remain in the recipient's language. Unchanged Hi Events system templates have their own PL/EN defaults.
The editor test checks the active version. Test PL and EN separately. A scheduled send retains its versions even if you later hide the event's second language.
Step 4. Choose the recipients
There are two levels:
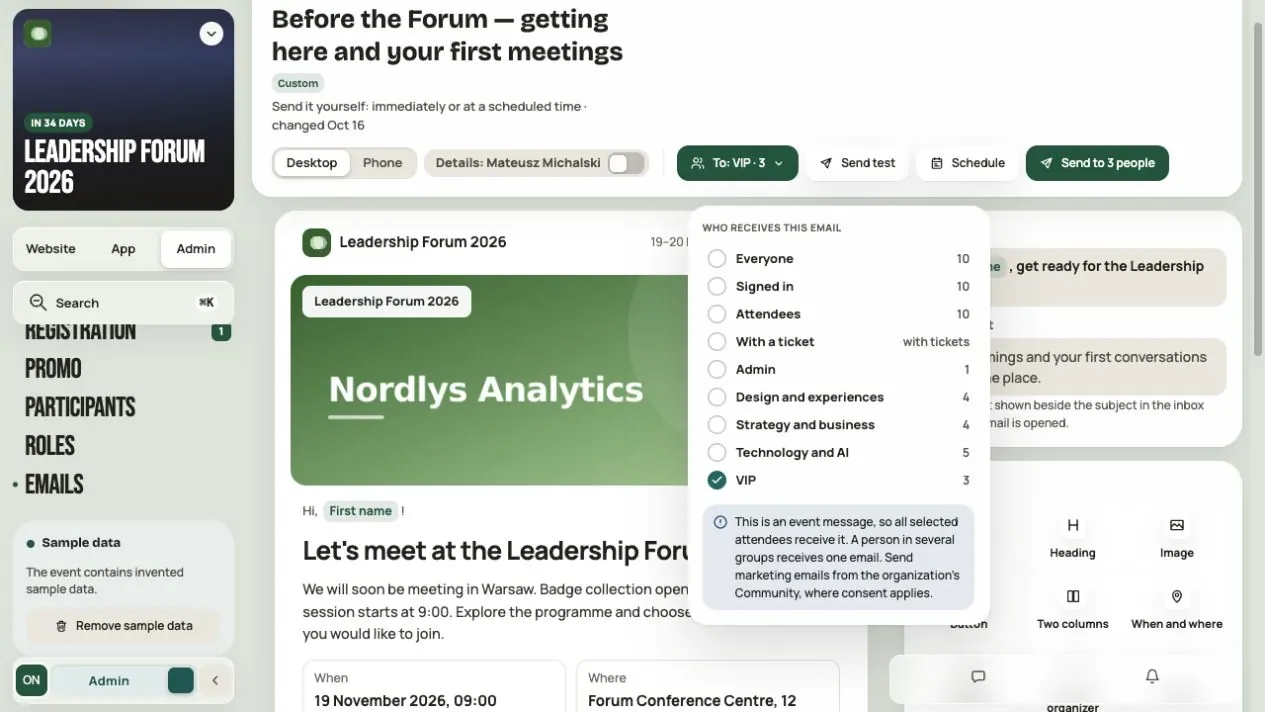
- The To: … button picks the groups that receive the whole email.
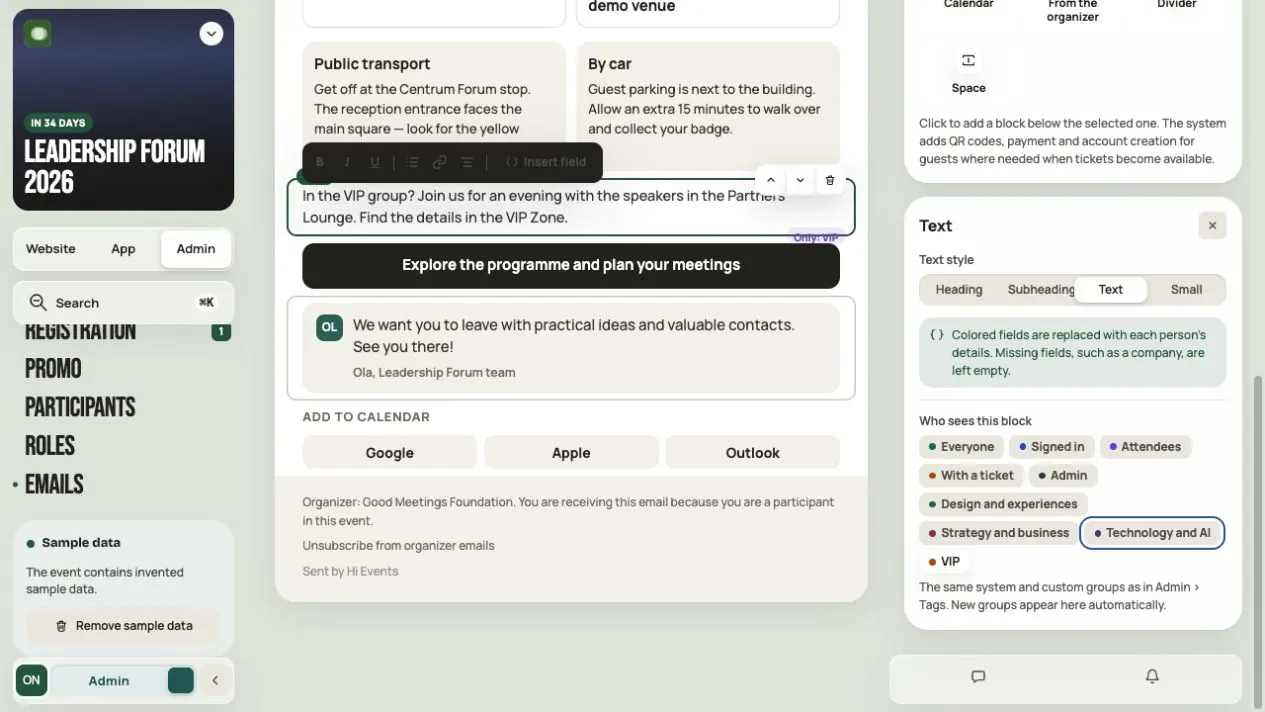
- Who sees this block (in the block settings) shows one part only to selected groups.
Example: the travel email goes to everyone, but only the VIP group sees the paragraph about dinner with the speakers.
A person in several groups gets one email, not several.
Step 5. Check the preview and send a test
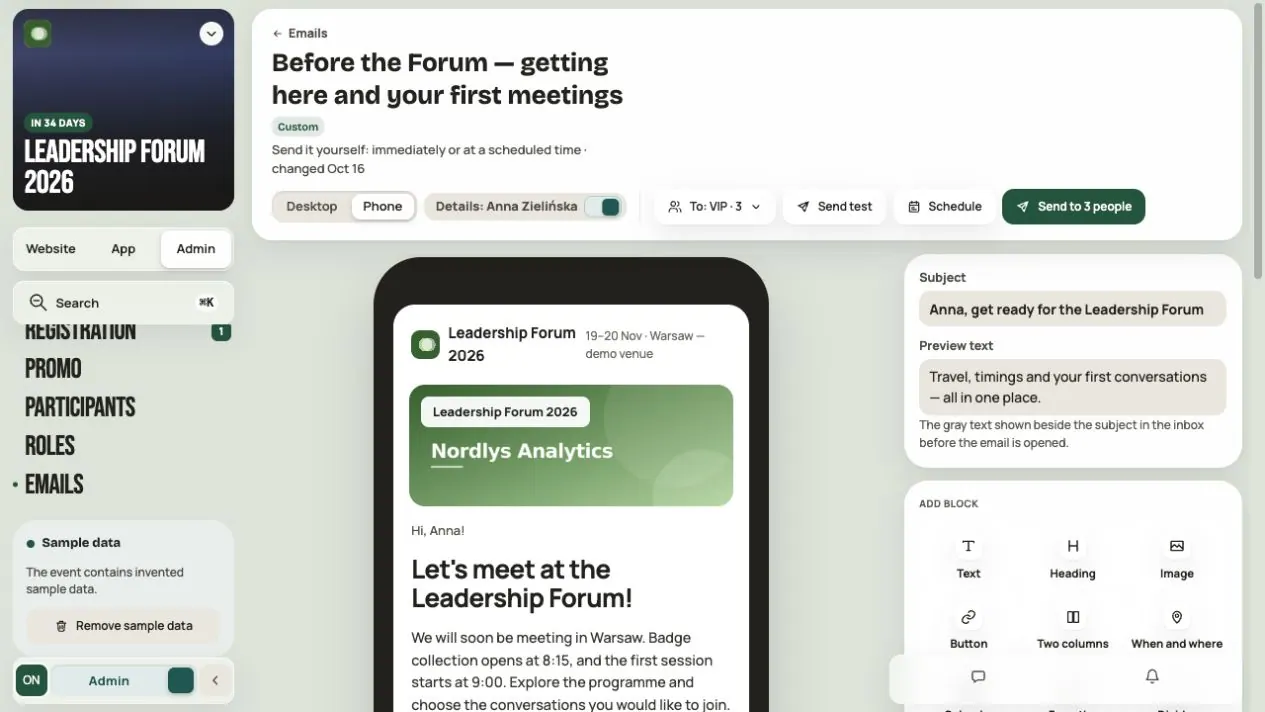
- Turn on Preview with the person's details instead of fields. Check the email for someone in VIP and someone outside it.
- Switch between Desktop and Phone.
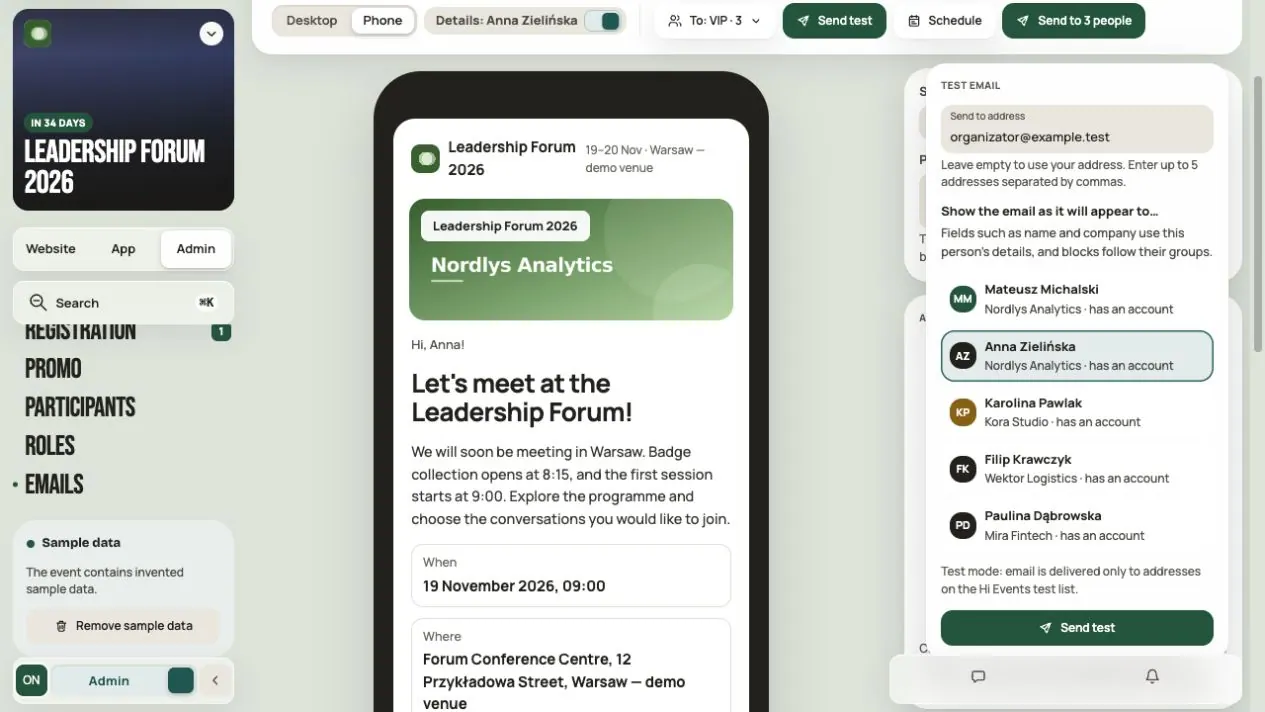
- Click Send test. Enter up to 5 addresses or leave it empty to send to your own address.
- In Show the email as it will appear to…, choose whose details the test uses.
The test goes only to the addresses you entered. The subject starts with [TEST]. Send a new test after every content change.
Step 6. Send or schedule
Check the recipients and click Send to… or Schedule. Sending can't be undone.
A scheduled email keeps the version from the moment you scheduled it. To change something, cancel the scheduled send and schedule it again.
With Each person receives this email only once enabled, another send skips addresses already included in an earlier send of this email. This is a setting, rather than a rule for every message. For a reminder, creating a separate email is the simplest approach.
Step 7. Check the history
In Delivery history you see the date, subject, number of recipients and result. If something went wrong, start here before sending the email again.
Addresses we do not send to include unsubscribed or blocked addresses. Custom sends also check current consent for organizer messages. A ticket, VIP group or event account does not replace that consent.
A delivery status does not prove reading. If the result is unknown, check the history and use the panel's retry of the same attempt before starting a new send.
Before you send
- The sender name is recognizable and someone reads the replies.
- Subject and preview text are about one thing.
- The event details are up to date.
- The email's recipients and block visibility are set.
- The test is checked on phone and desktop.
- There's room in the monthly limit for this send.
Frequently asked questions
The group has 10 people but fewer emails went out. Why?
The group count isn't a delivery report. Someone may have already received this email, unsubscribed or have an address that doesn't work. In test mode, emails reach only addresses on the test list. Check Delivery history.
Can I send from my own domain?
No. Emails go out from konto@hievents.com. You can set the sender name and the reply address.
Does a VIP paragraph limit the whole email?
No, only that block. You direct the whole email to groups with the To: … button.
Can I turn on an automatic reminder the day before?
If the email says “New, available with…”, that feature doesn't work yet. Write your own email and schedule it.
Will an edit change a scheduled email?
No. Cancel the scheduled send and schedule the corrected version.
Read on
All articles →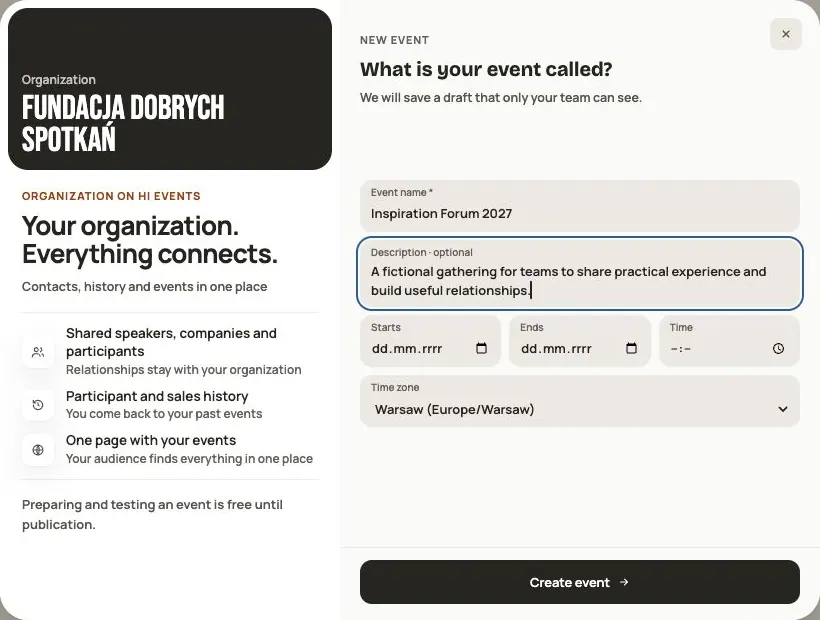 Help
Your first event, step by step
From draft to publication: name and dates, consents, tickets, content, modules, credits and the „Publish event” button.
 Help
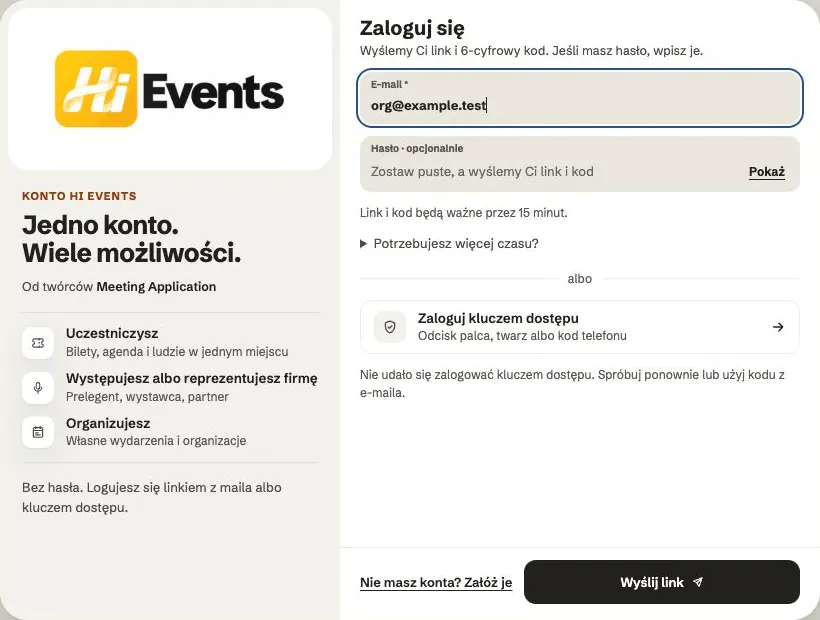
Signing in: link, code, password and passkey
Four ways to sign in to Hi Events, how to set or change your password, and how to sign in with your fingerprint.
 Help
Photos and files: formats and limits
Which photos you can add, how big they can be, and what to do when a file won't upload.