
Map — show rooms, stands and useful places
Upload floor plans, connect Agenda rooms and Business Hub companies, and prepare “You are here” QR codes.

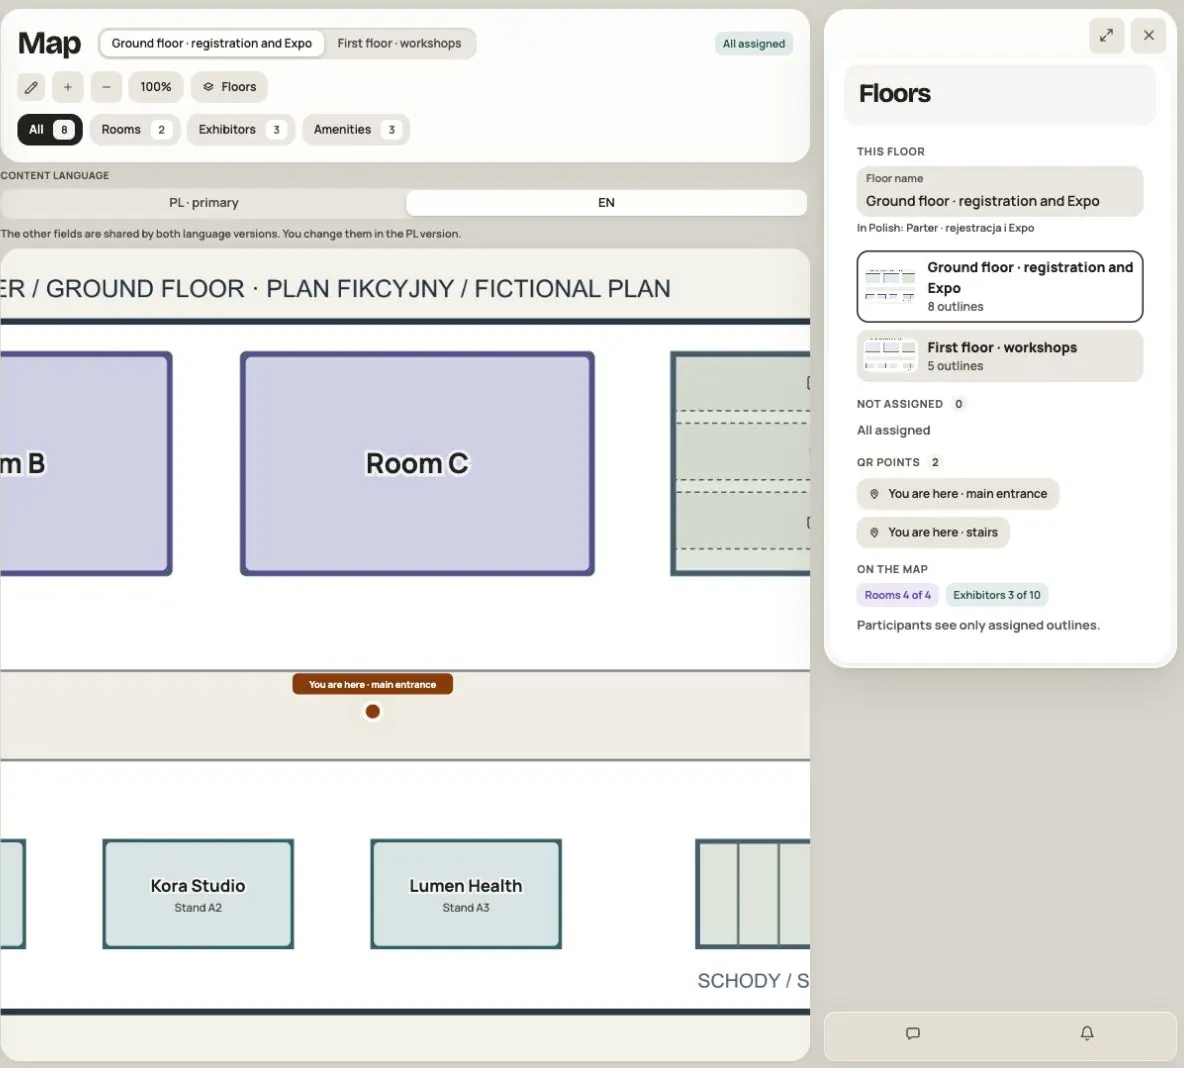
Map helps participants find a room, an exhibitor stand, registration or coffee. Upload a venue plan, mark places and connect them to event data. You do not need to copy the program or company profiles.
This guide is for event administrators and managers. Viewing the map requires signing in and access to the Map module. A QR code does not bypass these rules.
Step 1. Prepare the data and access
- Prepare rooms in Agenda and assign sessions to them. You can also add a missing room in Admin → Tags.
- Add companies to Business Hub. One company can have several stands on the map.
- Enable Map in Admin → Modules and visibility and choose its audience.
- Open App → Map and turn on Admin mode.
Map access and Agenda or Business Hub access are separate settings. Check them for the same groups so participants can move from a place to the right session or company.
Step 2. Upload the first floor plan
Click Upload plan and choose PNG, JPG or WebP. Use a clear plan with walls and no unnecessary annotations. PDF is not a supported plan format — prepare an image of it.
The browser prepares the image before uploading. The stored plan has 400–4000 px on each side and is up to 5 MB. An extremely narrow, long or damaged image may fail to upload. Choose another image if this happens.
Wait for the upload to finish. In Floors, enter a Floor name, such as “Ground floor”. The name can have up to 60 characters.
Step 3. Add other floors
Click Add floor, name it and upload its own plan. Use the tabs above the map to switch floors. Floors opens the plan list and settings for the selected floor.
You can prepare up to 20 floors. Each has its own plan. After using Change plan, check that existing markers still match the new image.
Step 4. Outline a room and connect it to Agenda
- Select Rectangle or Circle.
- Drag across the plan to draw an outline around the place.
- Under What is it, choose Room.
- Select the correct Room from the agenda.
- Click Done to close the panel and wait for Saved.
The room’s name and program come from Agenda. If it is missing from the list, add it in Agenda or Tags. Text drawn on the plan does not replace this assignment or connect the place to sessions.
A Not assigned outline is a working item and is not shown to participants as a place they can open. The counter at the top and the list under Floors help you find these outlines.
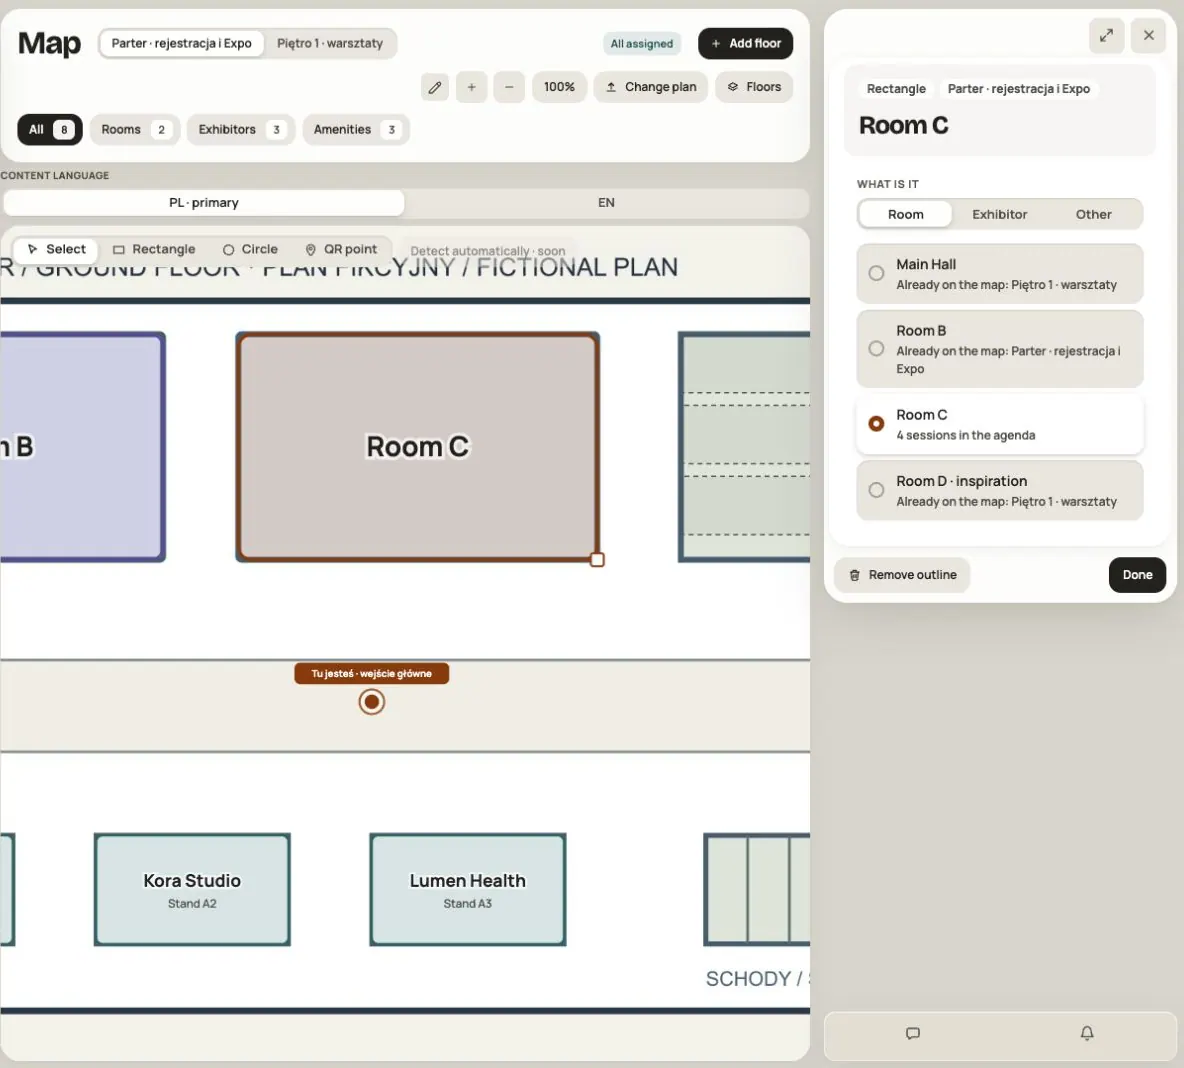
Detect automatically · soon is an inactive preview of a future feature. Draw outlines manually.
Step 5. Mark exhibitor stands
Draw an outline, choose Exhibitor, then select a company from Business Hub. Use search for a longer list. Enter a Stand number, such as “A12” — up to 12 characters.
For another stand belonging to the same company, draw another outline and select the same company. Give stands different numbers so they are easy to distinguish. Do not create another company profile.
Opening a stand shows the company card. Every additional outline for that company leads to the same profile. Company details, materials and available actions come from Business Hub; they depend on the viewer’s access and enabled event features.
Step 6. Add amenities
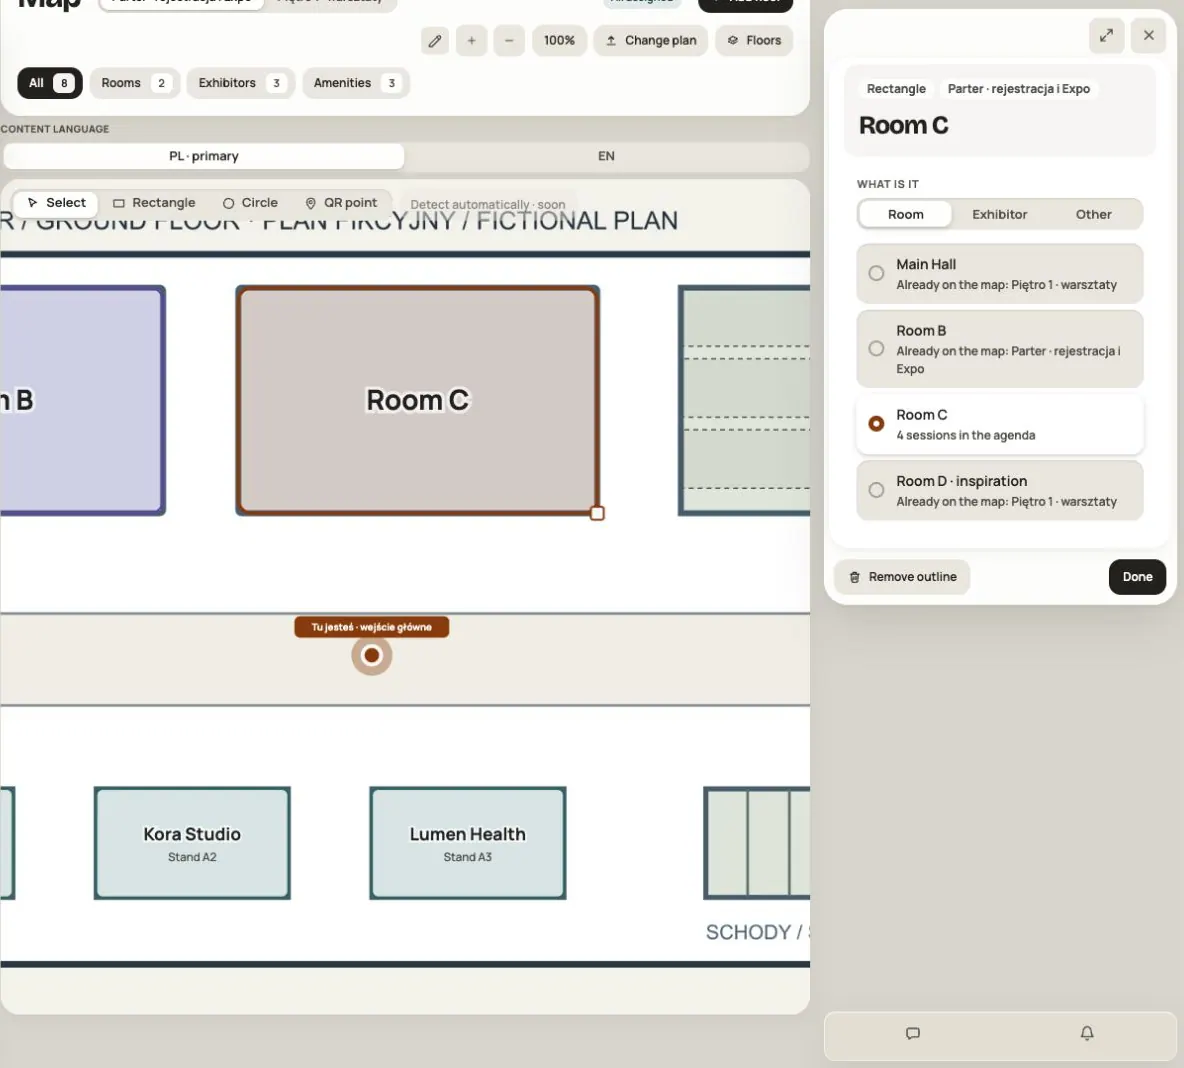
Draw an outline, choose Other, then select the Kind of place. Options are toilets, cloakroom, entrance, emergency exit, registration, information, food, coffee, bar, first aid, phone charging and a photo wall.
These do not need their own Agenda rooms or Business Hub companies. Amenity labels are built in and follow the interface language.
Use Select to choose an existing outline. Drag it to move it or use its handle to resize it. Dragging an empty part of the plan moves the view. You can also zoom in, zoom out or fit the plan to the window.
Step 7. Prepare “You are here” QR points
A QR point corresponds to the spot where you will hang a printed code, such as registration or a floor entrance.
- Select the QR point tool.
- Click the exact spot on the plan where the sheet will hang.
- Enter a Point name, such as “By registration” — up to 60 characters.
- Wait for Saved. The code appears after the point is saved.
- Click Print A4 sheet. In the print dialog, print the sheet or save it as PDF.
- Hang it at the marked spot and test the code with a phone.
The sheet contains the event name, point name, a large code and instructions in the event’s colors. You can add up to 50 QR points across the map.
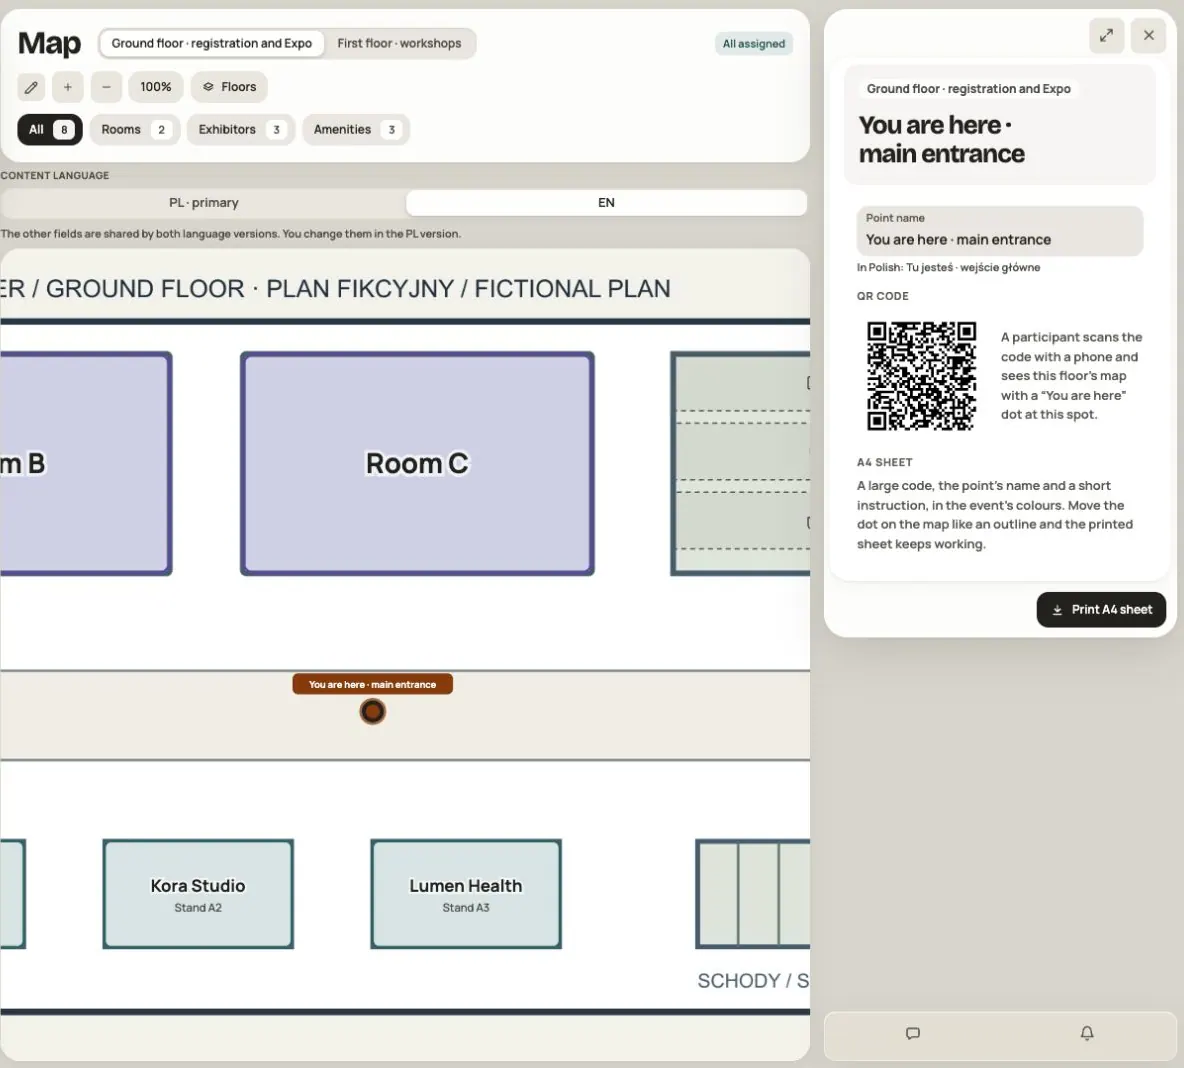
Scanning opens the correct floor with a You are here dot. Someone without an active sign-in goes through sign-in first. Access to the event and module is still required.
The dot marks the printed sheet’s location; it does not track the phone’s movement. Once you leave the sheet, do not treat it as a current GPS position. Map does not calculate routes between rooms.
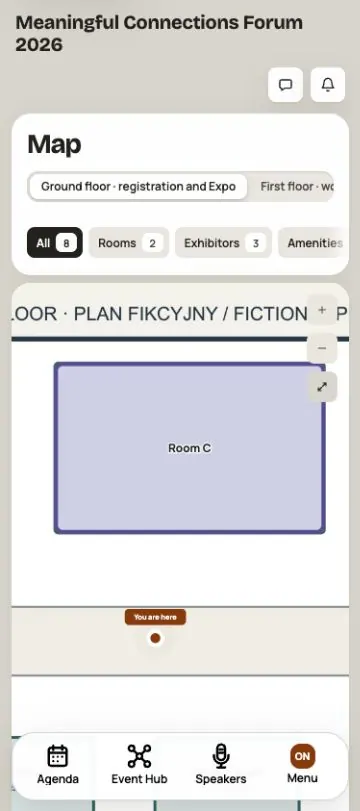
Moving or renaming the same point keeps the printed code working. Deleting the point makes its old code open the map without the dot. If you move a sheet, update its existing point on the plan instead of creating a new one unnecessarily.
Step 8. Complete names in a second language
If the event has a second language, switch its language tab and enter floor and QR point names. When a translation is missing, participants may see a name from an available language. Names are not translated automatically.
Plans, outlines, assignments, stand numbers and point positions are shared. Change these on the primary-language tab. You can still browse the plan and select places in the second language, but you do not draw another map.
Edit room names in Agenda or Tags, and company names and descriptions in Business Hub.
Step 9. Wait for the save and check the participant view
Map saves changes automatically. Done closes a place’s panel; Saved confirms the save. There is no separate map publication button. Saved changes update its available view.
Use Try again if saving fails. If the map changed in another window, your edits remain in the form; retry reconciles them with the current version. Keep the tab open until the save is confirmed.
Turn off Admin mode and check:
- Floor tabs open the right plans, and All, Rooms, Exhibitors and Amenities help select places.
- A room opens its program under Now, Next and Earlier. Before the event, future sessions appear. Show in the agenda leads to the program.
- Each stand opens the correct company, including when it has several stands.
- Show on the map works in session details and beside a company in the app when its place is assigned and the viewer has Map access.
- On a phone, you can pan with one finger and zoom with two, and place cards open in a convenient window.
- Every QR code opens the correct floor and point.
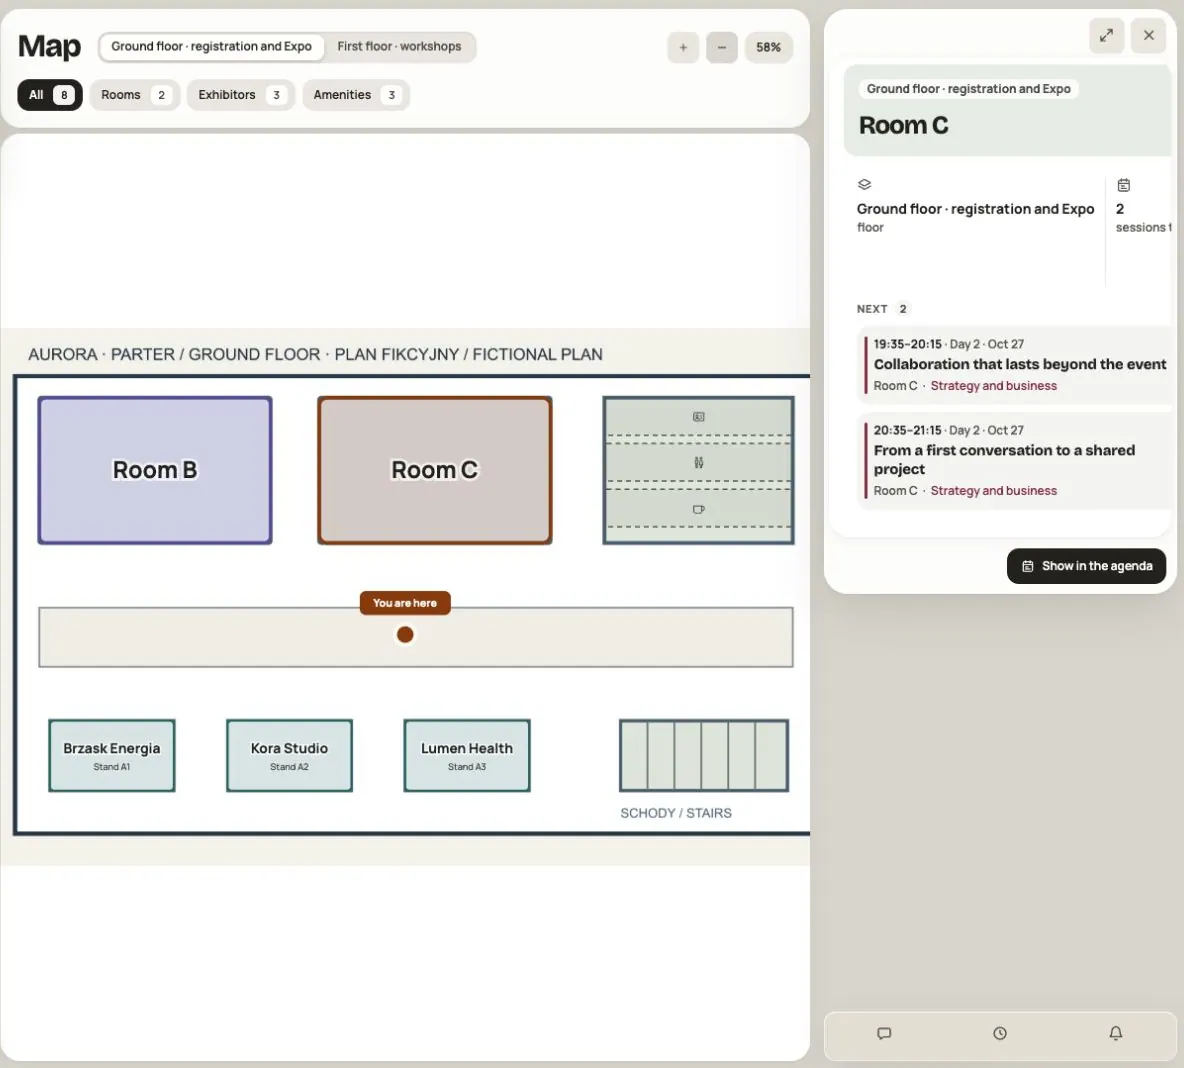
The plan image is shared by people with Map access. Restricting a session or company does not remove text you put on that image. Keep information intended only for another group off the plan.
Changing and deleting places
Remove outline only removes the map marker. The room, sessions and company stay in the event. Deleting a floor removes its plan, outlines and QR points; first check whether printed sheets are already in use. The panel does not let you delete the last floor.
The whole map can contain up to 2000 outlines. Near the limit, remove unnecessary markers instead of making more versions of the same place.
Frequently asked questions
Why can’t I see drawing tools?
Turn on Admin mode and check your event management access. With two languages, choose the primary one. Shared elements are edited on its tab.
Why can’t a participant see an outline?
Check that it has a room, company or amenity assigned and that saving is confirmed. Then check the floor, Map access and access to the linked module. Not assigned remains a working marker.
Why is “Show on map” missing from a session?
The session needs a room, and that same room must be assigned to an outline. The viewer also needs access to Map. Check this in the app — the public session page does not have this button.
Do I need a map for each session?
No. Connect the outline to a room. Its available sessions appear on the room card based on Agenda.
Is the venue map the same as “Map” in the website editor?
No. The website section shows an address, an image and a link, such as directions to the event. The app’s Map module has floors, interactive places and QR points.
Does a QR code open the map for everyone?
No. It leads to a point in the app and keeps sign-in, event access and module access requirements. Test it with a participant account in the correct group.
Can I prepare a map before making the module available?
The team can edit a map even while the module is disabled. Participants see it only once the module is enabled and they have access. Enabling Map does not publish the whole event.
Read on
All articles →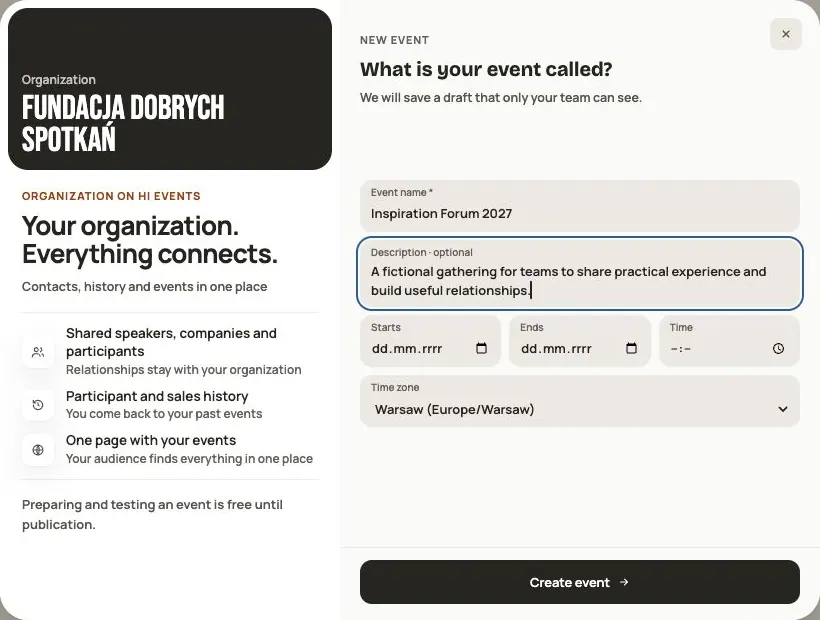 Help
Your first event, step by step
From draft to publication: name and dates, consents, tickets, content, modules, credits and the „Publish event” button.
 Help
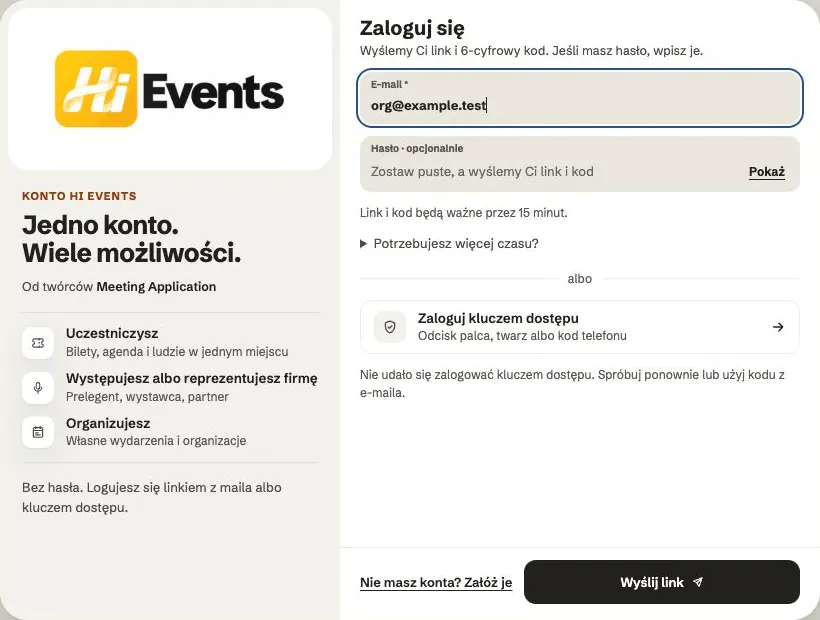
Signing in: link, code, password and passkey
Four ways to sign in to Hi Events, how to set or change your password, and how to sign in with your fingerprint.
 Help
Photos and files: formats and limits
Which photos you can add, how big they can be, and what to do when a file won't upload.