
News — your event’s articles
Write articles for everyone or for chosen groups, show them in the app and on the event website, and track views.
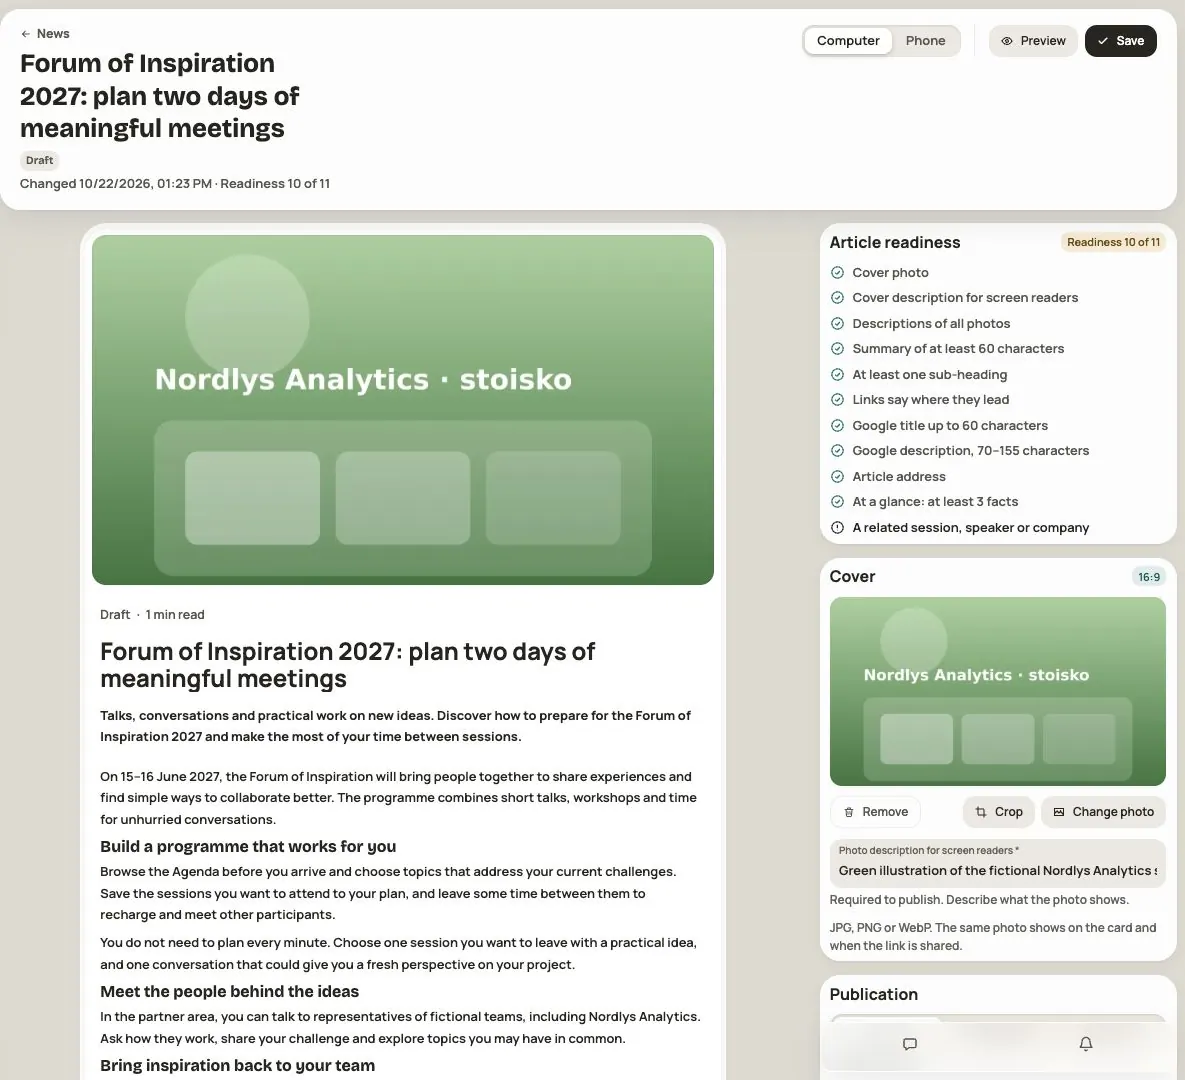
The News module is your event's blog. You write articles in the app and show them in the event app, on the event website, or in both. An article can be for everyone or only for chosen groups, for example exhibitors or VIPs.
What it costs
Check the current price and your plan’s discount in Admin → Module purchases before purchasing.
You buy it in Admin → Module purchases. In a draft event you can test the module with your team without a licence. Check the module’s access and any licence end date in the purchase summary. Purchasing and sharing with participants in Admin → Modules and visibility are separate steps.
Step 1. Write an article
- Open the event app, turn on Admin mode and go to News.
- Click New article.
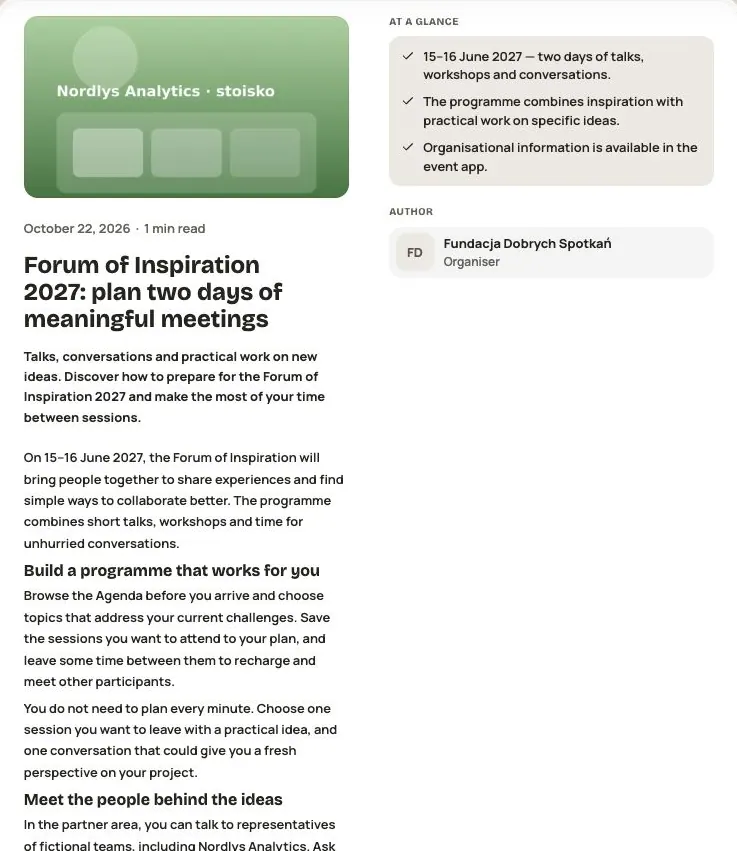
- Enter a title (up to 160 characters) and a lead, two or three sentences that make people want to read on (up to 400 characters).
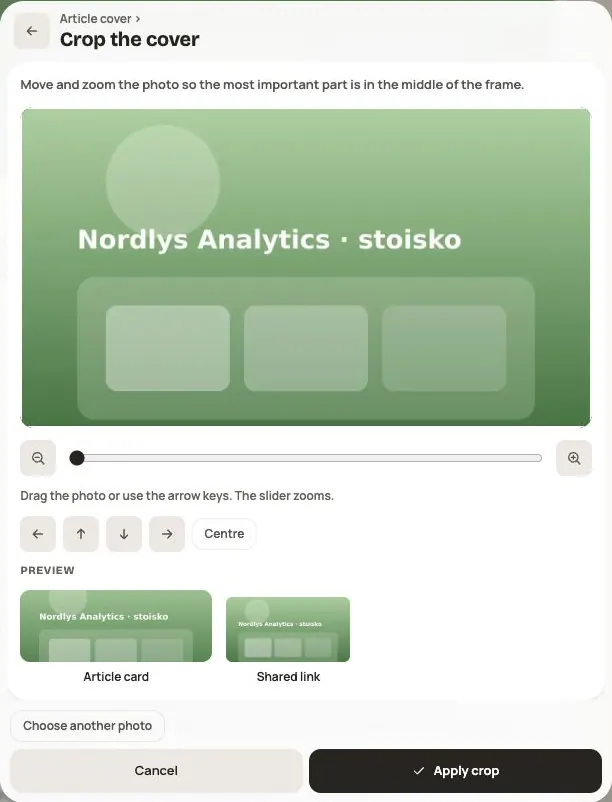
- Add a cover (JPG, PNG or WebP, 16:9). You can crop it. The same photo shows on the article card and when the link is shared.
- Build the text from blocks: Paragraph, Photo, Gallery (up to 12 photos) and Quote. Make a subheading with the H2 button in the bar above the text.
Below the text you can also add:
- At a glance: 3 to 8 short facts,
- Questions (FAQ): up to 10 questions with answers,
- Related: up to 6 sessions, speakers or companies from the event,
- Button under the article: „Buy a ticket” or your own link (a full http:// or https:// address, without a username or password),
- Author: the organizer or a speaker.
Click Preview to see the article on a computer and on a phone.
Prepare PL and EN versions
If a second content language is available for editing in the event, choose Content language → PL / EN. Supply the title, lead, body, photo captions and descriptions, facts, FAQ and button label in each version. The primary language is required. Missing secondary text may appear in the primary language.
Photos, block order, related items, article address, audience and publication time are shared. Changing the image or structure affects both versions. Changing the account language does not translate the article.
Check both versions before publishing. A language hidden in the event remains unavailable to readers even if its text is ready.
Step 2. Choose who reads it and where
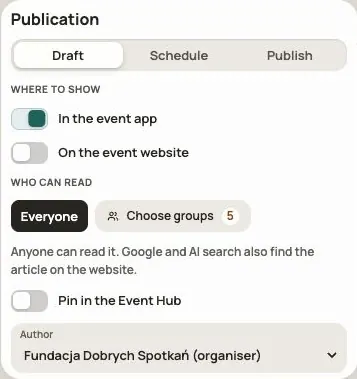
Who can read:
- Everyone: anyone can read the article, and Google and AI search engines can find the one on the event website.
- Chosen groups: only people in at least one of the chosen groups see the article. On the event website such an article requires signing in and isn't shown in Google.
Where to show:
- On the event website: the article gets its own page. On the home page you show the list of articles with the „News” block in the website editor.
- In the event app.
- Pin in the Event Hub: the article appears pinned on the Event Hub Board. This option needs „In the event app” turned on.
Step 3. Check readiness and publish
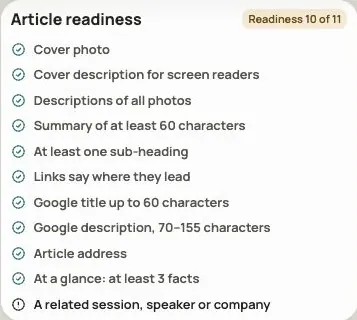
The Article readiness panel tells you what is still worth fixing. Three items are required; without them you can't publish:
- a description of the cover for screen readers,
- descriptions of all photos,
- the article's address (an empty field makes one from the title).
The other items are tips: a lead of at least 60 characters, a subheading, links that say where they go, at least 3 „At a glance” facts, and a related session, speaker or company. An article for „Everyone” also gets a Google title (up to 60 characters) and a Google description (70–155 characters).
Under Publication choose:
- Draft: only your team sees the article,
- Schedule: the article appears by itself at the chosen time, in the event's time zone,
- Publish: the article is visible right away.
The article list and views
In the article list you filter by status: published, scheduled, drafts. For each article you see where it is shown, its readiness, its views from the website and from the app separately, and button clicks under the article.
What participants see
Participants open News in the event app or on the event website and click Read. They can share an article with Share the article. If the article is for another group, they see a message that the organizer has limited access to it.
Frequently asked questions
Can I change an article after publishing?
Yes. Open it, make your changes and click Save. The changes are visible right away.
Can a deleted article be restored?
No. A deleted article disappears from the app and the website for good.
Can I write an article in English?
Yes. If EN is an event content language, complete it in the same article using PL / EN. You do not need a second article for a translation.
Someone changed the same article in another window
Read the message before loading the current version. Check the team’s changes before overwriting anything. If a save result is uncertain, check the article or use the offered retry first.
Read on
All articles →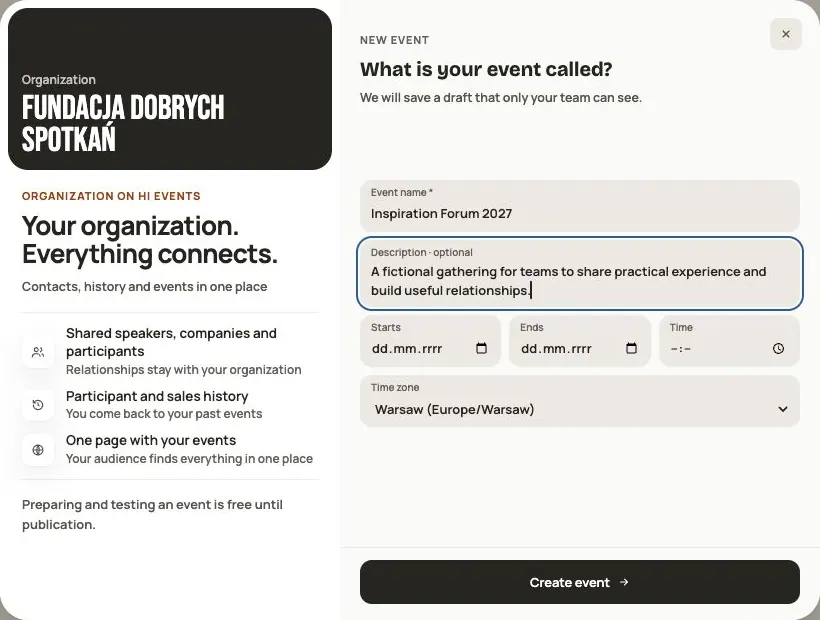 Help
Your first event, step by step
From draft to publication: name and dates, consents, tickets, content, modules, credits and the „Publish event” button.
 Help
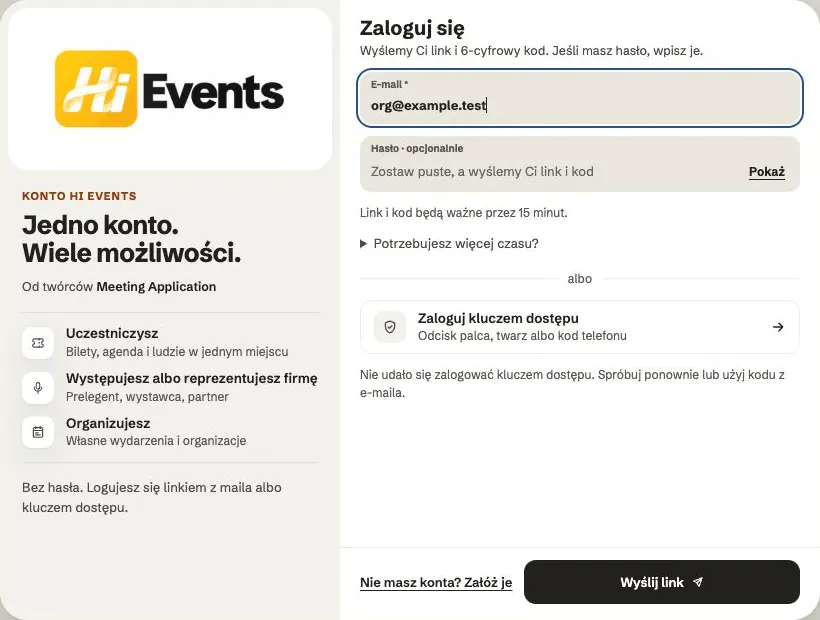
Signing in: link, code, password and passkey
Four ways to sign in to Hi Events, how to set or change your password, and how to sign in with your fingerprint.
 Help
Photos and files: formats and limits
Which photos you can add, how big they can be, and what to do when a file won't upload.