
Participants and groups — organize people and access
Invite people with a link, find them in the list, assign them to groups and decide what each group sees.

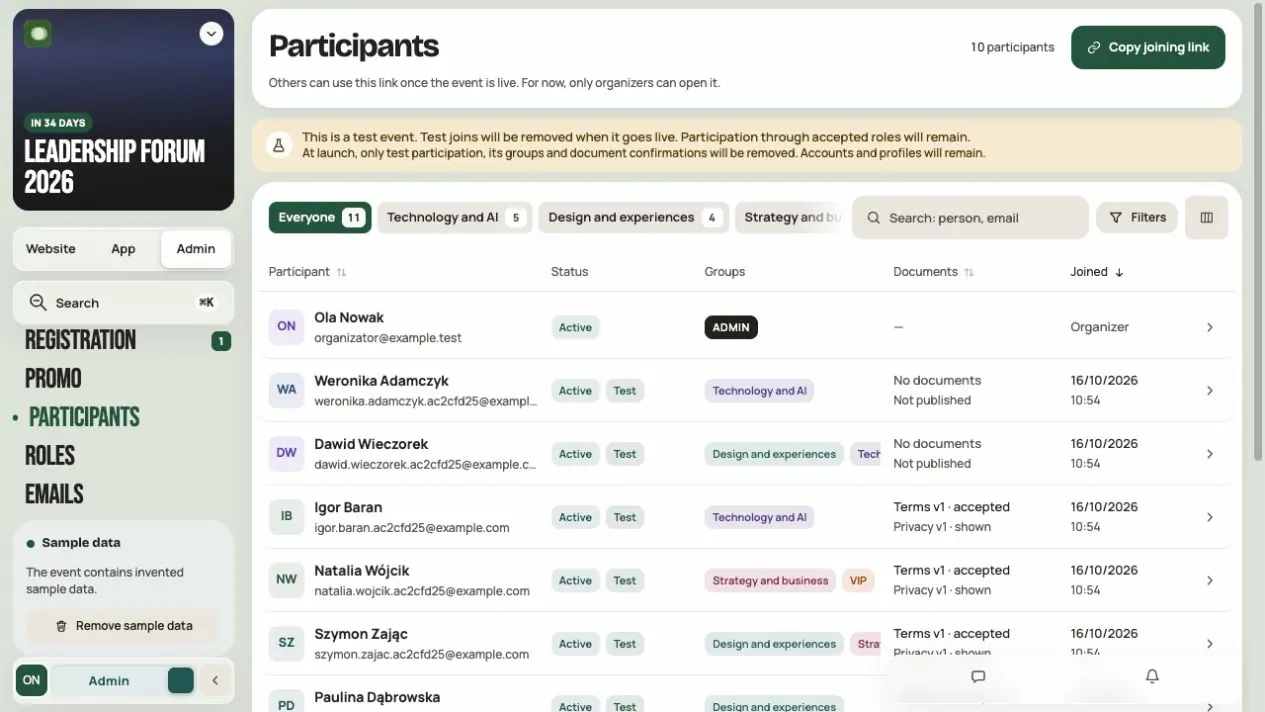
Here you check who joined the event, split people into groups and decide what content each group sees.
Two lists of people
| Where | What it is for |
|---|---|
| Admin → Participants | Managing participation: contact details, groups, documents. Organizers are listed here too. |
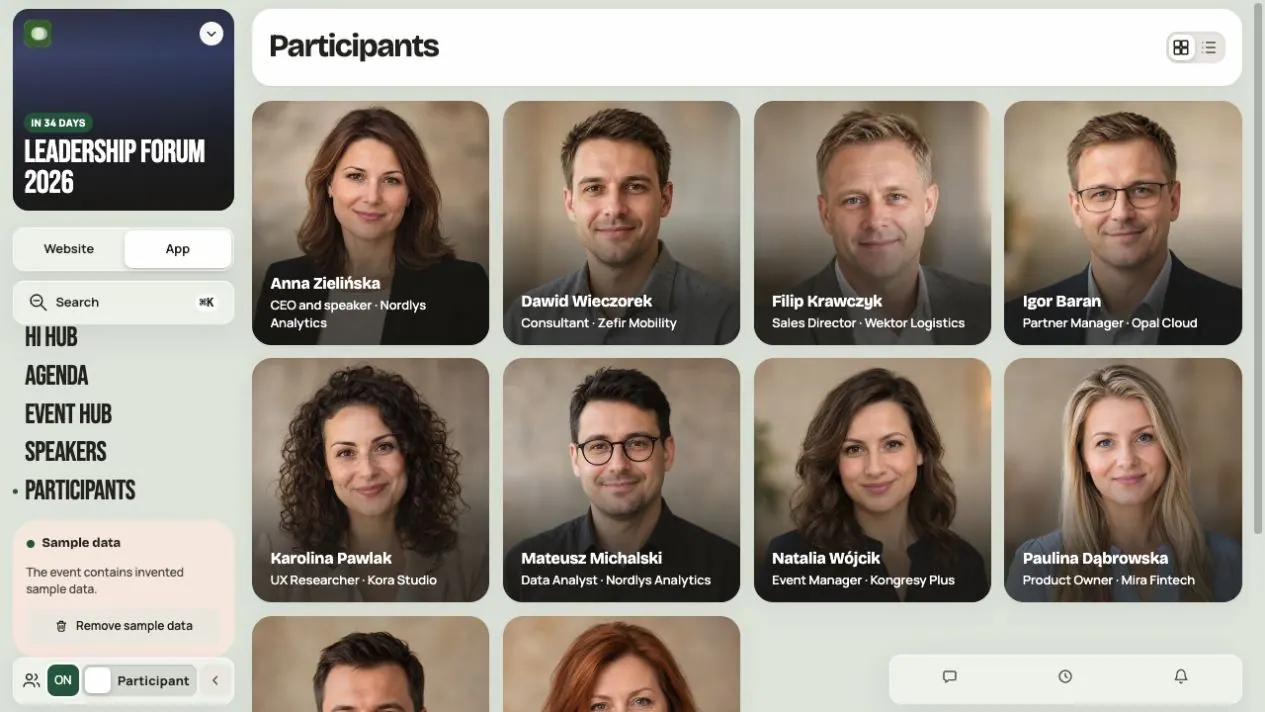
| App → Participants | The cards participants show to each other. |
A participant can take part in the event without showing their profile to others. That is why you usually see more people in Admin than in the app. The app list shows at most 2000 visible profiles and says when it reaches this limit.
Step 1. Invite people with a link
In Admin → Participants, click Copy joining link. Send it in a message or put it on the event website. The person opens the link, signs in or creates an account, checks the documents and confirms joining.
Before you send the link, check:
- Test version: only organizers can open the link. Others can use it once the event is Live.
- Registration is run by the organizer or closed: the link alone won't open registration.
- Event with tickets: set up Registration too. You check payments and orders in Admin → Registration, not in the participant list.
You get the person's first name, last name and email. You see the rest of the profile only if the person shares it.
Accepting a speaker or company manager role also creates participation, without an automatic ticket. Organizers can appear with the system Admin group even without joining through the button. This status comes from their permissions; you do not assign it manually.
New participation in Live events may use organization credits at the plan’s rate. Ticket charges and the organizer’s credit costs are separate. Check current terms in Registration and organization pricing.
Step 2. Find a person
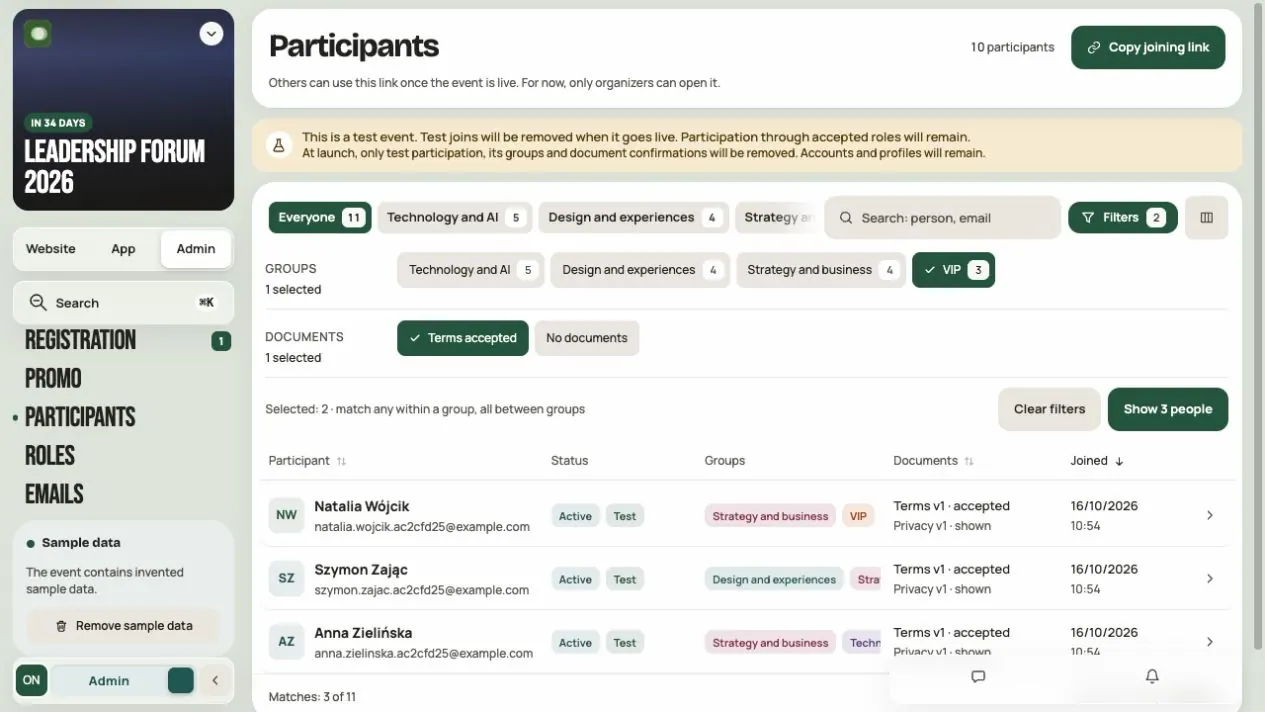
- Search: person, email – search by name or address.
- Columns – choose the available columns and their order. Restore defaults brings back the original layout. This changes your view; it does not add a custom field to participant profiles.
- Filters – combine groups and documents, for example VIP and Terms accepted.
Within one filter category, any condition is enough. Across categories, all of them must match. Example: VIP and terms accepted. Clear filters shows everyone again.
Step 3. Open a person's card
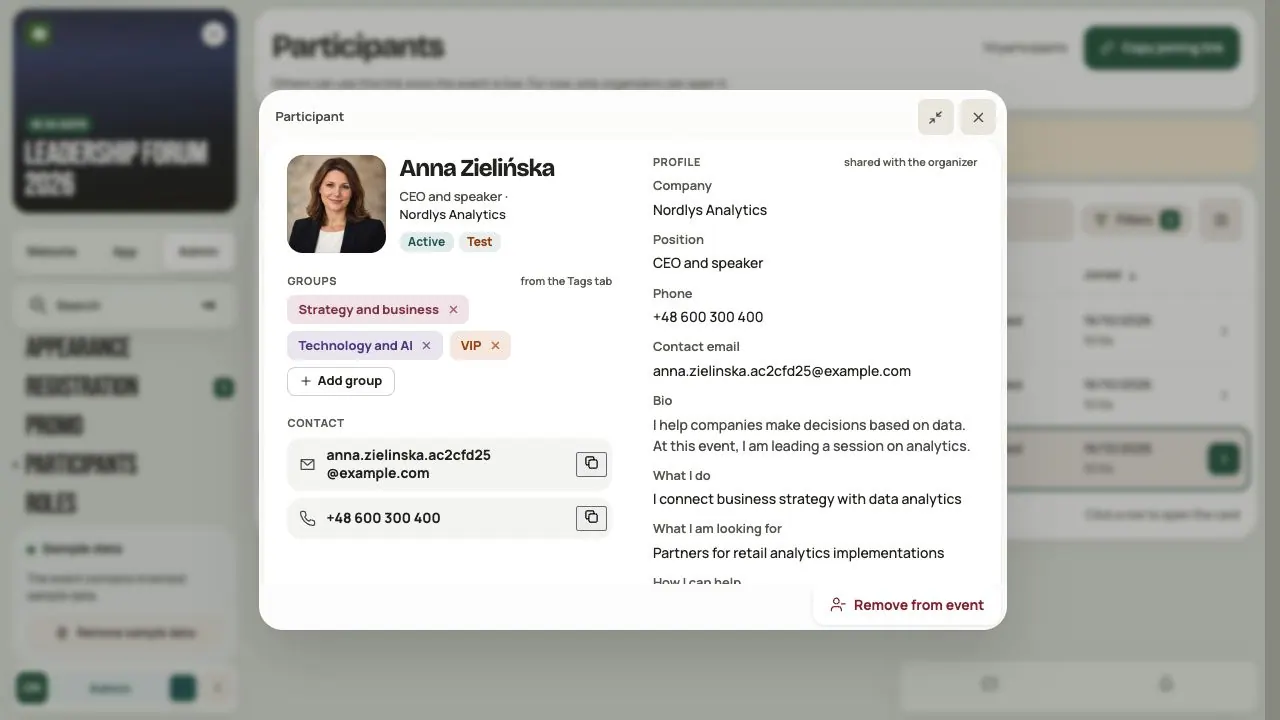
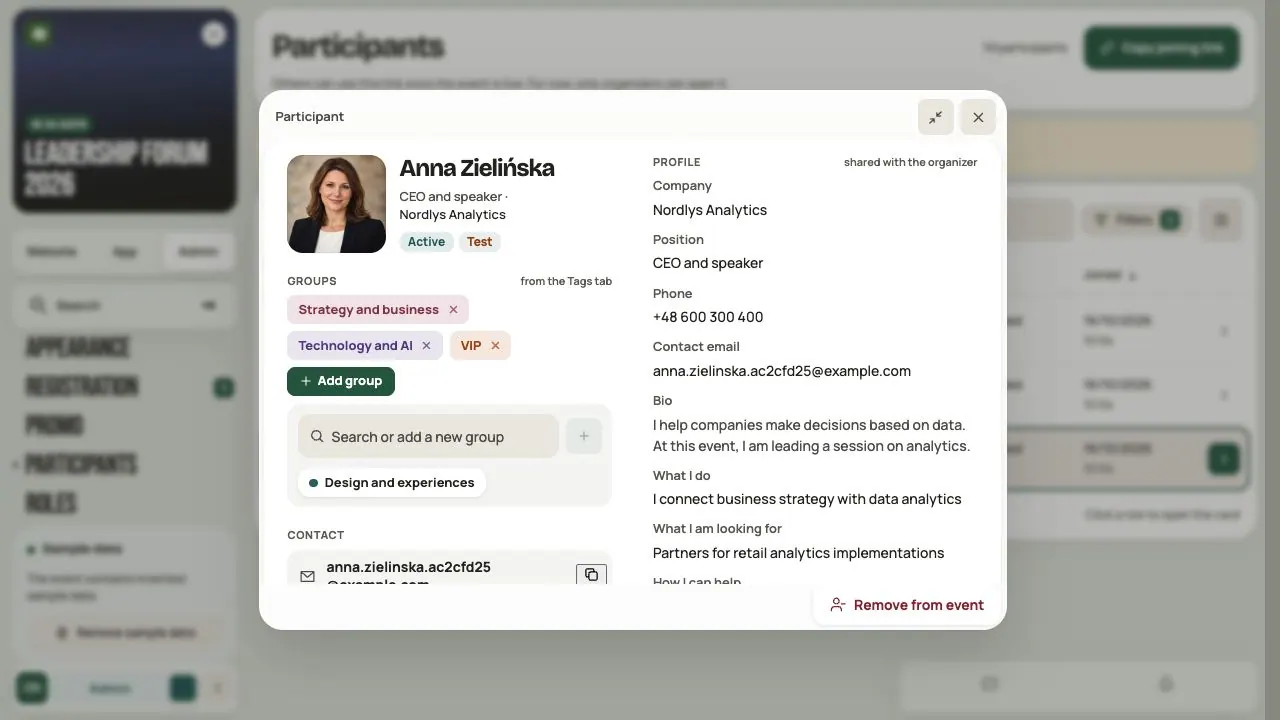
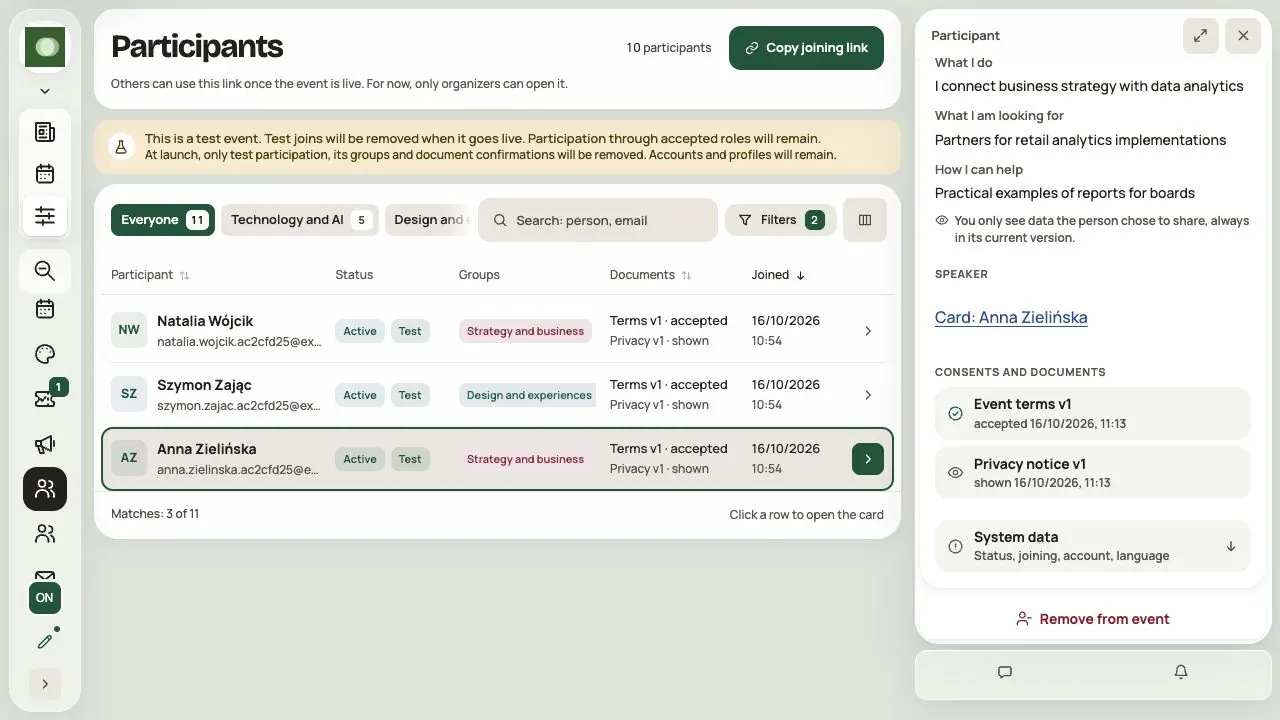
Click the row. The card shows groups, contact details, the profile the person shares and Consents and documents.
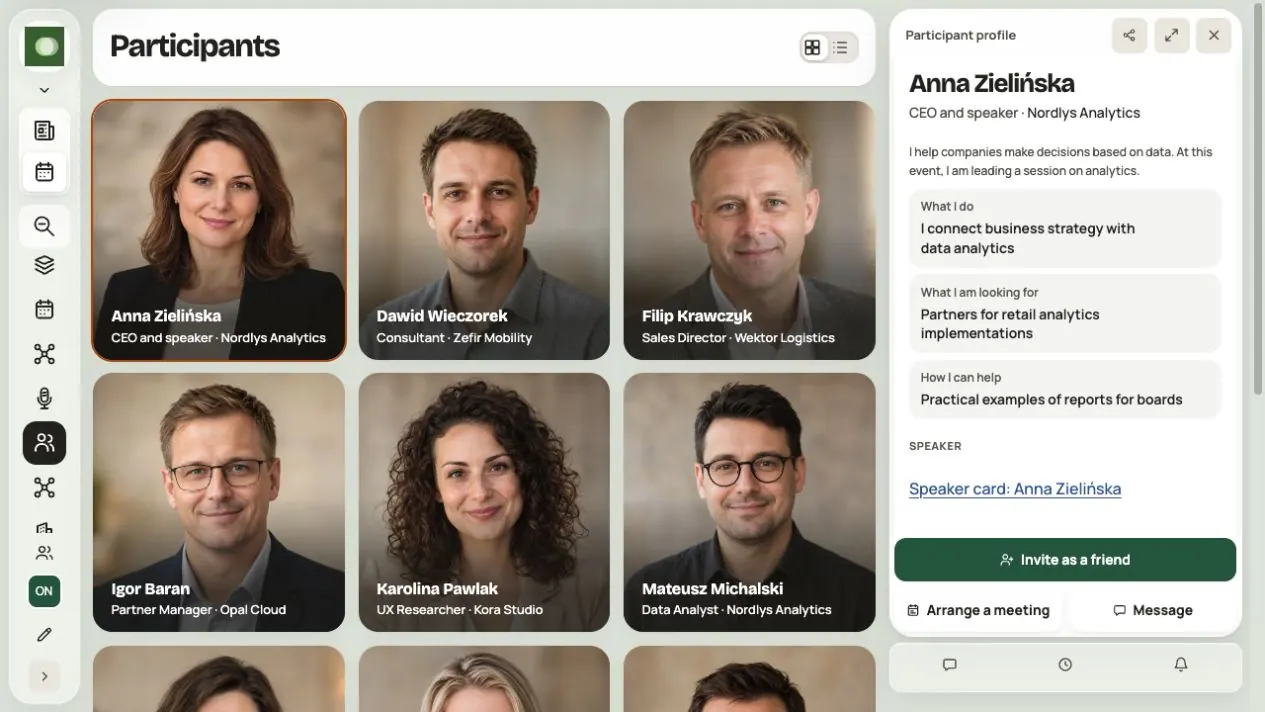
The profile can have What I do, What I am looking for and How I can help. The participant fills these in. You don't change their profile or turn on its visibility. If something is missing, ask the participant to complete it.
If the person has an accepted speaker role, the card links to their speaker card in this event. The link comes from their account and role, not a matching name.
Step 4. Create groups
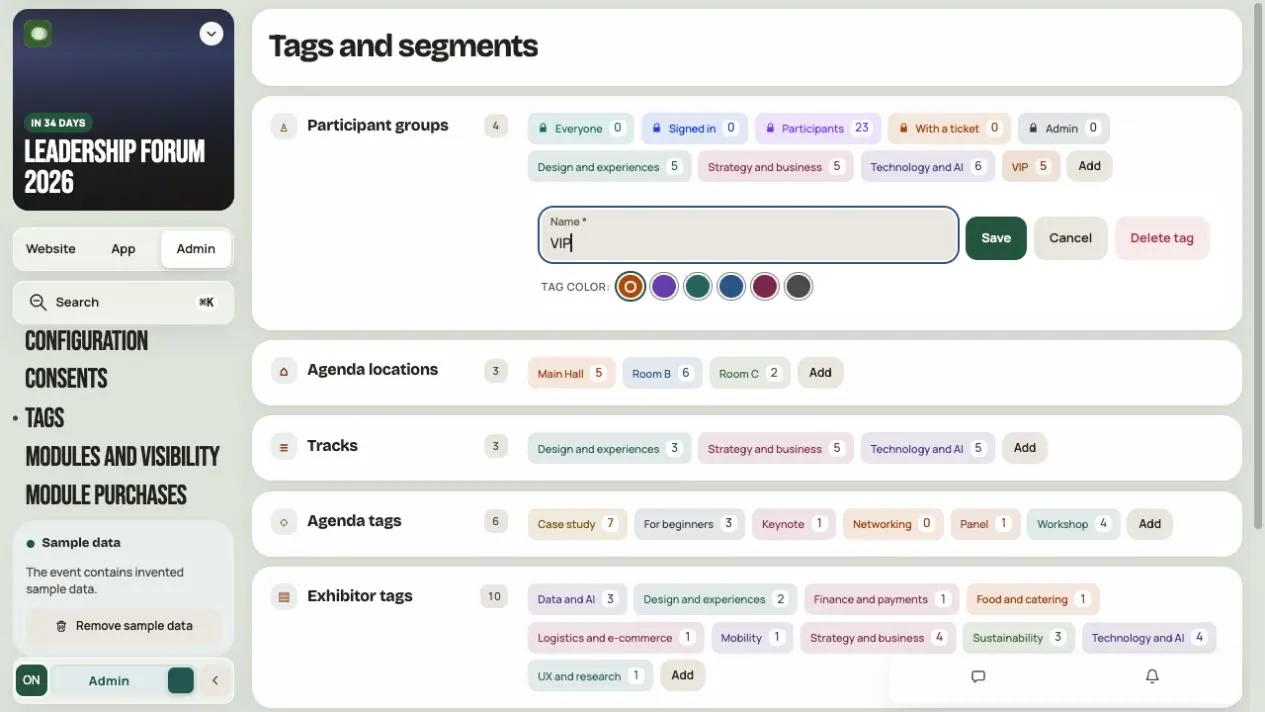
You create your own groups in Admin → Tags → Participant groups. Click Add, type a name, pick a color and save.
Example groups: VIP, Strategy and business, Technology and AI. Don't create a group for each person.
Participant groups and Agenda tracks are two separate catalogs. A “Technology” track doesn't add anyone to a group with the same name.
There are also system groups. You don't create them or assign them by hand:
| Group | Who belongs to it |
|---|---|
| Everyone | Everyone, including signed-out visitors |
| Signed in | People with a Hi Events account |
| Participants | People who joined the event |
| With a ticket | People with a ticket |
| Admin | Event managers |
Your own VIP group does not give administrator rights.
Step 5. Add a person to a group
- Open the person's card in Admin → Participants.
- In the groups section, pick a group from the list or type a new name and click +.
- The change is saved at once.
To remove a group, click × next to its name. If it was a mistake, click Undo. The group stays in the catalog; you only change this person's assignment.
Step 6. Decide what groups see
Adding someone to a group hides nothing by itself. You also choose the group in the visibility of a module or a specific item.
Example: Anna is in the VIP group.
- In Admin → Modules and visibility, you let the VIP group into the Agenda module and click Save settings.
- In the Agenda, you set a closed workshop for the VIP group only.
- You check the result with Preview as a group.
With several groups, belonging to one is enough. Modules with people's data (such as Participants) can be opened at most to the Participants group, never to everyone.
Step 7. Check the list in the app
Go to App → Participants and turn off Admin mode. You see the people who show their profile to others. Each participant decides which fields they share and whether they show their profile in this event at all.
In My profile, they edit their shared profile: photo, company, job title, bio, networking goals and contacts. Show me or Hide me controls the list in this particular event. Filling in a field does not share it with everyone. If the app asks them to confirm an expanded profile scope, they make that choice themselves.
If Networking is available and the organizer lets participants arrange meetings, another person’s card offers Arrange a meeting. Visible profiles and a prepared 1:1 round are required. After choosing a free time, the participant can add a message. The other person accepts the request in Hi Dock, or it is booked at once if they enabled automatic acceptance.
Step 8. Documents and removing someone from the event
In the documents column and in Consents and documents you see which version of a document the person accepted or was shown, and when. The terms record acceptance; the privacy policy records that it was shown. This concerns a specific version, not every future update. Check No documents in the card details; it can mean the person joined before publication. You publish documents in Admin → Consents.
To end someone's participation, click Remove from event and read the summary. Their participation and groups are removed. Their account and profile stay. You can't remove an organizer this way. Removing someone from the event does not refund their ticket or revoke a separately granted role. Recorded document confirmations are retained. The person can join again under the current registration rules — removal is not a permanent ban.
Before you open the event
- The joining link matches your registration rules.
- Groups have clear names and people are assigned to them.
- Access to modules and content is checked in the preview of each important group.
- Documents are published.
Frequently asked questions
Why are there more people in Admin than in the app?
Admin shows everyone who joined, including people who don't show their profile to others. It also lists organizers, but doesn't count them as participants.
Does the VIP group give access to the whole event?
No. A group gets only the modules and content you set for it. It gives no management rights.
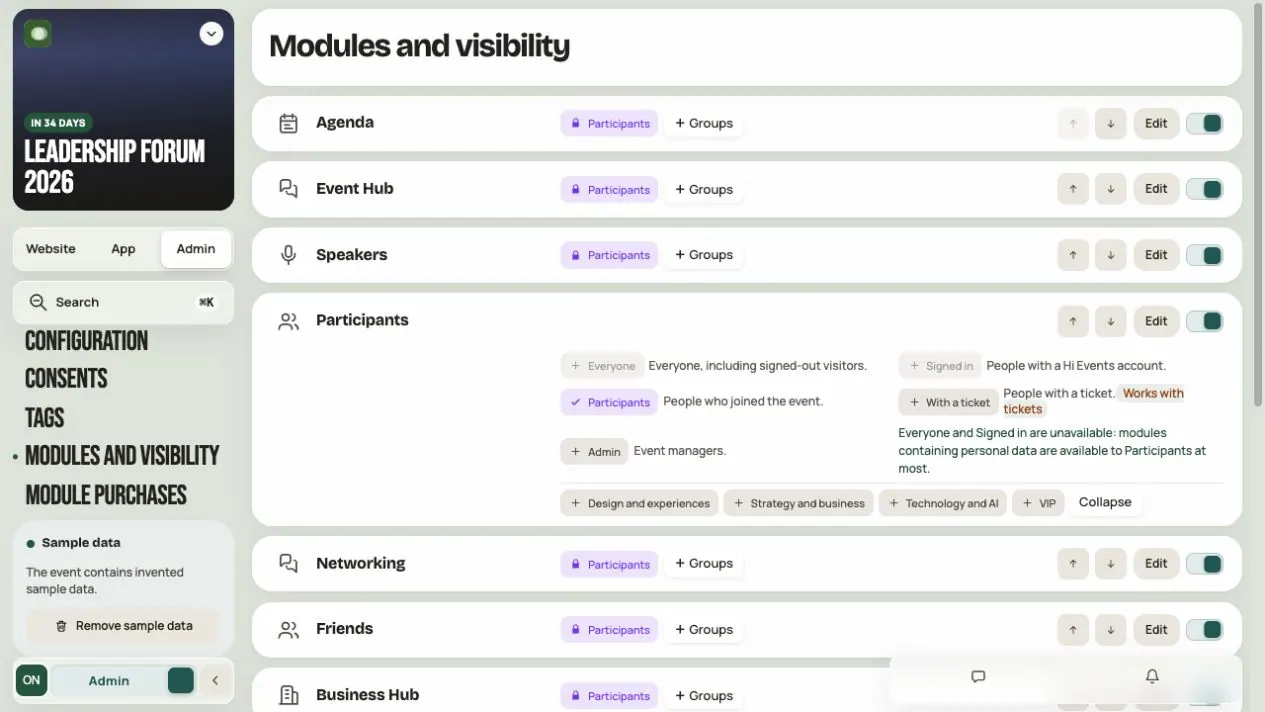
A VIP participant can't see the VIP workshop
Check three things: the person has the VIP group, the group has access to the Agenda, and the workshop is set for VIP. Also make sure the person uses the right account.
Can I complete a participant's profile for them?
No. The profile and the choice to show it belong to the participant.
Can I download the participant list to a file?
Not at the moment. There is no export of the participant list to a file.
Read on
All articles →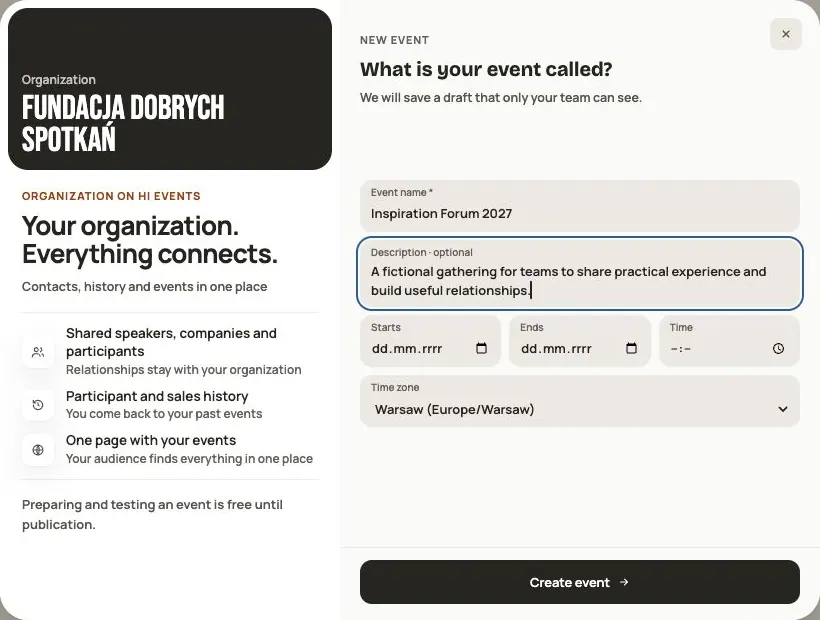 Help
Your first event, step by step
From draft to publication: name and dates, consents, tickets, content, modules, credits and the „Publish event” button.
 Help
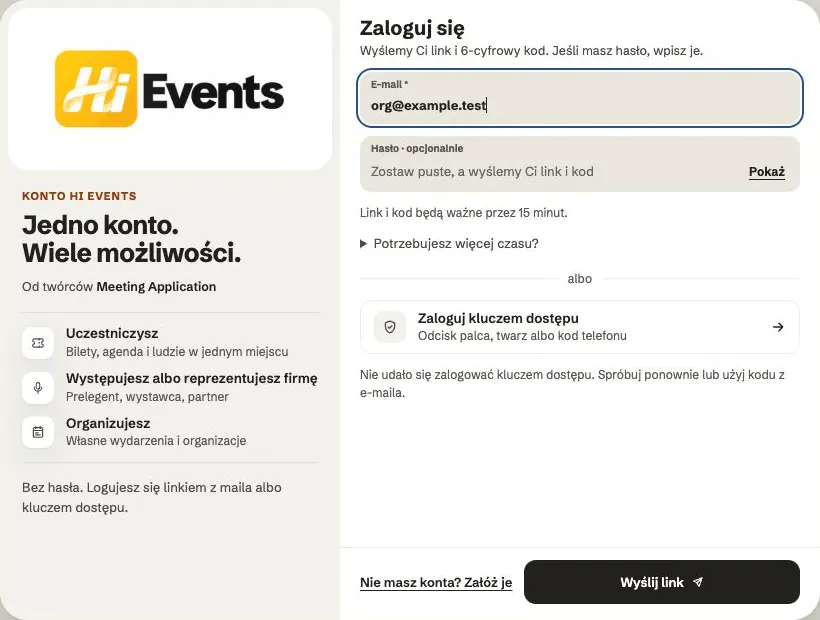
Signing in: link, code, password and passkey
Four ways to sign in to Hi Events, how to set or change your password, and how to sign in with your fingerprint.
 Help
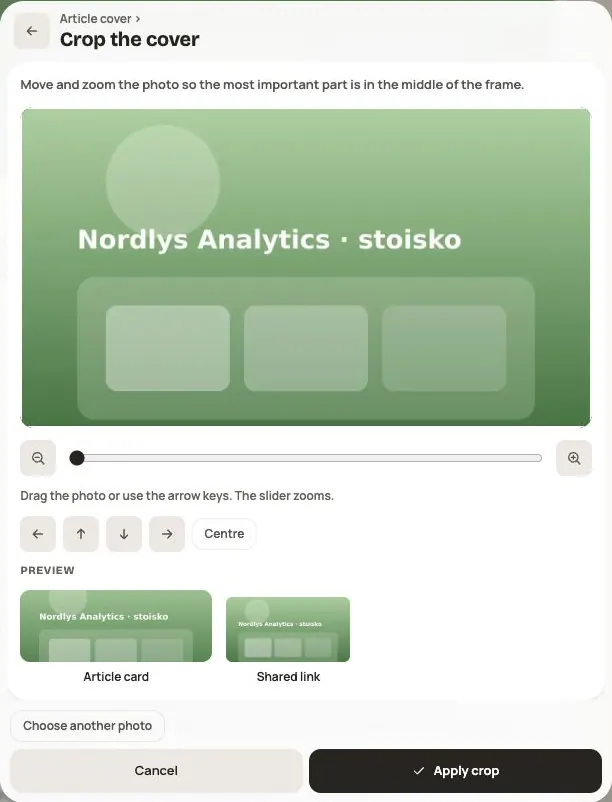
Photos and files: formats and limits
Which photos you can add, how big they can be, and what to do when a file won't upload.