
Business Hub — set up companies, partners and exhibitors
Add company cards with a logo, description and contacts, invite company managers and approve their changes.

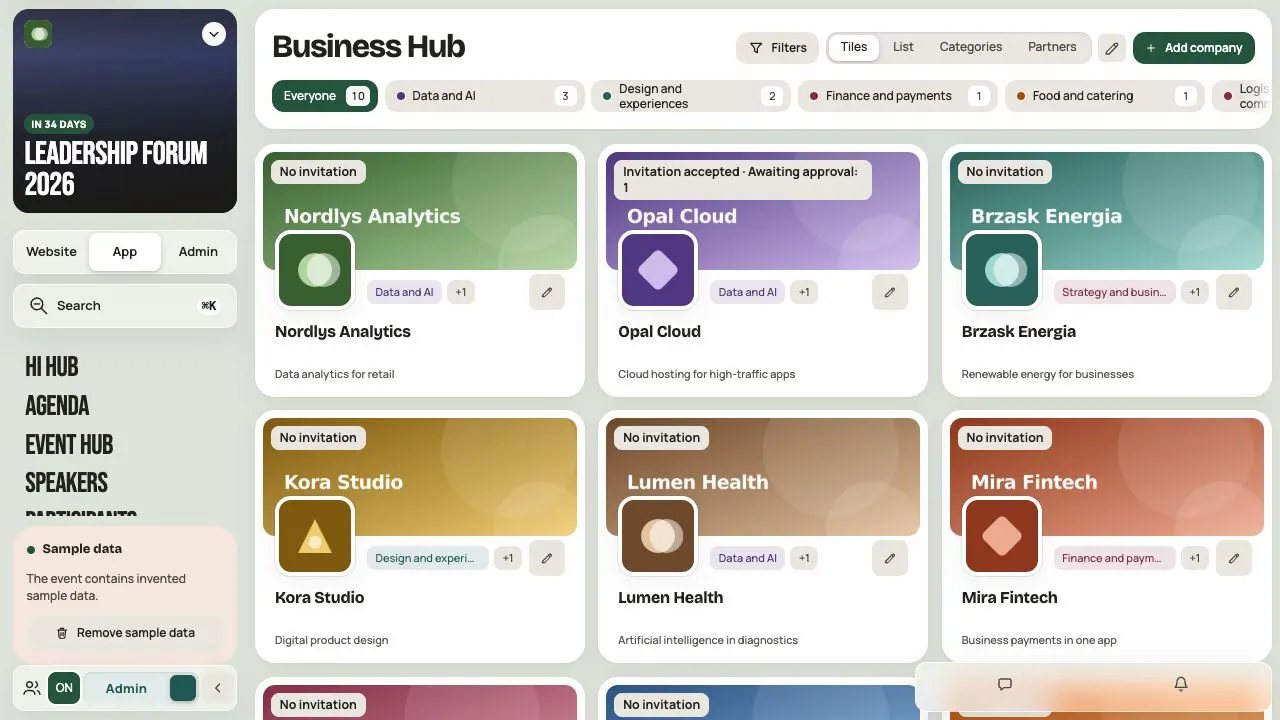
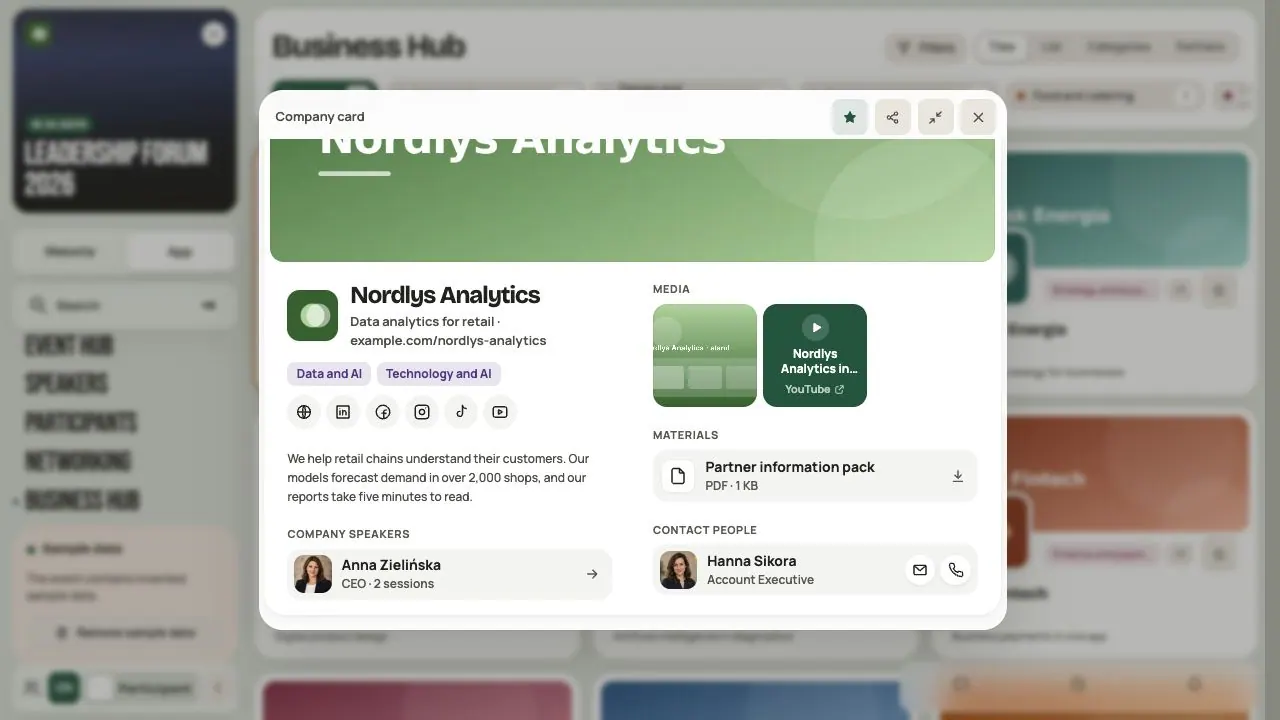
Business Hub is your event's company directory: sponsors, partners and exhibitors. Each company has a card with a logo, description, photos and contact people. Participants learn what the company offers and who to talk to.
Check module access in Admin → Module purchases. Adding companies to a Live event is accounted for separately and may use credits at your organization’s plan rate. Check the cost shown before adding and when launching the event Live. Adding in the test version is free. The test version allows up to 50 companies; an event can have up to 3000.
Step 1. Add a company
- In your event, go to App → Business Hub.
- Turn on Admin mode.
- Click Add company or the pencil next to an existing company.
Step 2. Enter the name, description and links
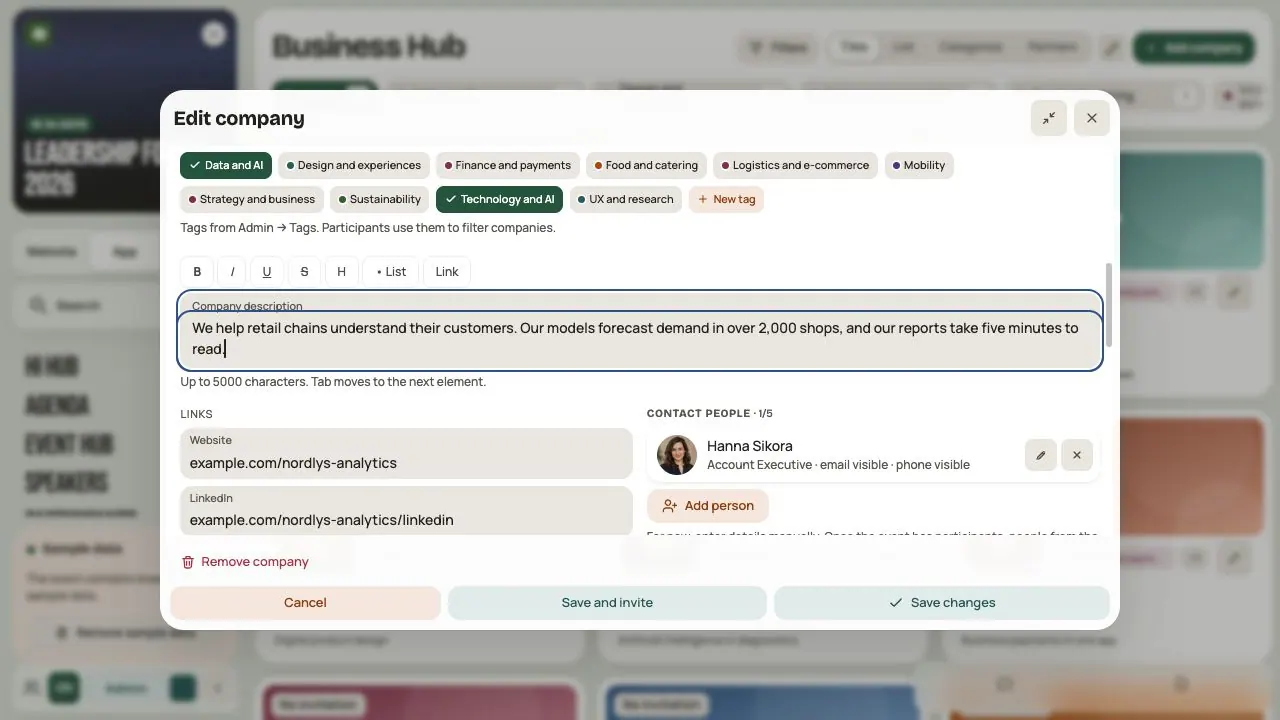
- Company name (required). Use the same name as on the speaker cards. Then the speakers appear with the company.
- Info: a short line under the name, up to 80 characters, for example “Retail data analytics · stand A12”.
- Company description: who the company helps, what it offers and why it's worth visiting the stand. Up to 5000 characters.
- Links: website, LinkedIn and other profiles. Full addresses starting with
https://.
Example description: “We help retail chains forecast demand. At the Forum we'll show board reports you can read in five minutes. Visit stand A12.”
Step 3. Add a banner and logo
| Item | How to prepare it |
|---|---|
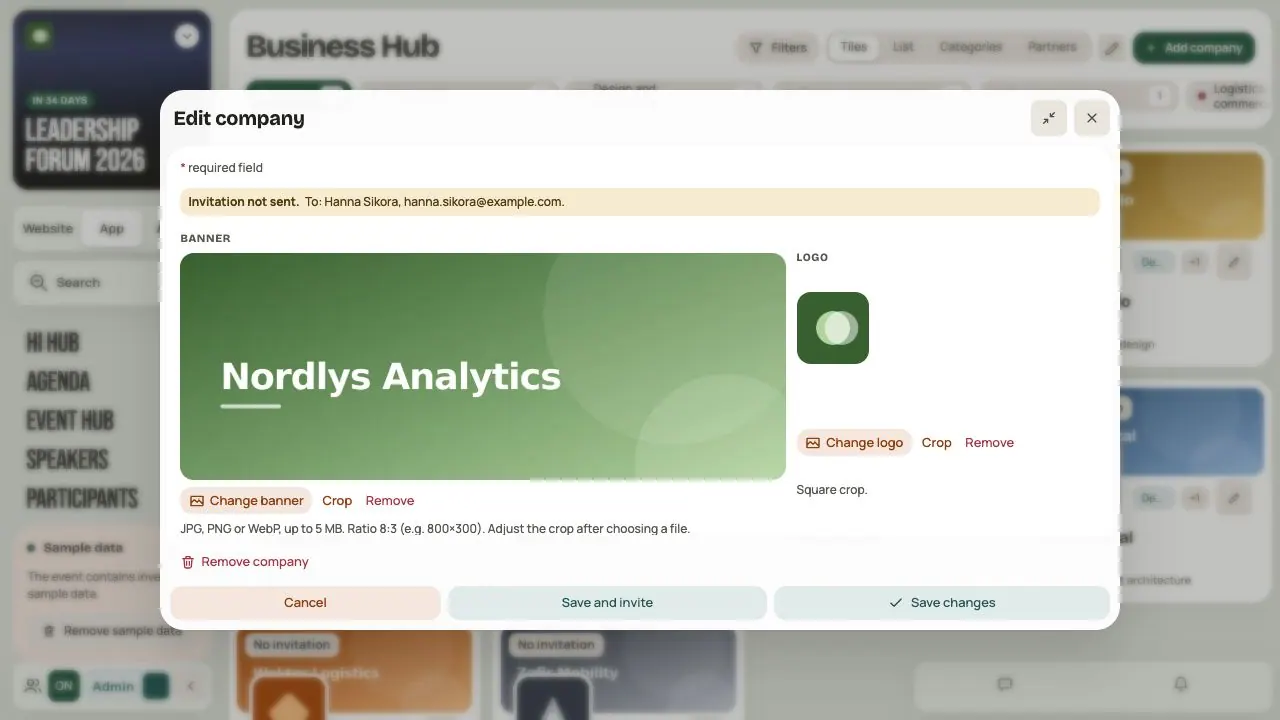
| Banner | Landscape, 8:3 ratio, for example 800 × 300 px |
| Logo | Square, with a little space around the mark |
| File | JPG, PNG or WebP, up to 5 MB |
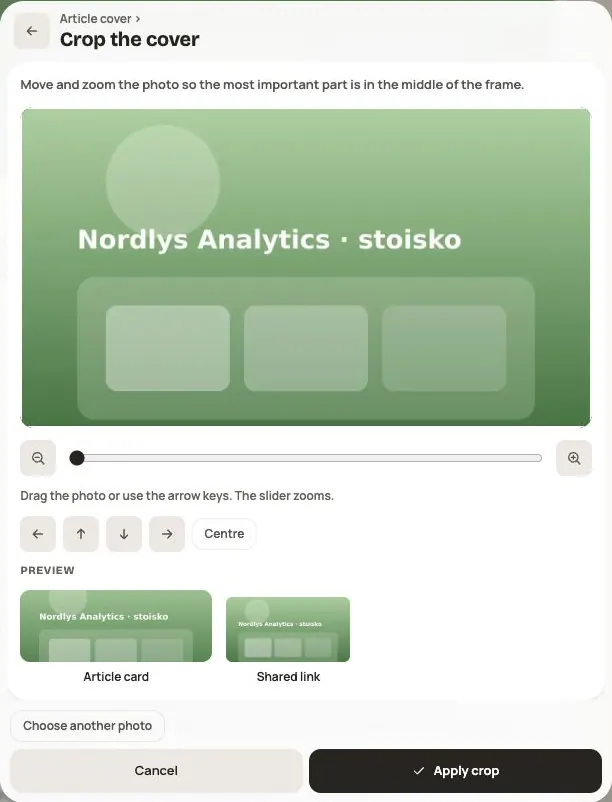
After choosing a file you adjust the crop. At the end, click Save changes. Choosing an image does not save the company on its own.
Prepare the language versions
If the event has two languages, the form shows PL and EN tabs. Prepare Info, the company description, photo descriptions, video titles, material names and contact job titles separately. The other tab shows the primary language text to help you.
The company name, images, link addresses and contact details are shared. Add, remove and reorder media, materials and contacts on the primary language tab. The other tab translates the text of those same items. Changing the interface language does not create translations.
Step 4. Set the role, categories and tags
| Setting | What it is for | Example |
|---|---|---|
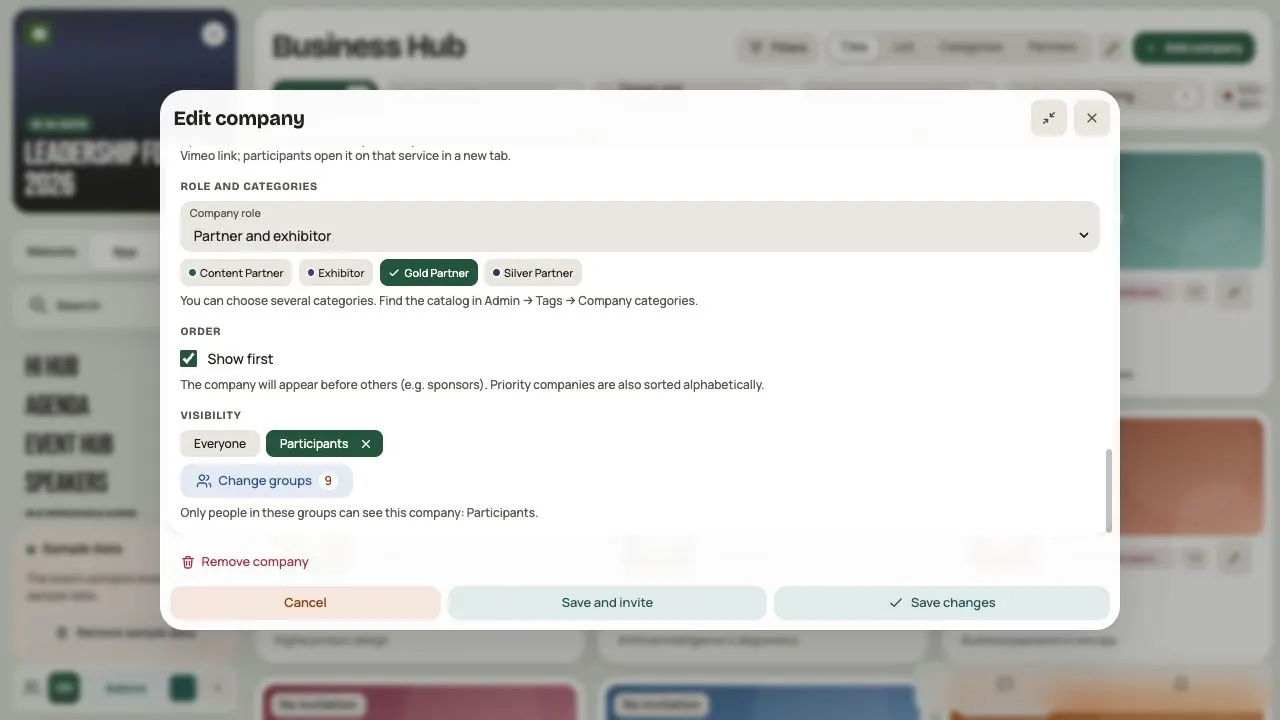
| Company role | Partner, Exhibitor or Partner and exhibitor | Sponsor with a stand: Partner and exhibitor |
| Categories | Your own grouping. The catalog is in Admin → Tags → Company categories | Gold Partner |
| Exhibitor tags | Topics for filtering. The catalog is in Admin → Tags | Data and AI |
Show first moves the company to the top of the list, for example your main partner.
Categories and tags help people search. They don't decide who sees the company. Visibility does (step 8).
Step 5. Add photos and videos
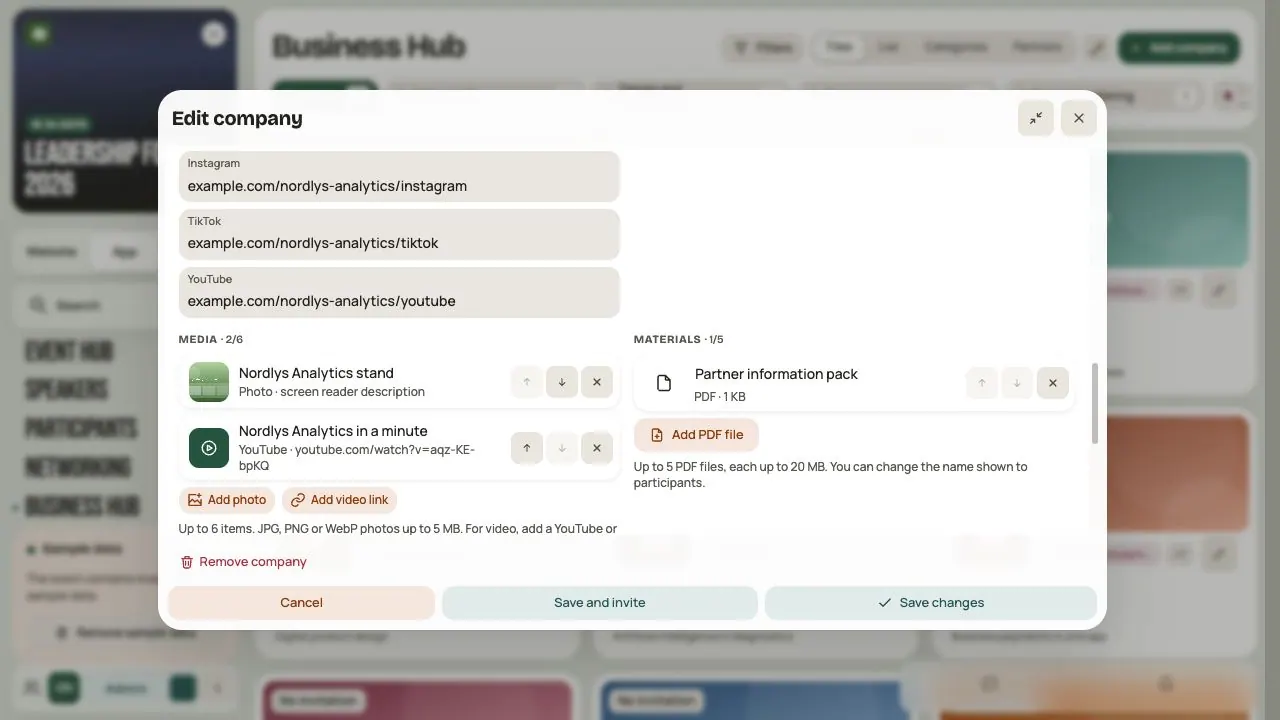
In the media section you add photos (JPG, PNG or WebP, up to 5 MB) and links to YouTube or Vimeo videos (Add video link). Up to 6 items in total. A video opens on its own site, in a new tab.
PDF files: a card holds up to 5 PDF files of up to 20 MB each. However, uploading new documents is temporarily turned off, including Add PDF file. For now, put a link to the offer on the company's website in the description.
Step 6. Add contact people
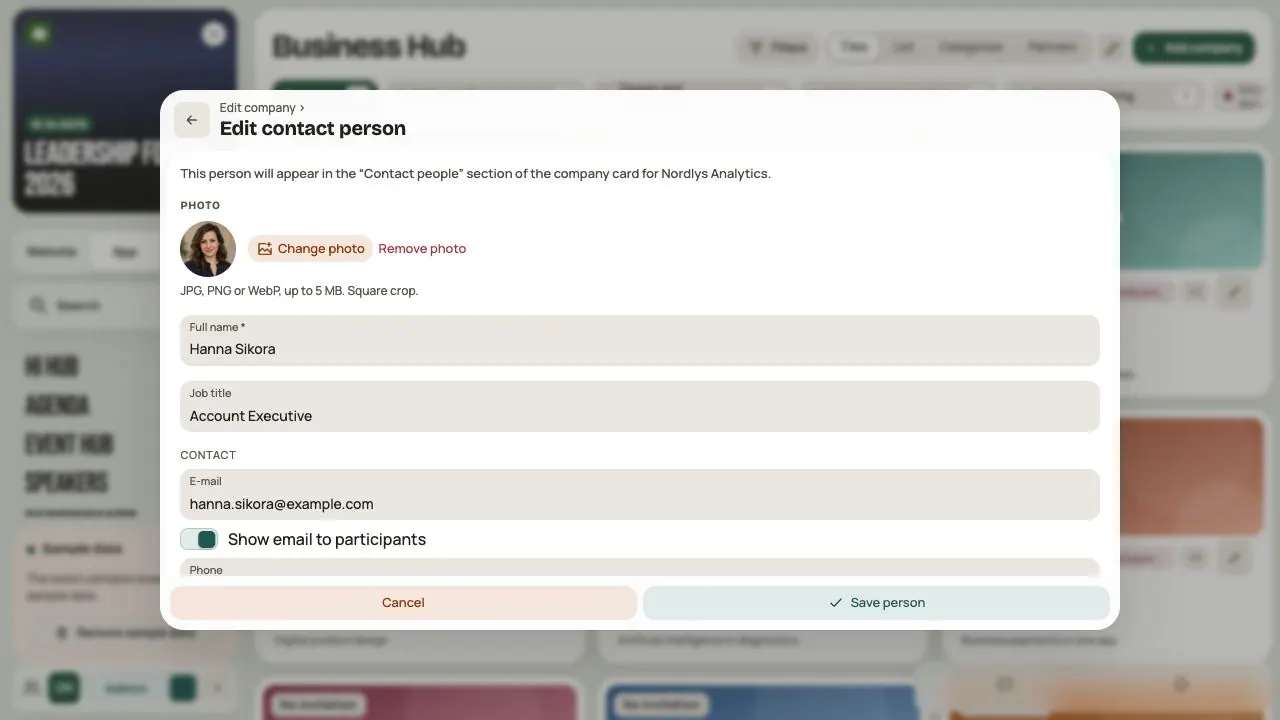
Click Add person. Enter the first and last name, job title, email and phone. Add a square photo so participants recognize the person at the stand. You can add up to 5 people.
You show email and phone separately: Show email to participants and Show phone to participants. Turn them on only with that person's consent. Only organizers see hidden contact details.
Click Save person, then save the company.
At the stand: if Networking is on in your event, the company card shows an At the stand section. It lists company managers with an accepted role and contacts with a Hi Events account at the entered email address. Each must take part in the event and show their profile to others. Adding a contact alone is not enough.
The section is available when participants can arrange their own 1:1 meetings. Arrange shows times free for both people in prepared rounds. The participant chooses a time and can add a message. With automatic acceptance, the meeting is booked at once; otherwise the other person gets a request in Hi Dock. Availability also depends on their I take 1:1 meetings setting.
Step 7. Invite a company manager (optional)
A company manager completes their company's card. You approve their changes. The invitation gives no access to other companies or event settings.
| What | You | Company manager |
|---|---|---|
| Name, description, links, logo, banner, photos, contacts | You edit | Proposes changes |
| Info, tags, company role, categories | You set | Can't change |
| Visibility and order | You set | Can't change |
Before you invite anyone, publish the privacy policy and the event terms in Admin → Consents. Without them the invitation won't go out.
- Add a contact person with a correct email.
- Choose them as the invitation recipient.
- Check the selected contact’s Message language. For someone with an account, the system uses their account language.
- Click Save and invite. Check the invitation state and email delivery separately. If the company was saved but the email failed, send the invitation again without recreating the company.
You handle the invitation state and change approval the same way as for speakers: Send again, Invite again, Revoke invitation, then Accept or Send back for revision. See How to add speakers and invite them to work with you.
Until you accept the changes, participants see the previous version of the card.
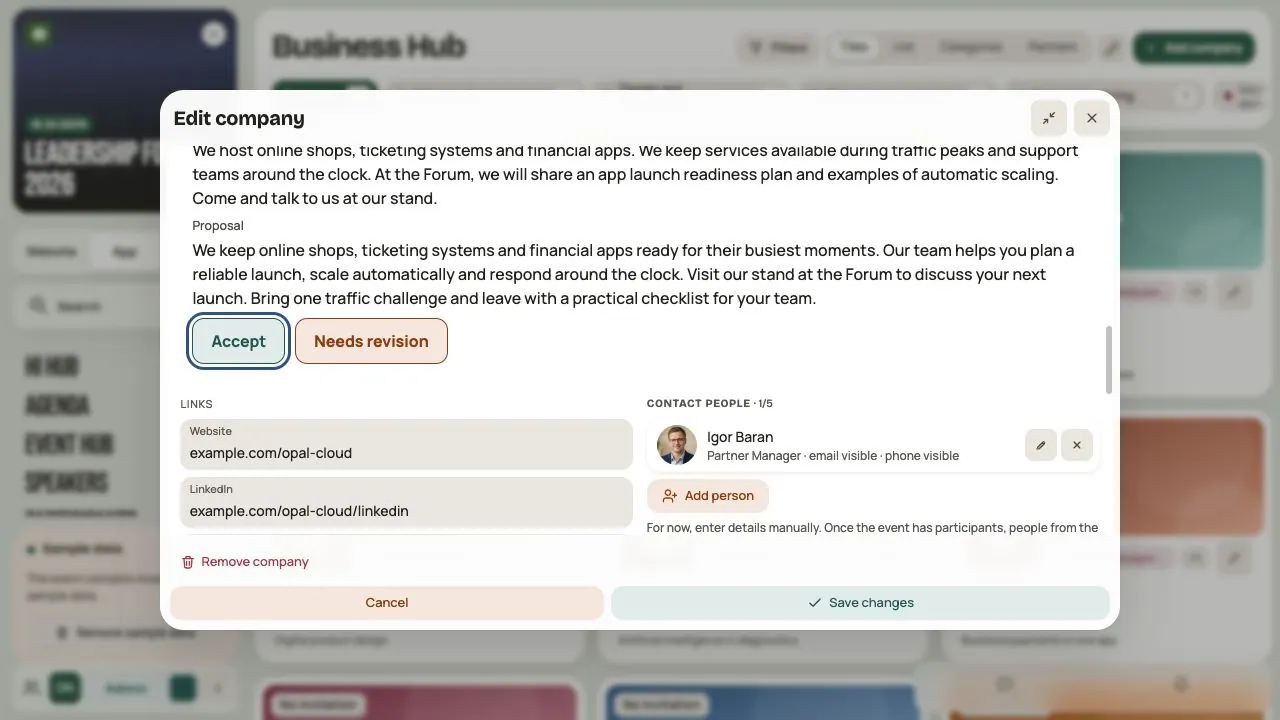
Compare Current and Proposal. You can Accept one field, review and accept all pending changes, or add a comment and choose Send back for revision. A manager’s draft is not a submitted proposal yet. For a bilingual event, review proposals separately for each language; approving one version does not approve the other.
Step 8. Choose the audience and check the result
In Visibility, choose who sees the company: everyone or selected groups, for example VIPs only.
Remember the two levels: access to the Business Hub module (the Edit module pencil) and the visibility of each company (in its form).
Turn off Admin mode and look through the Tiles, List, Categories and Partners views. If you restrict the audience, use Preview as a group.
Company speakers: if you enter the same company name on a speaker card, for example “Nordlys Analytics”, the speaker appears under Company speakers. To the system, “Nordlys” and “Nordlys Analytics” are two different names.
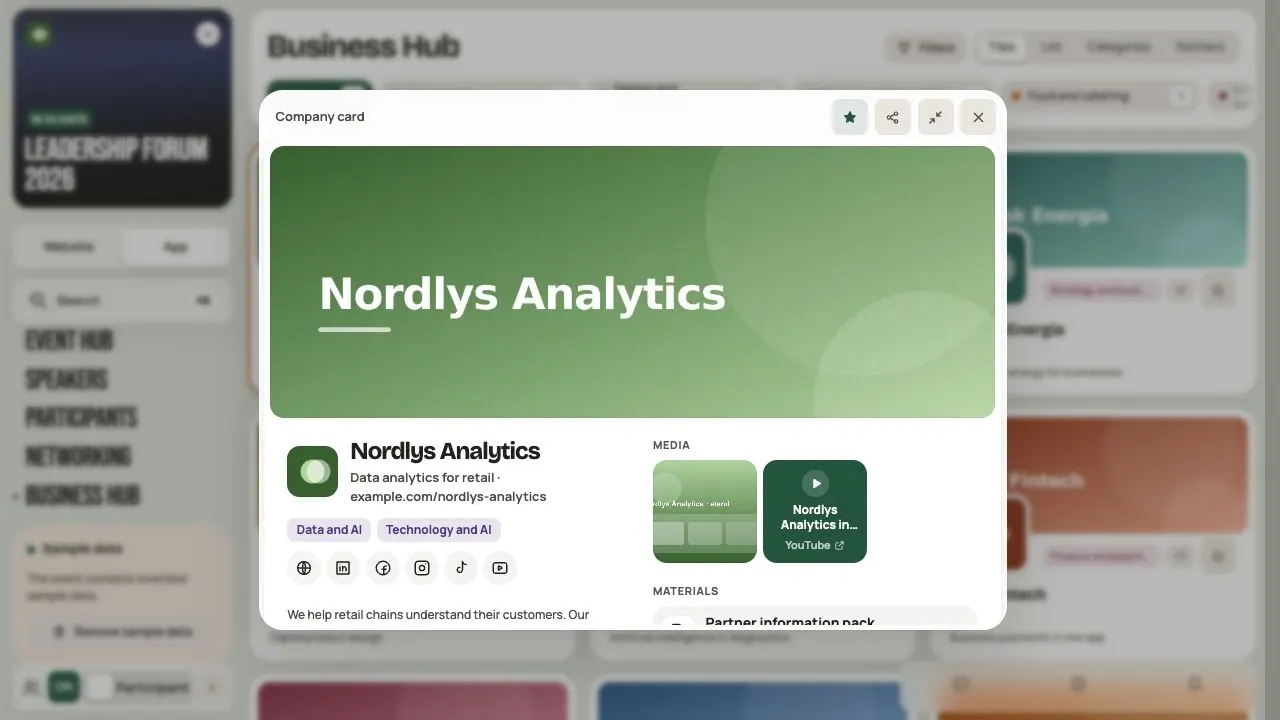
On the card, Share copies its link, and saving a company lets you return to it in Hi Hub. The link respects access settings.
Before you share Business Hub
- Company names match the speaker cards.
- Every company has a description, Info, a logo and a well-cropped banner.
- Roles, categories and tags match what you agreed with partners.
- Contact details are visible only with people's consent.
- Ready changes from managers are approved.
Frequently asked questions
Do I have to invite every company?
No. You can fill in every card yourself. An invitation helps when the company should update its own content.
I can't see a company after turning off Admin mode
Check access to the module, the company's Visibility and your groups. Clear the filters too. The company may be available but not match the selected tag or the Partners view.
The company's speaker is missing
Check that the company name is exactly the same on both cards. Also check that the speaker card is visible to you.
The manager says they completed the profile, but I see no changes
They probably saved only a draft. Ask them to send the changes for approval.
I can't add a PDF file
Uploading new documents is temporarily turned off. Put a link to the offer in the company description.
A company drops out. How do I remove it?
In the company's edit form, click Remove company. This deletes the card, its files and contacts. Tags stay in the catalog. If you only want to hide the company, change its Visibility.
Read on
All articles →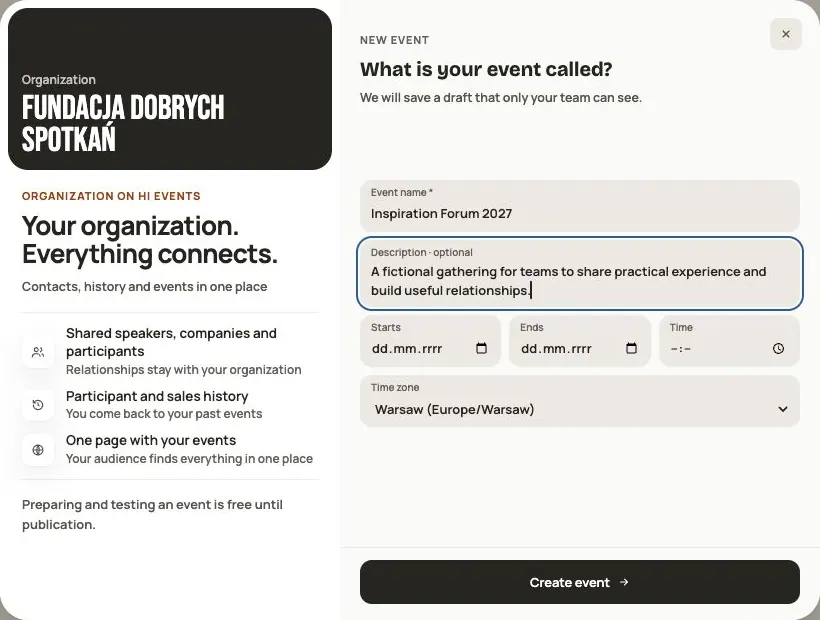 Help
Your first event, step by step
From draft to publication: name and dates, consents, tickets, content, modules, credits and the „Publish event” button.
 Help
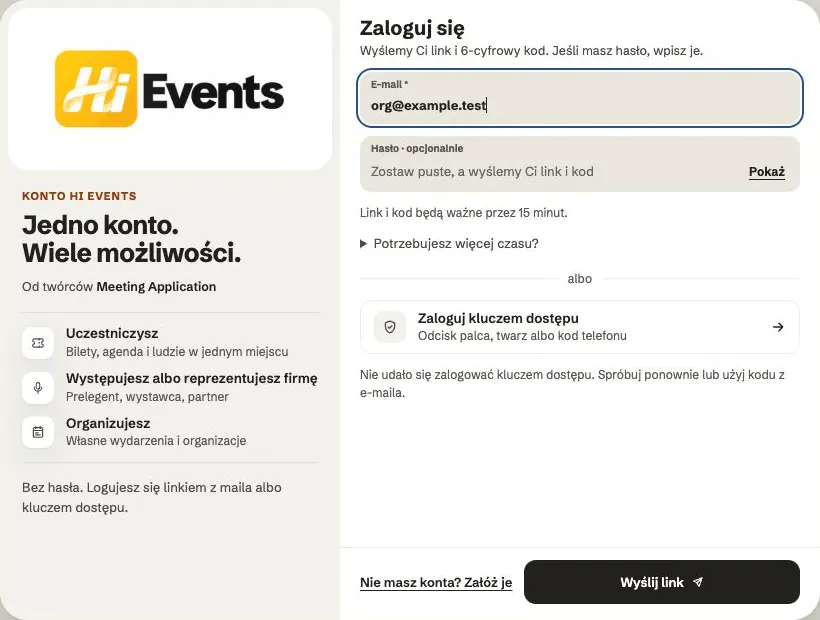
Signing in: link, code, password and passkey
Four ways to sign in to Hi Events, how to set or change your password, and how to sign in with your fingerprint.
 Help
Photos and files: formats and limits
Which photos you can add, how big they can be, and what to do when a file won't upload.