
How to add speakers and invite them to work with you
Prepare speaker cards, pin sessions, invite speakers and approve their changes, including talk titles.

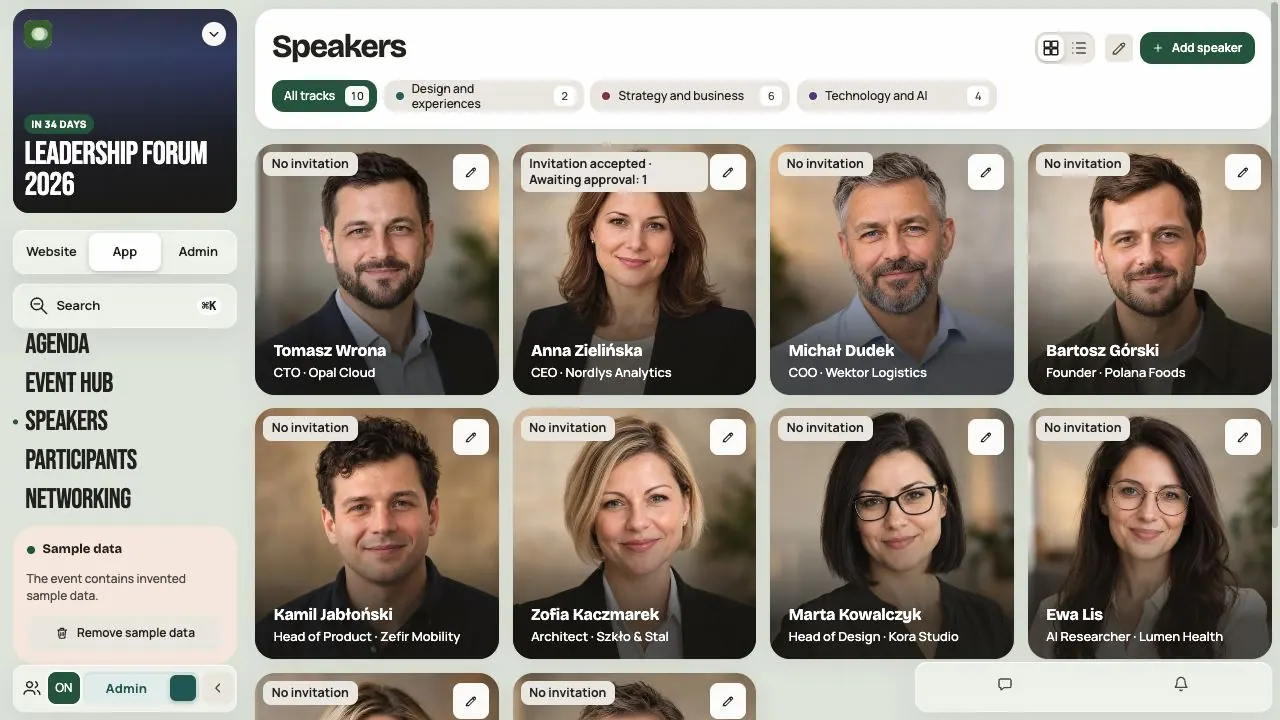
Every speaker in Hi Events has a card: a photo, a bio, a company and their sessions. You can fill it in yourself or invite the speaker to complete it. You check the changes and decide what participants see.
This article is for event administrators and managers.
Step 1. Add a speaker
- In your event, go to App → Speakers.
- Turn on Admin mode.
- Click Add speaker.
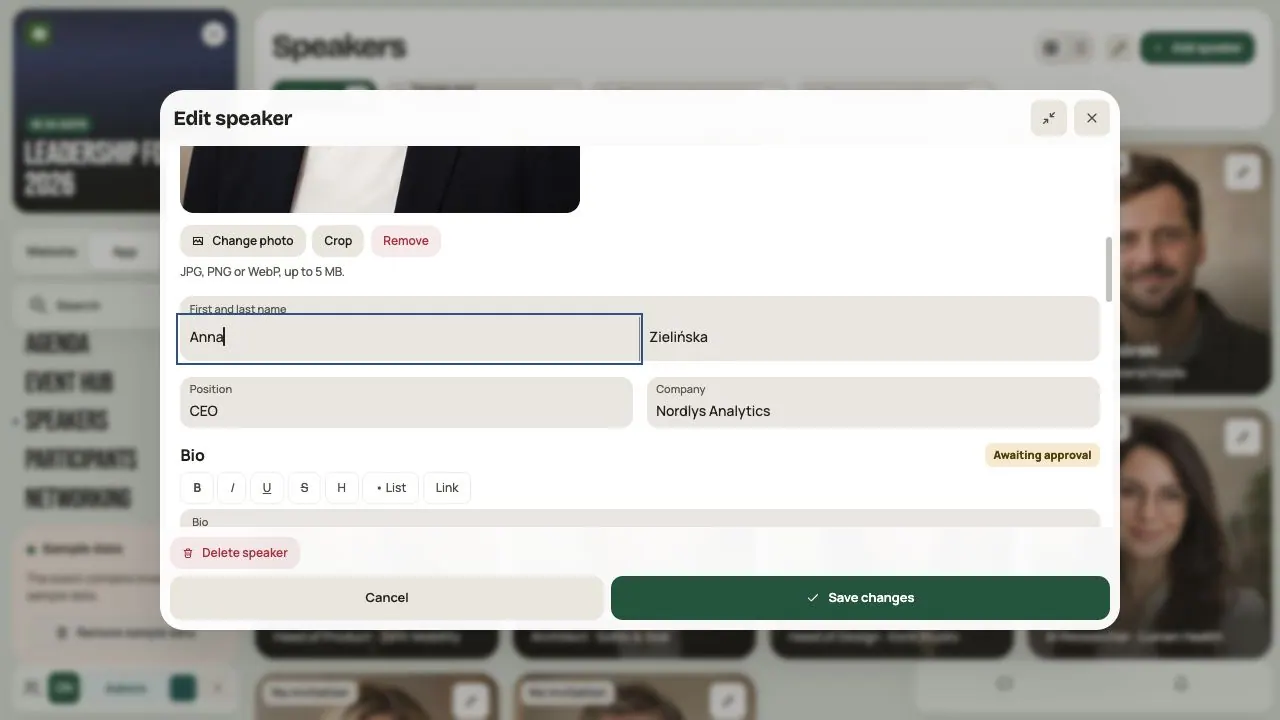
A first and last name are enough to start. You can add the rest now or leave it to the speaker.
In the test version you can add up to 50 speakers. In a Live event, adding a new speaker may use credits at your organization’s current plan rate. Adding in the test version is free; before going Live, check the cost shown for those cards. An event can have up to 1000 speaker cards.
Step 2. Complete the card
- Job title and company. Participants know at once who the speaker is.
- Bio. A few sentences about their experience and the talk. Not a full CV.
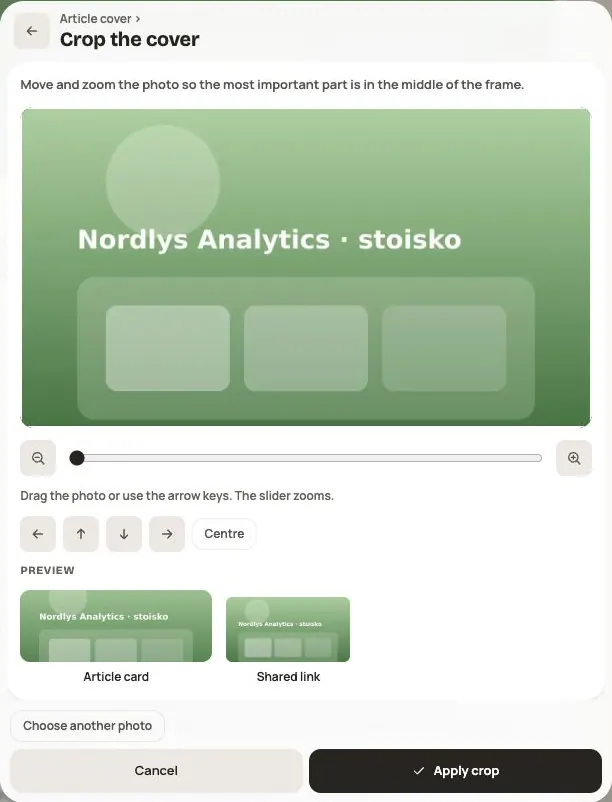
- Photo. JPG, PNG or WebP, up to 5 MB. Square works best. You set the crop in the form.
- Links, such as a website or LinkedIn. Enter full addresses starting with
https://. - Email. You need it if you want to send an invitation.
Click Save changes. Choosing a photo does not save the card on its own.
Example bio: “Marta helps product teams grow without chaos. She has built digital products for 12 years. At the Forum she will show how teams can make decisions faster.”
An event in two languages
If the event has a second language, the form shows PL and EN tabs under Content language. Prepare the job title and bio in each. The name, company, photo, links, contact details, pinned sessions and visibility are shared; edit them on the primary language tab.
Changing the interface language does not translate descriptions. Check both content versions. EN missing or PL missing helps you find cards without a second version.
Step 3. Set contact details, order and visibility
- Email and phone are hidden from participants by default. Tick Show to participants only if the speaker agrees. Shared contact details are shown to signed-in people with access to the card; signed-out visitors cannot see them.
- Show first moves the person to the top of the list, for example a keynote speaker. Everyone else is sorted alphabetically by last name.
- Visibility sets who can see the card: everyone or selected groups. It works together with access to the Speakers module.
Card visibility and session visibility are two separate things. Marta's card can be for everyone while her workshop is only for VIPs.
Step 4. Pin sessions
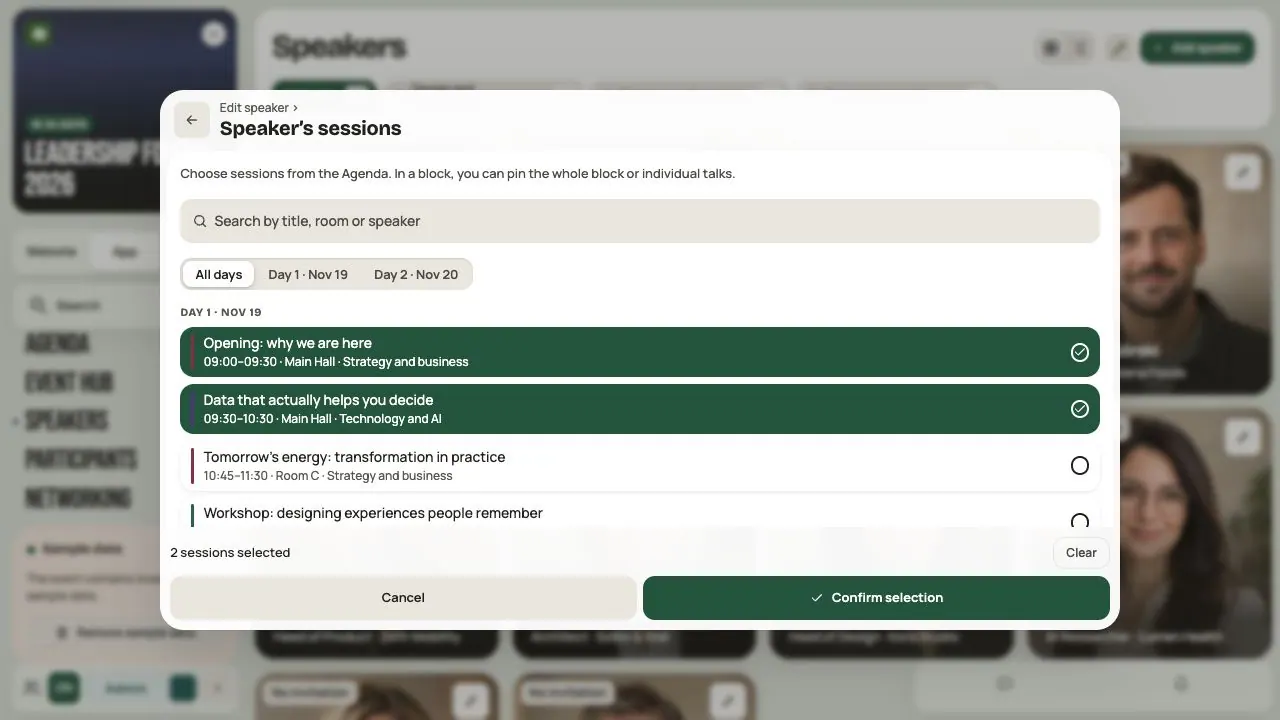
On the card, click Pin sessions, choose sessions from the Agenda and confirm. You can also do it from the Agenda: drag a person from the Speakers list onto a session. See How to build your event agenda.
Unpinning a session does not remove it from the Agenda.
Step 5. Invite the speaker
The invitation gives the speaker access to their card. It does not let them manage the event. Accepting the role also creates participation in the event, without an automatic ticket. The person chooses whether to show their participant profile.
Before you invite anyone, publish the privacy policy and the event terms in Admin → Consents. Without them the invitation won't go out.
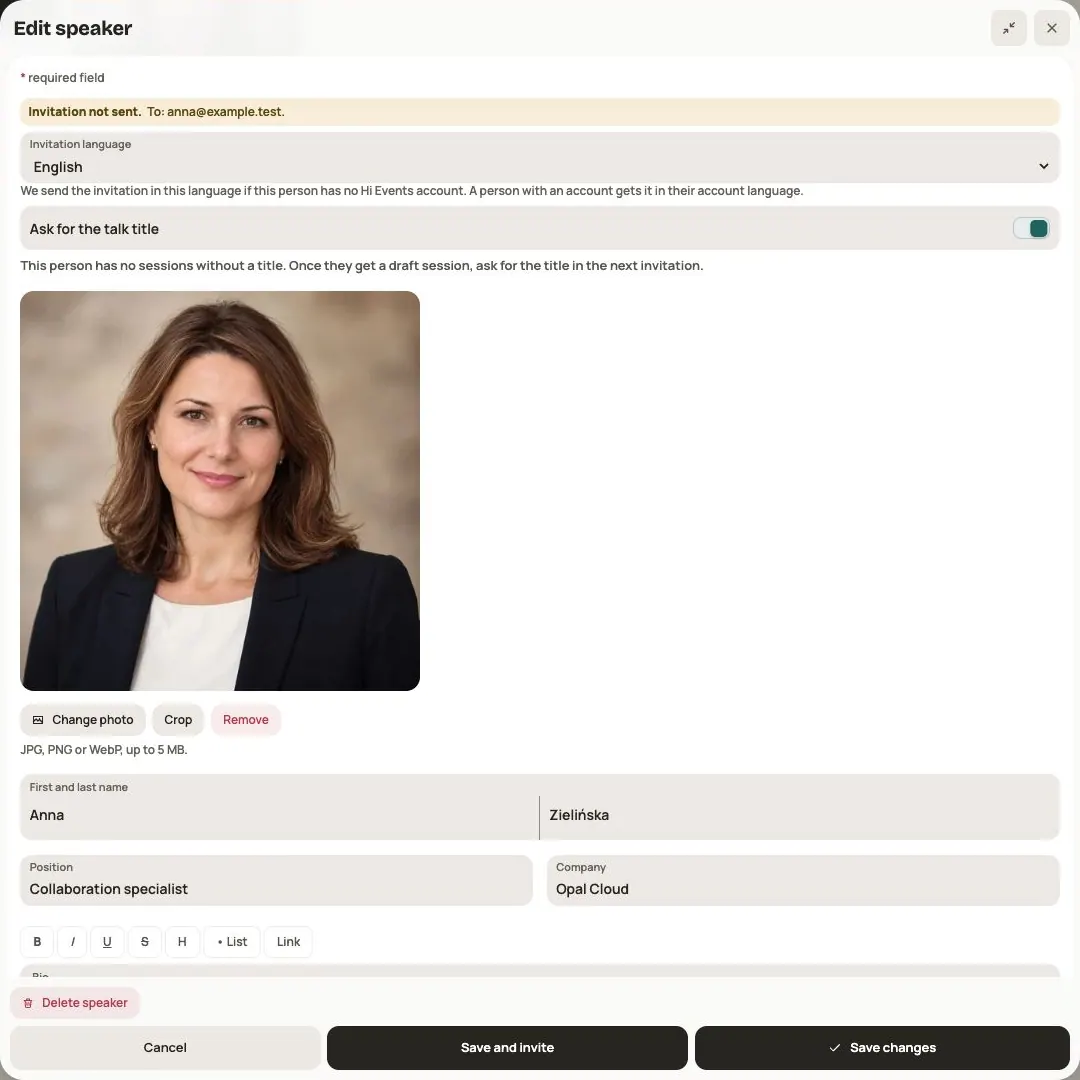
- Check that the card has the right email.
- If the speaker has a pinned session without a title, tick Ask for the talk title. The speaker types the title in their card and you accept it.
- Check Invitation language. You choose the message language for someone without an account; someone with an account receives it in their account language.
- Click Save and invite and check the delivery result. Saving the card and delivering the email are separate confirmations.
You can also ask for a title later, when the invitation is already sent or accepted.
A speaker who accepted the invitation gets a Hi Dock notification and an email when you add them to a session, remove them from one or ask for a title.
Step 6. Track progress in Admin → Roles
In Admin → Roles, choose Speaker. Other roles have separate tabs: Event manager and Company manager. The Filled in column shows how many card fields are complete and what is missing. The Waiting for you filter shows people whose changes wait for your decision.
| Invitation state | What to do |
|---|---|
| Pending | Click Send again if needed |
| Accepted | Wait for changes or complete the card yourself |
| Declined, expired or revoked | Click Invite again if you still work together |
| You want to remove access | Click Revoke invitation |
Step 7. Approve changes
A speaker can save a draft or send changes for approval. Only they see the draft. You see changes once they are sent.
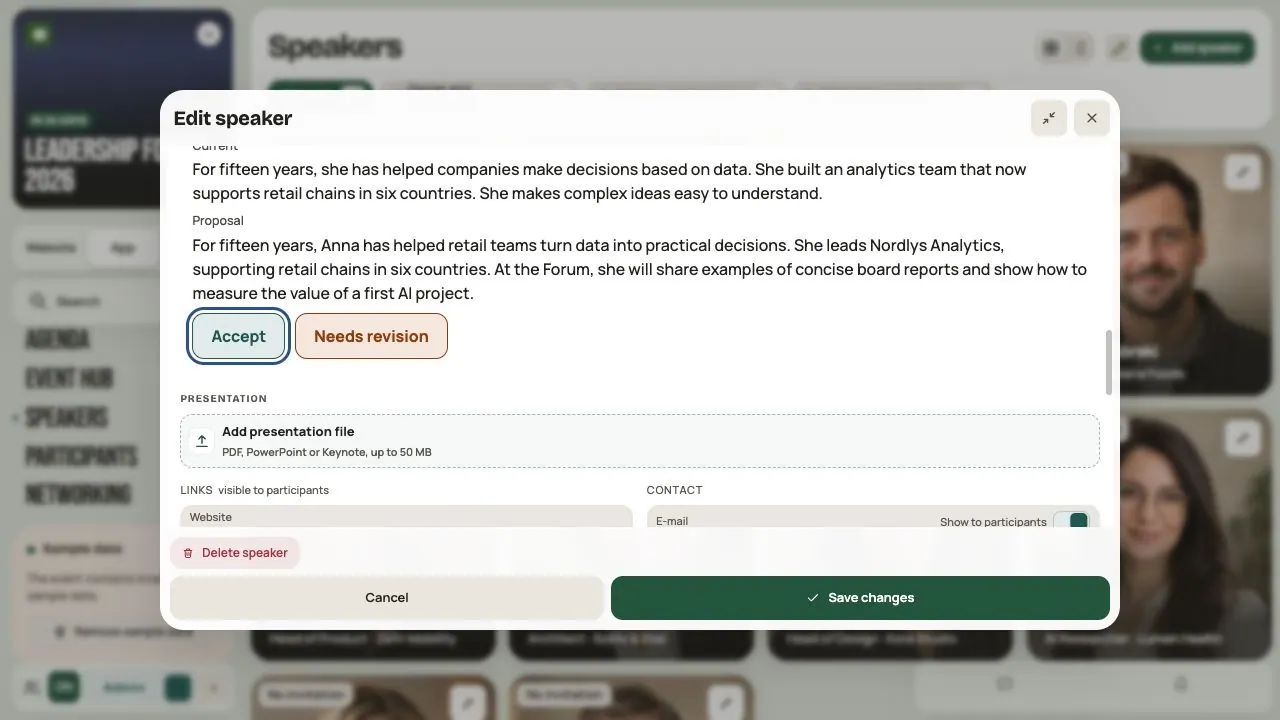
- Open a card marked as awaiting approval.
- Compare the Current and Proposal fields.
- Click Accept. When everything is fine, you can click Accept all pending changes.
- If something needs fixing, write a comment, for example “Shorten the bio to three sentences”, and click Send back for revision.
For a bilingual event, review proposals on the relevant language tab. Approving one language does not approve the other. If the card changed after the proposal was sent, ask the speaker to submit that version again.
You approve a talk title the same way. It fills the session in the proposal’s language, together with its short description if supplied. A session without a title in the primary language remains a draft even after you approve a title in the second language. A ready session follows Agenda and session visibility. Until you accept changes to the card, participants see its previous version.
Step 8. Check the card as a participant
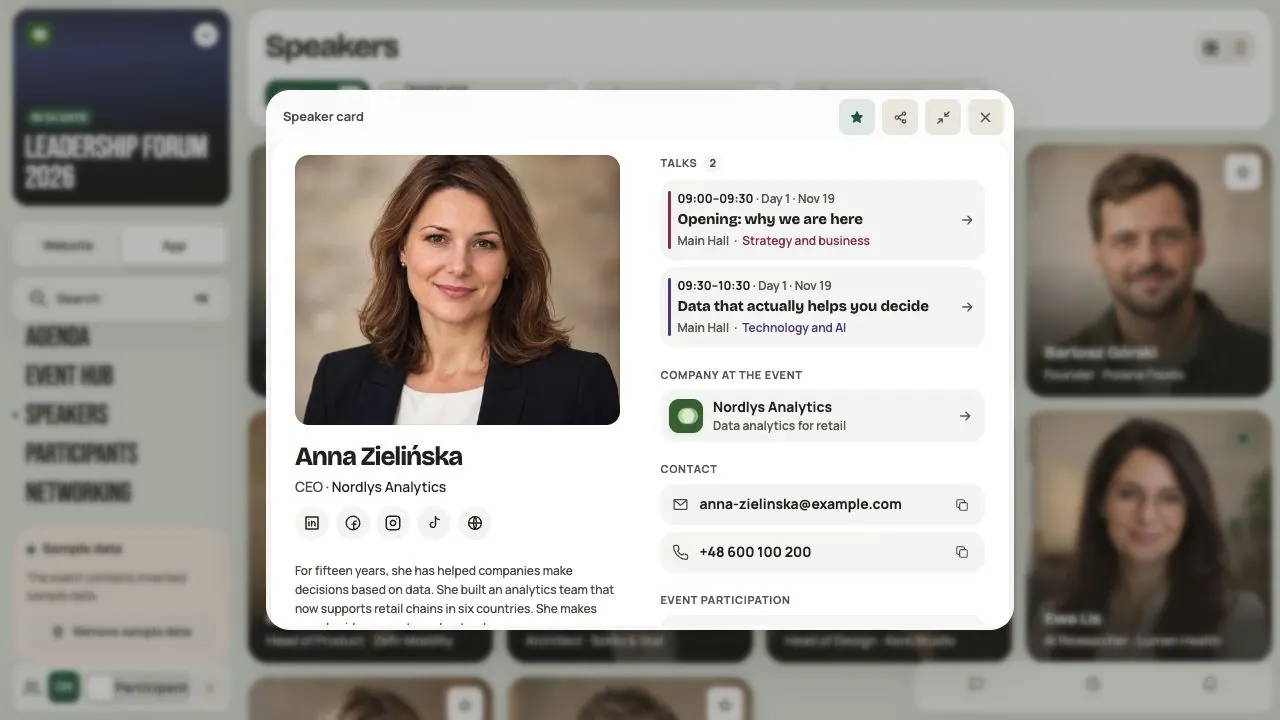
Turn off Admin mode. Open the card, read the bio, click the links and sessions.
- First name, last name, company and job title are correct.
- The photo is well cropped and the bio is specific.
- Contact details are visible only with the speaker's consent.
- Sessions are pinned.
- All ready changes are approved.
Frequently asked questions
Do I have to invite every speaker?
No. You can fill in every card yourself. An invitation helps when the speaker should complete their details on their own.
Can a speaker change the time of their talk?
No. The organizer sets times, rooms and pinned sessions. A speaker can type the talk title, but only when you ask for it. You approve it.
A speaker says they completed the card, but I see no changes
They probably saved only a draft. Ask them to send the changes for approval. Also check the Waiting for you filter in Admin → Roles.
Can I collect presentations through the card?
Not at the moment. Uploading presentations and documents is temporarily turned off. Bio, photo and links work as usual.
What happens when I delete a speaker?
You delete the card, the photo and the contact details. If the person has pinned sessions, you confirm with Unpin and delete. The sessions stay in the Agenda. This cannot be undone.
Read on
All articles →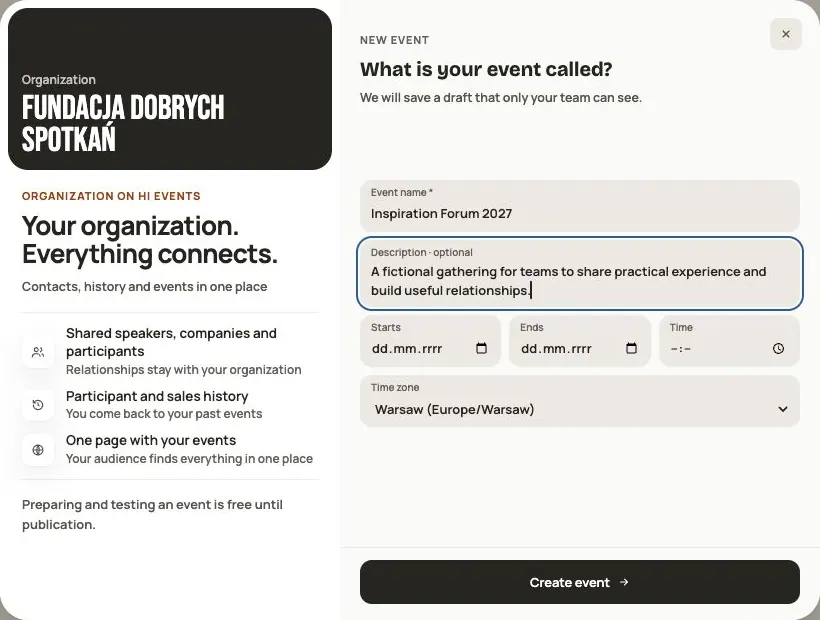 Help
Your first event, step by step
From draft to publication: name and dates, consents, tickets, content, modules, credits and the „Publish event” button.
 Help
Signing in: link, code, password and passkey
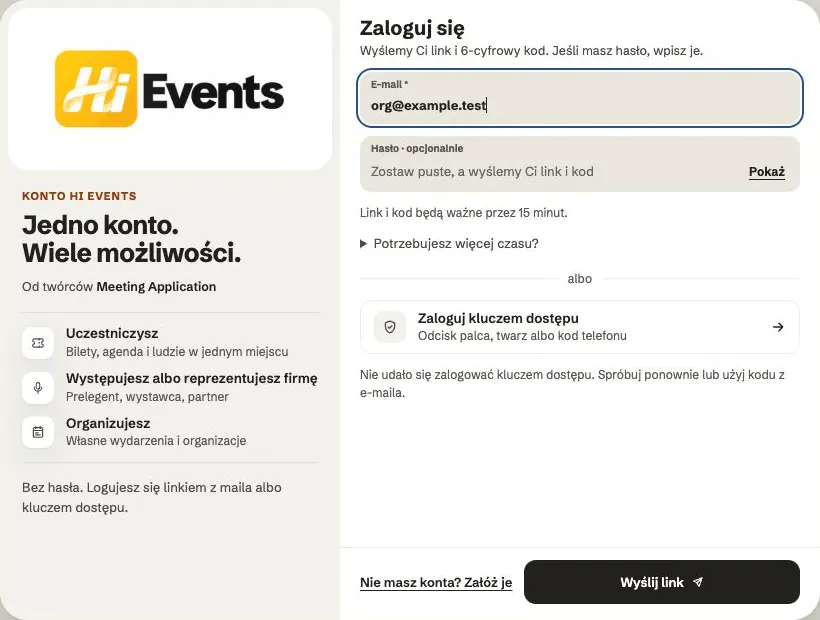
Four ways to sign in to Hi Events, how to set or change your password, and how to sign in with your fingerprint.
 Help
Photos and files: formats and limits
Which photos you can add, how big they can be, and what to do when a file won't upload.