
Speaker and company manager — from invitation to a finished card
Accept the invitation, complete your speaker or company card, enter your talk title and send changes to the organizer.

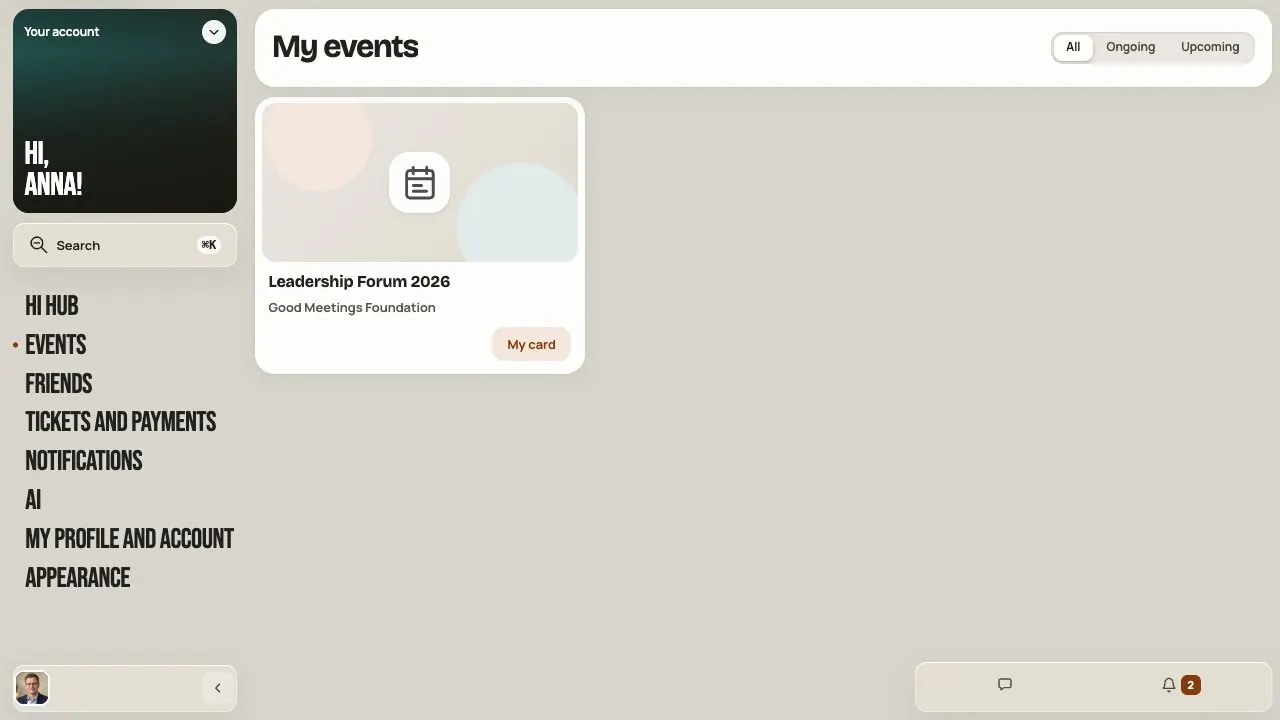
This article is for people invited to an event as a speaker or company manager. You'll accept the invitation, prepare your card and send it to the organizer for approval.
Organizers can pass this article on to their speakers and companies.
Step 1. Accept the invitation
Open the link in the organizer's message. Check the event name and the role: speaker or company.
The invitation is tied to the e-mail address it was sent to.
- Have an account with this address? Sign in. You'll return to the invitation.
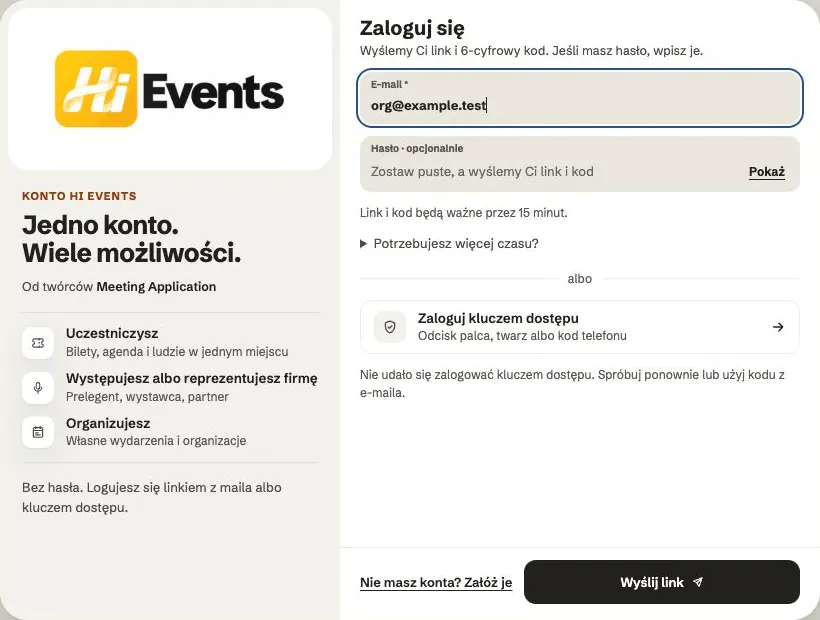
- No account? Create one, accept the Hi Events terms and confirm your address with the code from the e-mail. Then return to the invitation.
Read the privacy policy and event terms. Confirm the required statements and click Join. Accepting the role creates participation in the event, without an automatic ticket. Separately, choose whether to show your participant profile to others. That does not set your speaker or company card’s visibility.
Don't want to take the role? You can decline, even without creating an account.
Has the link expired or been revoked? Ask the organizer for a new invitation.
Step 2. Find your card
Open My events, find the event and click My speaker card (speaker) or My company (company manager). You can also get there from the Speakers or Business Hub module.
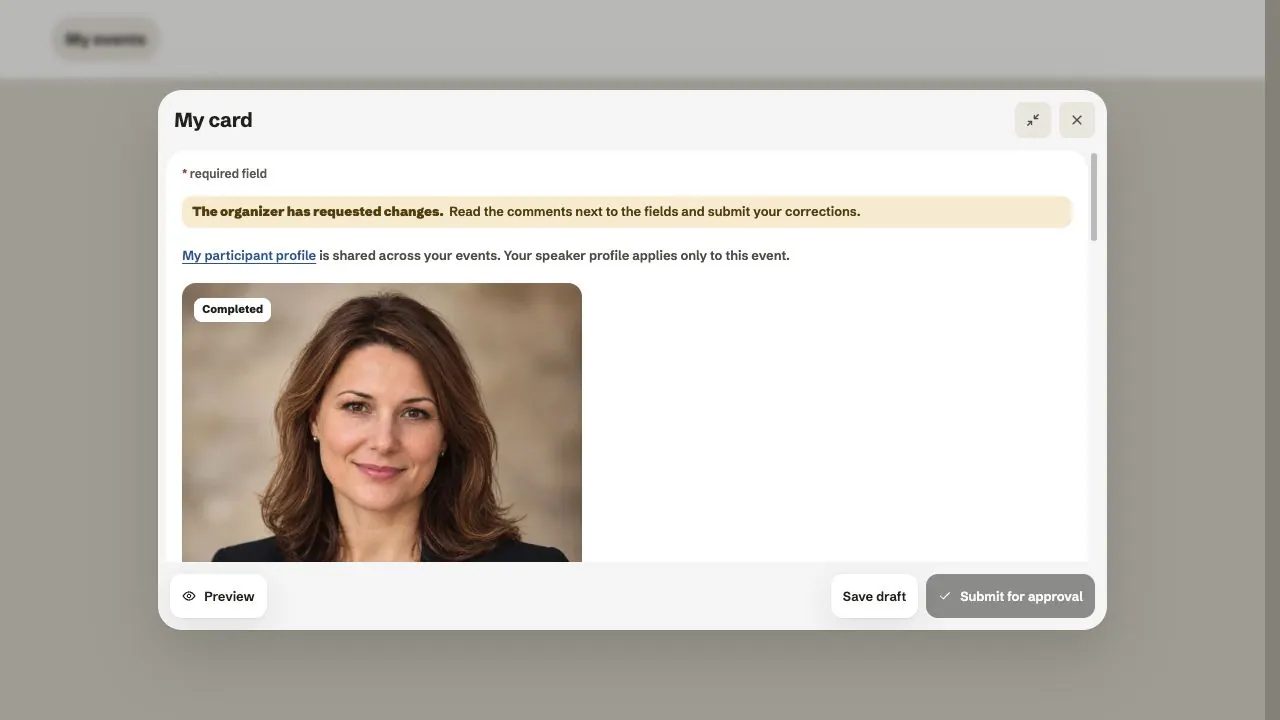
My participant profile is shared across all your events. A speaker card and a company card belong to one event. Changing your account profile doesn't change your card.
The invitation gives access only to your card, not to managing the event.
Part 1. Speaker
Photo and details
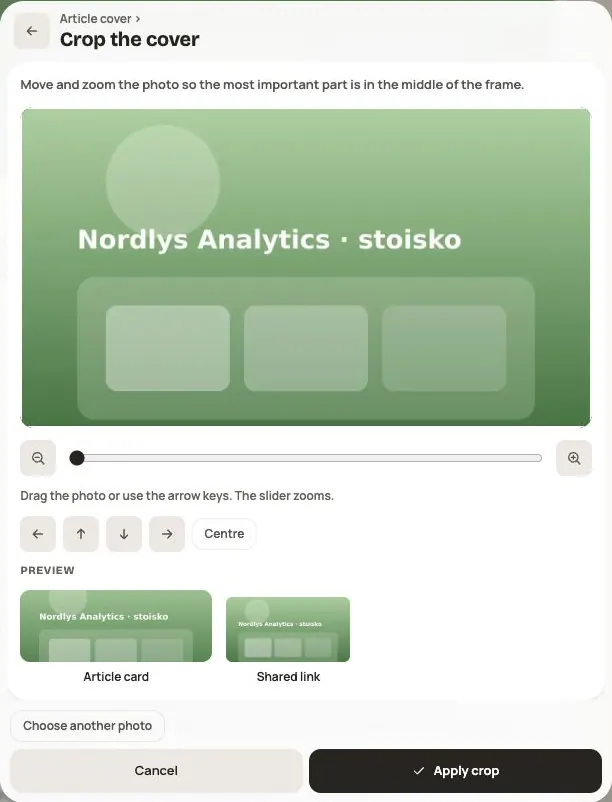
Check your first name, last name, position and company. Add a photo: JPG, PNG or WebP, up to 5 MB. Click Crop and set a square crop with your face clearly visible.
Bio, links and contact
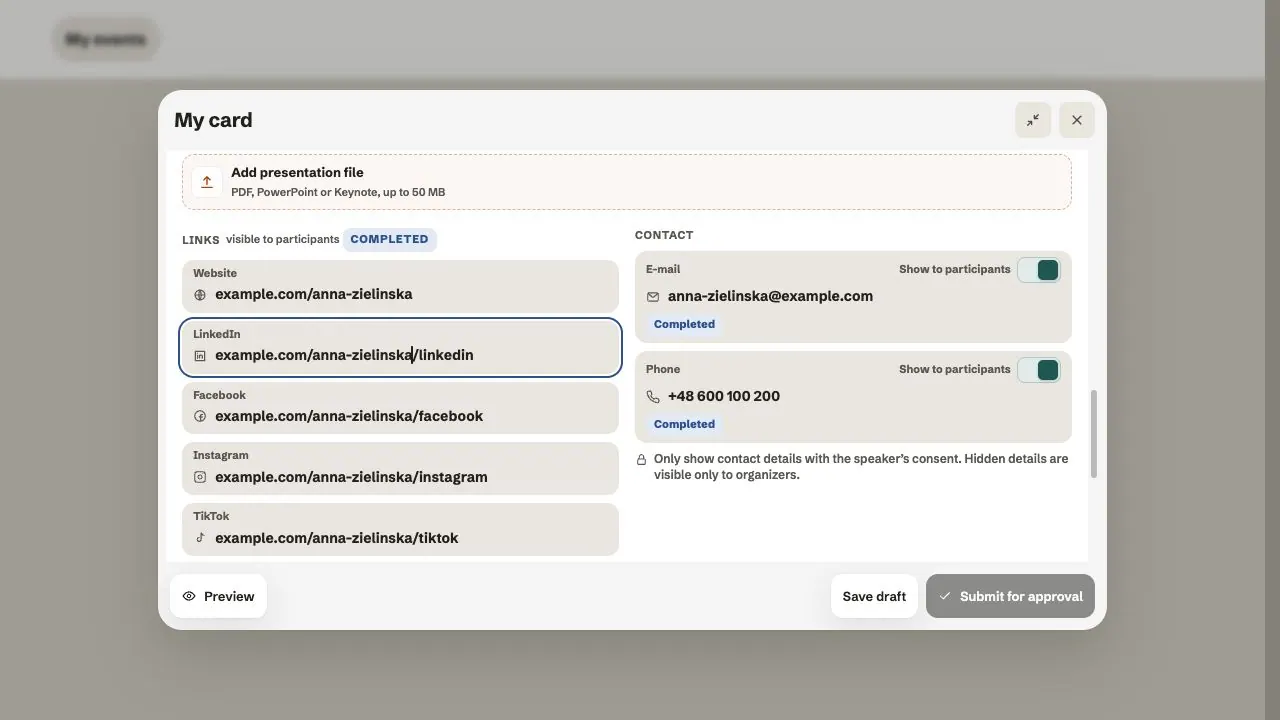
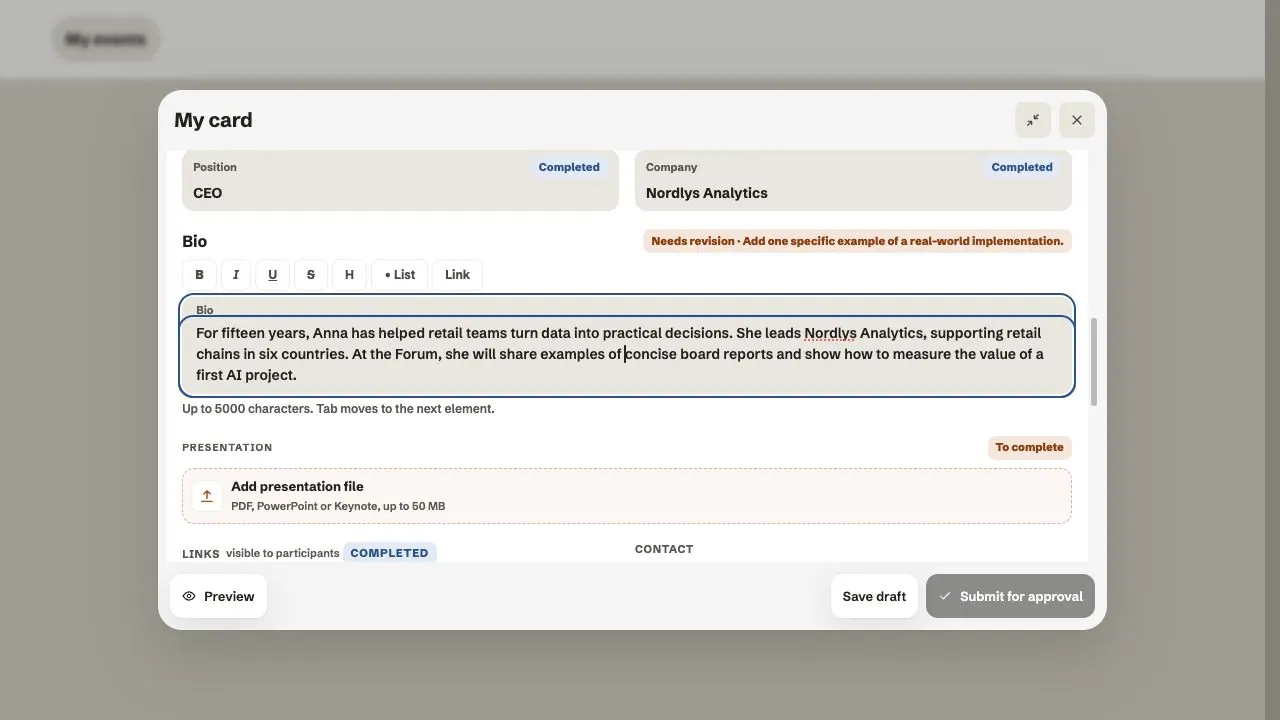
In Bio, write what you do and what people can talk to you about. Add links, such as your website or LinkedIn.
For your e-mail and phone, set Show to participants separately. Hidden details are visible only to the organizer.
Your sessions and title
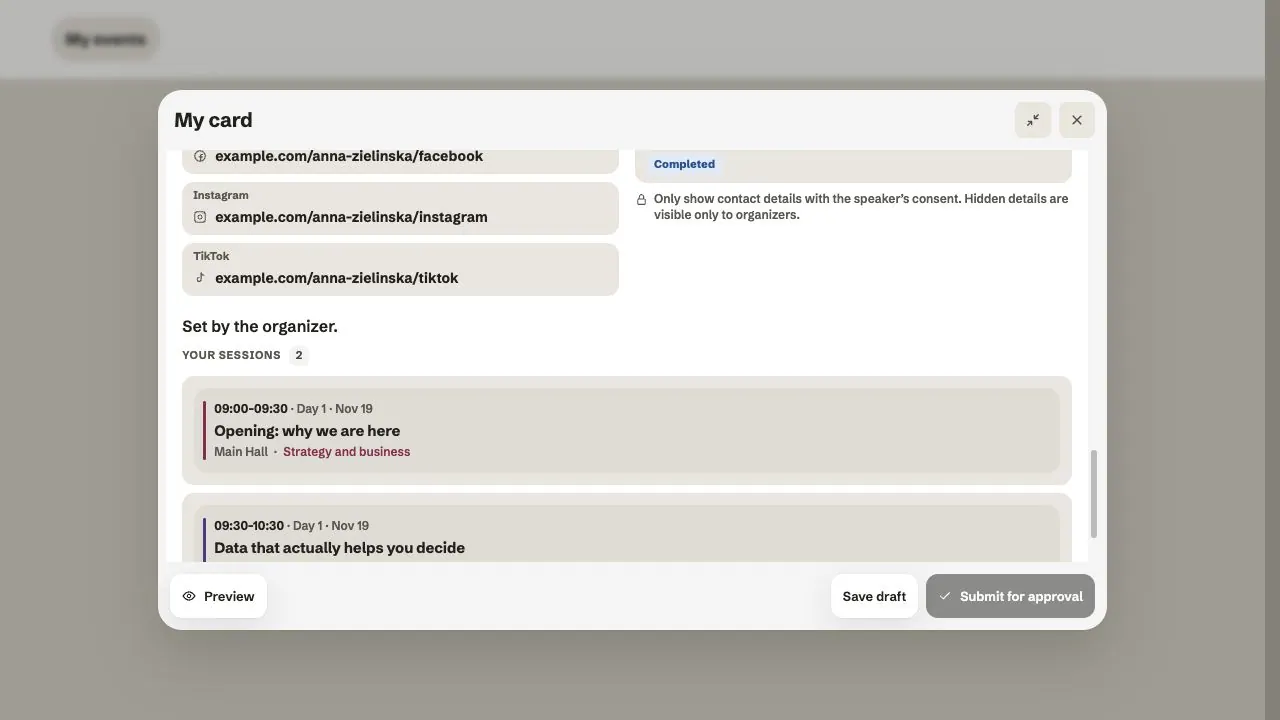
The Your sessions section shows the sessions the organizer assigned to you: title, day, time and room. The organizer sets the programme. If something is wrong, write to the organizer.
The organizer may ask you for your talk title. You'll then see "The organizer asks you to name these talks". Enter the Talk title and a Short description (optional). You send the title for approval together with your card.
PL and EN versions
If the organizer makes the event available in two languages, choose PL or EN. In the other language, prepare the job title and bio, plus the talk title and short description if requested. Photo, name, company, links and contacts are shared — edit them on the primary language tab.
The title goes to Agenda after the organizer approves it. Until the session has a primary language title, it remains a draft hidden from participants. The organizer still sets times and rooms.
Presentations
Uploading new presentations is currently turned off. You can add a link to your presentation in your bio or agree with the organizer on how to share it.
Part 2. Company manager
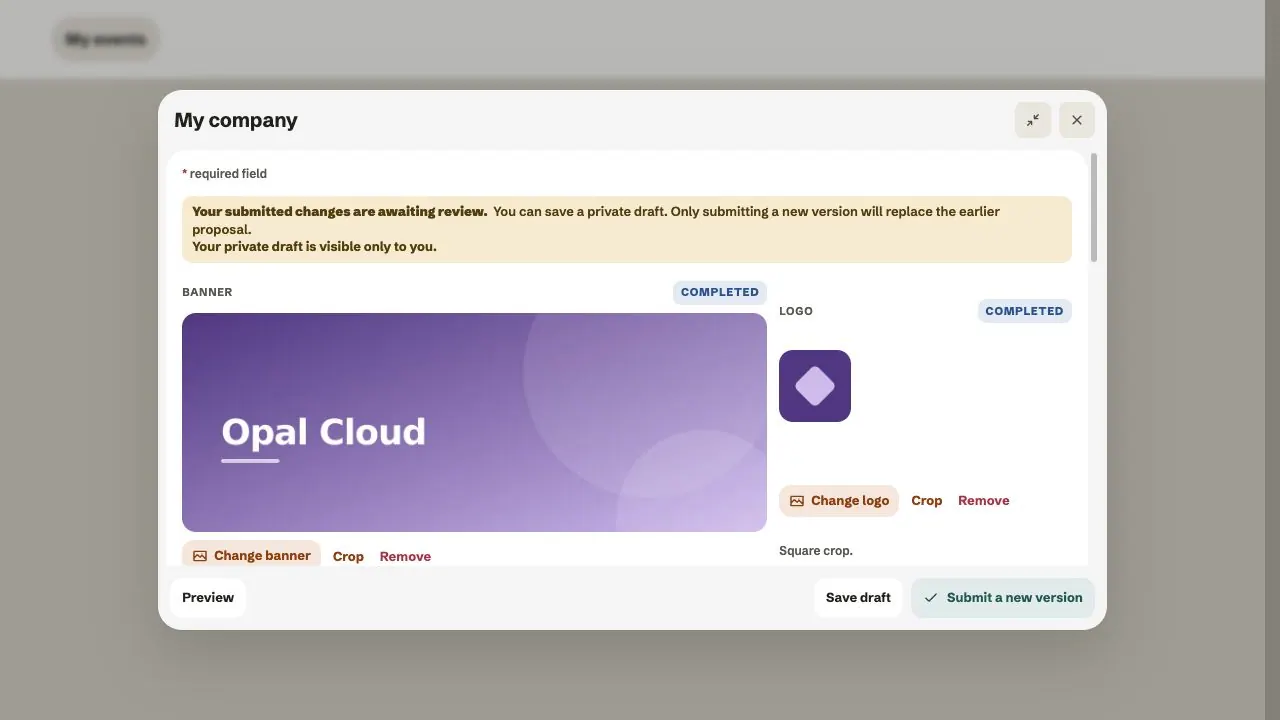
Banner and logo
Open My company. Add or change the banner (8:3 ratio) and logo (square). Files: JPG, PNG or WebP, up to 5 MB.
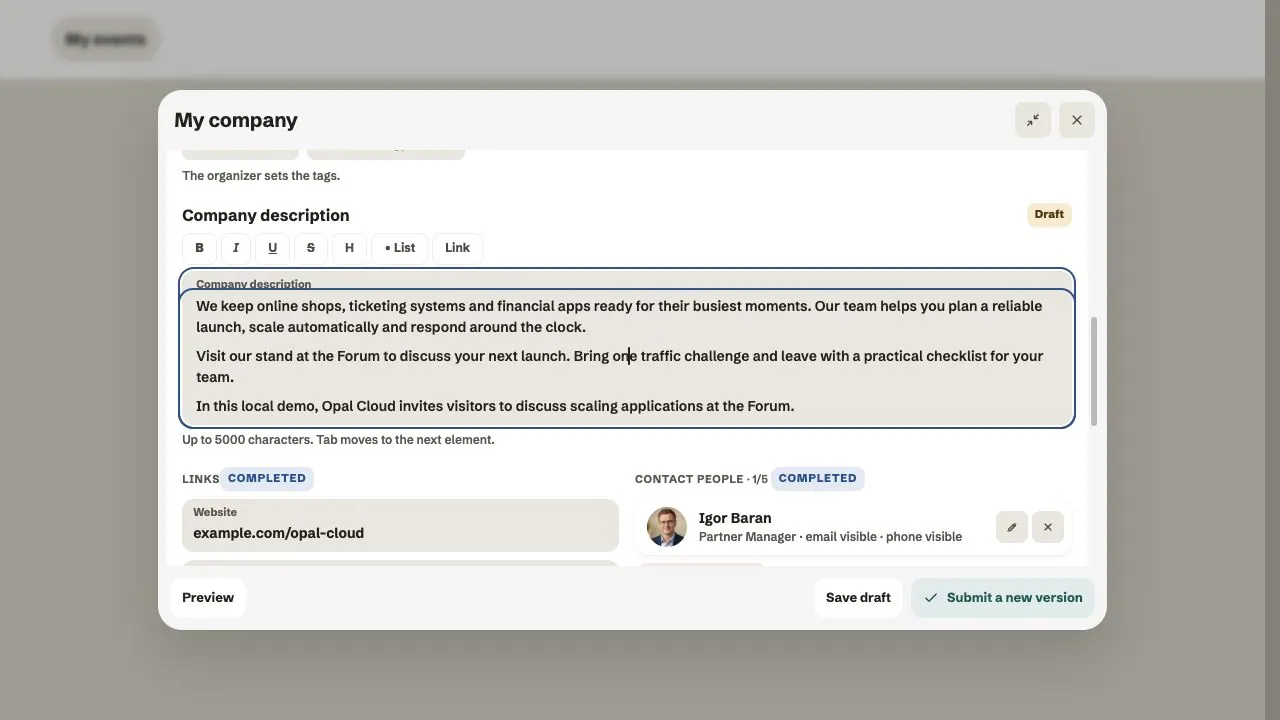
Description and links
In the Company description, write who you help and what people can come to you for. Add your company website and social profiles.
Some settings belong to the organizer: the short Info under the name, tags, categories, company role and visibility. If they need changing, write to the organizer.
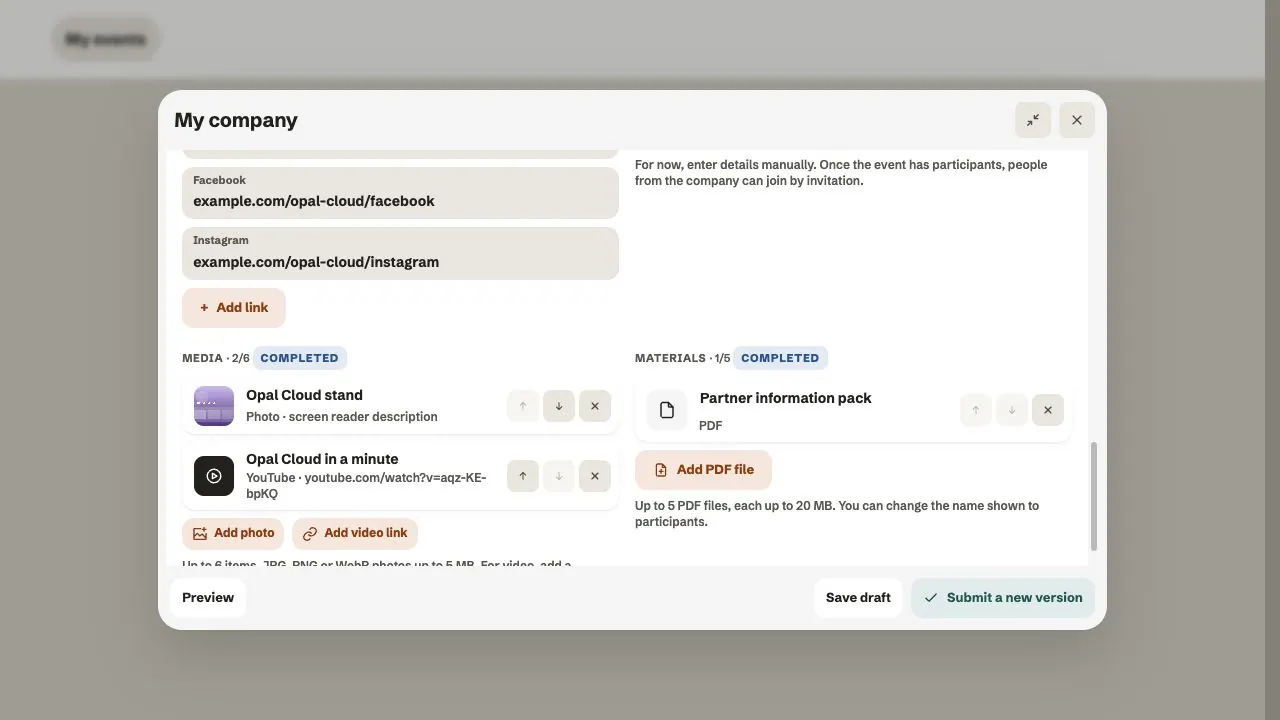
Media and materials
In Media, add a photo or a link to a YouTube or Vimeo video. You can have up to 6 media items. Use the arrows to set the order.
Uploading new PDF files is currently turned off. Add a link to your offer on your website in the company description.
Company language versions
On the second language tab, prepare the company description, photo descriptions, video titles, existing material names and contact job titles. Add, remove and reorder items, and edit shared images, links and contacts in the primary language. The company name is shared. The organizer still controls Info in both languages.
New media or contacts from your draft must first become part of the accepted card. You can then prepare their second language texts.
Contact people
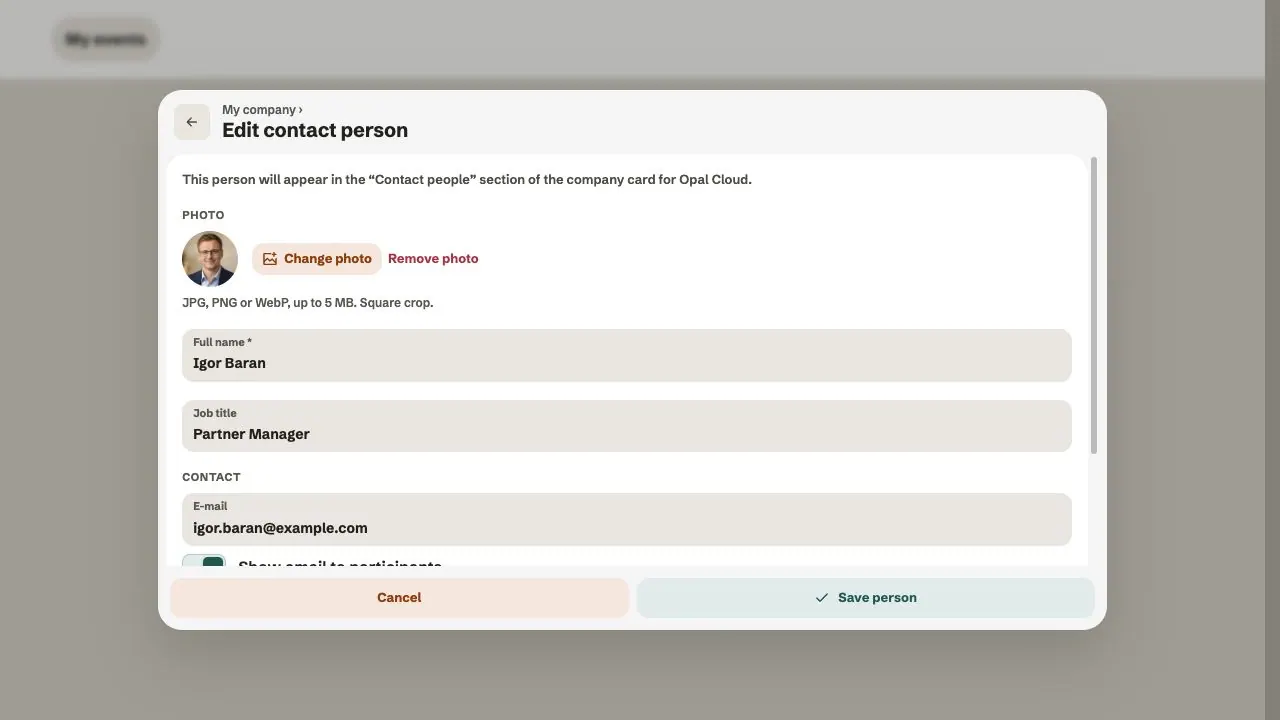
In Contact people, click Add person. Enter the first and last name, position, e-mail and phone. You can add up to 5 people.
Set Show email to participants and Show phone to participants separately. Click Save person.
A contact person does not get access to edit the card. If Networking is available, they have an account at that email, take part in the event and show their profile, they may appear At the stand. This is separate from an invitation to manage the company.
Step 3. Preview, draft and submit
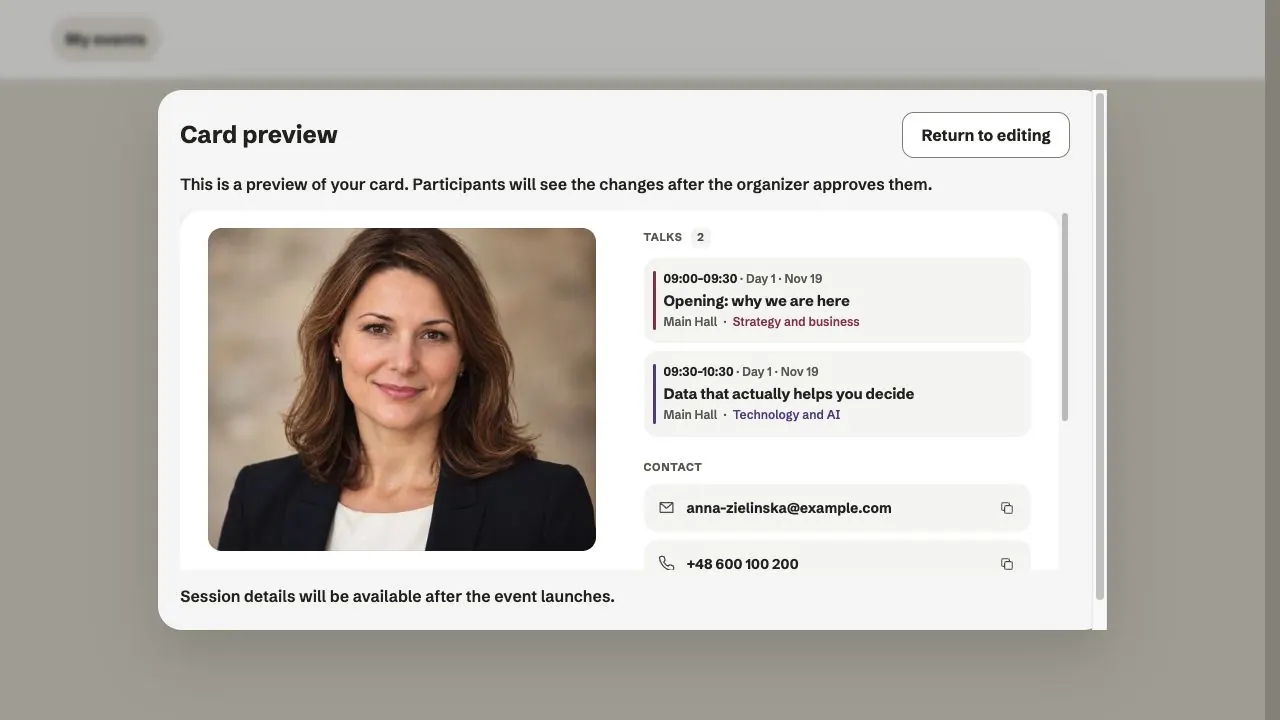
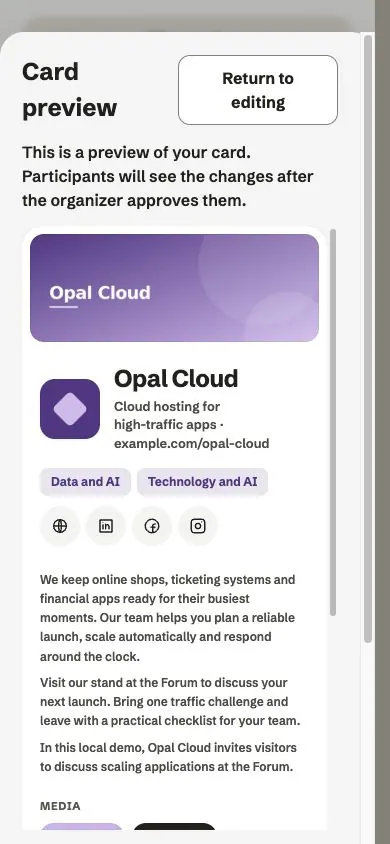
Click Preview to see the card as a participant does. Back to editing lets you fix the content.
| Button | What it does |
|---|---|
| Save draft | Saves a working version for you only. Message: Private draft saved. |
| Submit for approval | Sends the changes to the organizer. Message: Changes sent to the organizer. |
| Submit a new version | Replaces a proposal that's waiting for review |
Until approval, participants see the previous approved version.
Changes do not save on their own. Save a draft before you leave.
On a bilingual card, saving and submitting concern the selected tab. If you edit both versions, save or submit each separately. The organizer reviews them separately. You can prepare a new private draft while an earlier proposal awaits review; only Submit a new version replaces the earlier submission.
Step 4. The organizer's comments
Next to the fields you'll see a status:
- Draft
- Awaiting approval
- Needs revision — with the organizer's comment
- Approved
- Completed — the organizer filled in the field
For Needs revision, read the comment, fix that field and submit again. You don't have to start over.
If the card changed while you were working, click Refresh review status. Check your entries, save the draft and submit.
After approval, check your card in the event. If you can't see it, ask the organizer about visibility.
If the organizer turned on Promo for your role, you can make a banner inviting people to the event. See Promo.
Before you submit
- You're on the right account and in the right event.
- Your name or company name and images are correct.
- The description is specific and the links work.
- E-mail and phone visibility is set.
- The preview looks good.
- After submitting, you saw Changes sent to the organizer.
Frequently asked questions
Why doesn't the invitation link work?
Check that you're signing in with the address the invitation was sent to. An expired or revoked link needs a new invitation.
Does changing my account profile change my card?
No. They're separate places. Update your card and submit it for approval.
Does Save draft send changes to the organizer?
No. Use Submit for approval for that.
As a speaker, can I enter or change my talk title?
Yes, if the organizer asks you for the title. You enter it in your card and the organizer approves it. The organizer sets the time, room and session assignment.
Why can't I change the company Info or categories?
These settings belong to the organizer. Write to them to ask for a change.
Why can't I add a PDF or presentation?
Uploading new documents is currently turned off. Add a link in your bio or company description.
Does the preview mean participants can already see my changes?
No. The organizer has to approve the changes first.
Read on
All articles →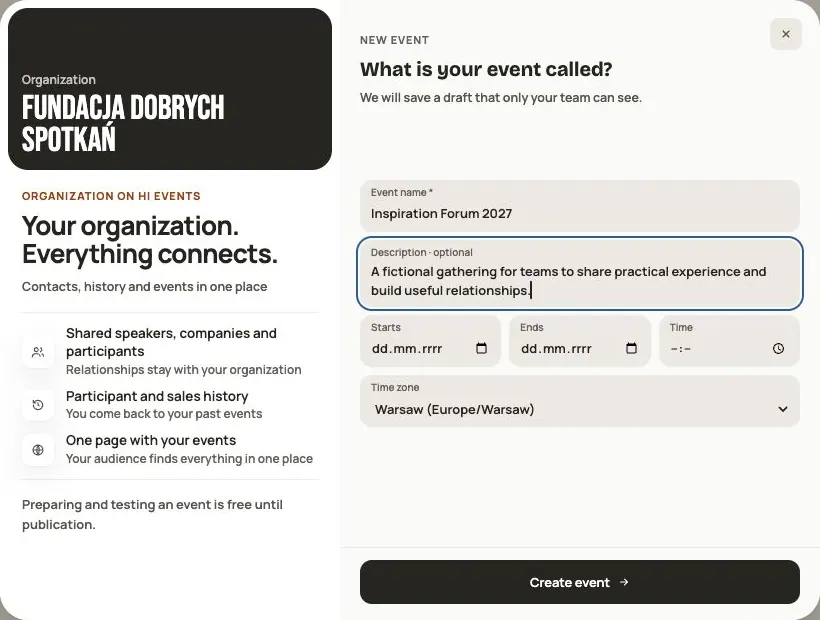 Help
Your first event, step by step
From draft to publication: name and dates, consents, tickets, content, modules, credits and the „Publish event” button.
 Help
Signing in: link, code, password and passkey
Four ways to sign in to Hi Events, how to set or change your password, and how to sign in with your fingerprint.
 Help
Photos and files: formats and limits
Which photos you can add, how big they can be, and what to do when a file won't upload.