
Event website — build a page that leads people to take part
Build the page from ready-made modules, show the program, speakers and news, add subpages and set how it looks in Google.

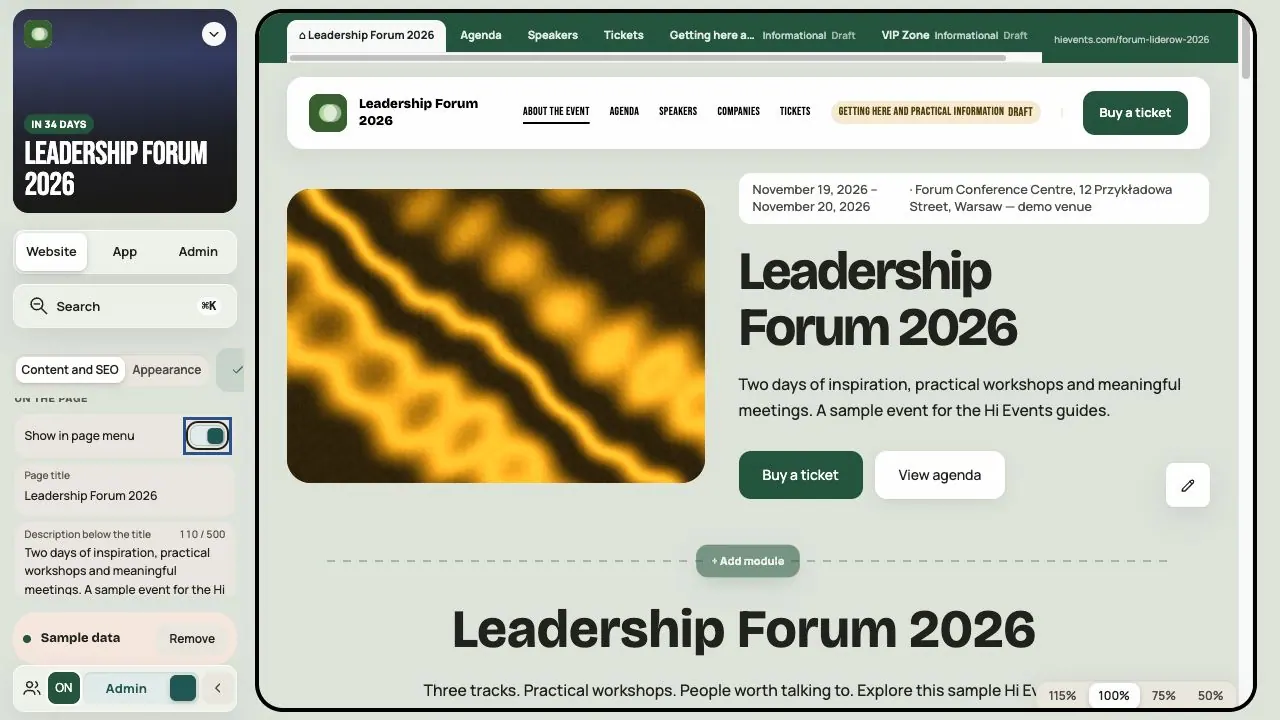
The event website presents your event, shows the program and speakers and leads visitors to sign up. You build it from ready-made modules. The program, speakers and companies come straight from the App.
Step 1. Open the editor
- In the event menu, choose Website.
- Turn on Admin mode. If you're looking at the page without the panel, click Open the page editor.
The editor saves changes on its own. Wait for All changes saved before you move on. Saving the page doesn't publish the whole event. A new custom page starts as a draft, but saving changes to an already published page updates its content for viewers.
Step 2. Title, description and banner
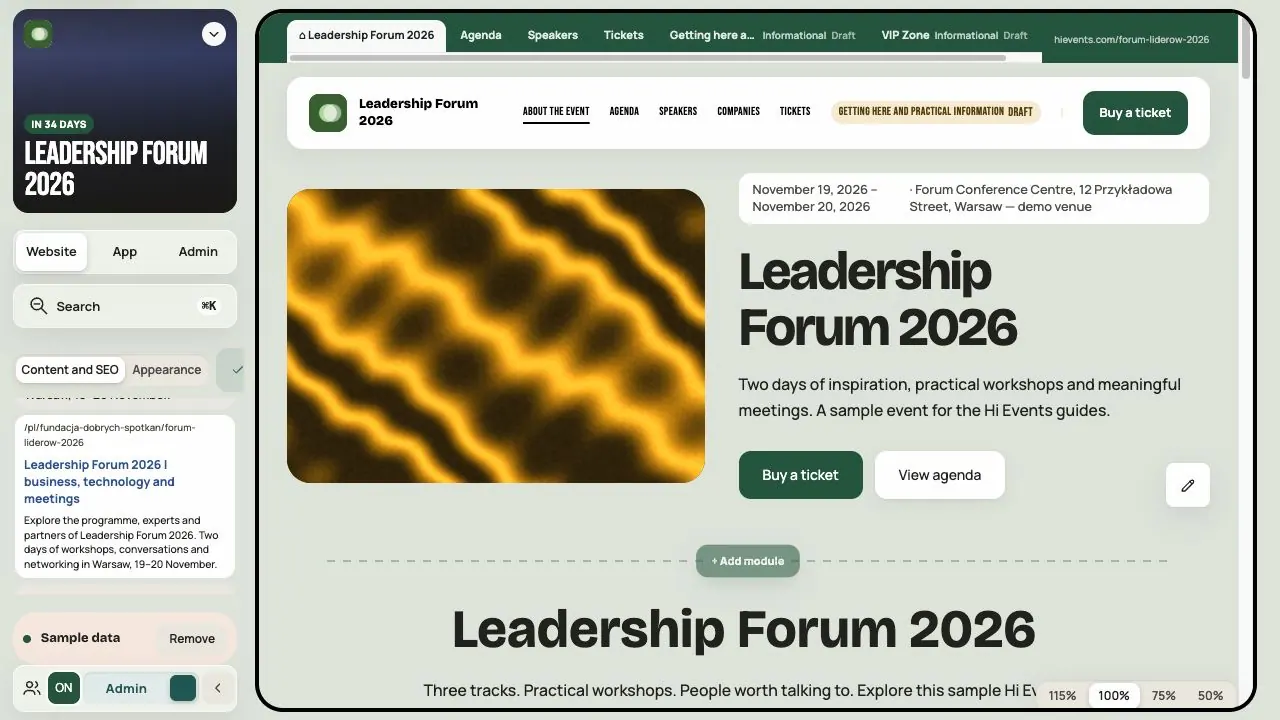
In Content and SEO, enter the Page title and the Description below the title: who the event is for and what people take away. Dates and venue come from Admin → Configuration.
Click Edit banner. You can use a photo or a ready animation: Animation in a window or Animation across the whole banner. Set the motion to Gentle, Follow cursor (works on computers with a mouse) or No motion.
Don't put the program in an image. The title, dates and buttons should be text on the page.
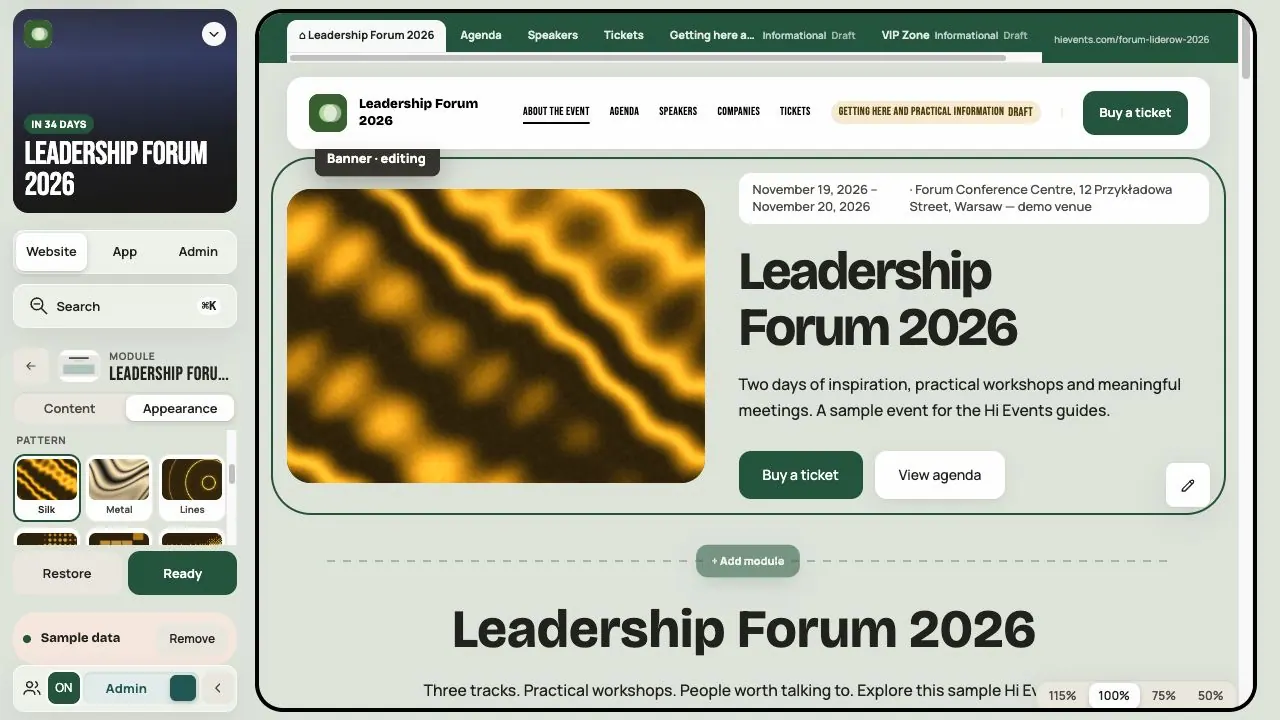
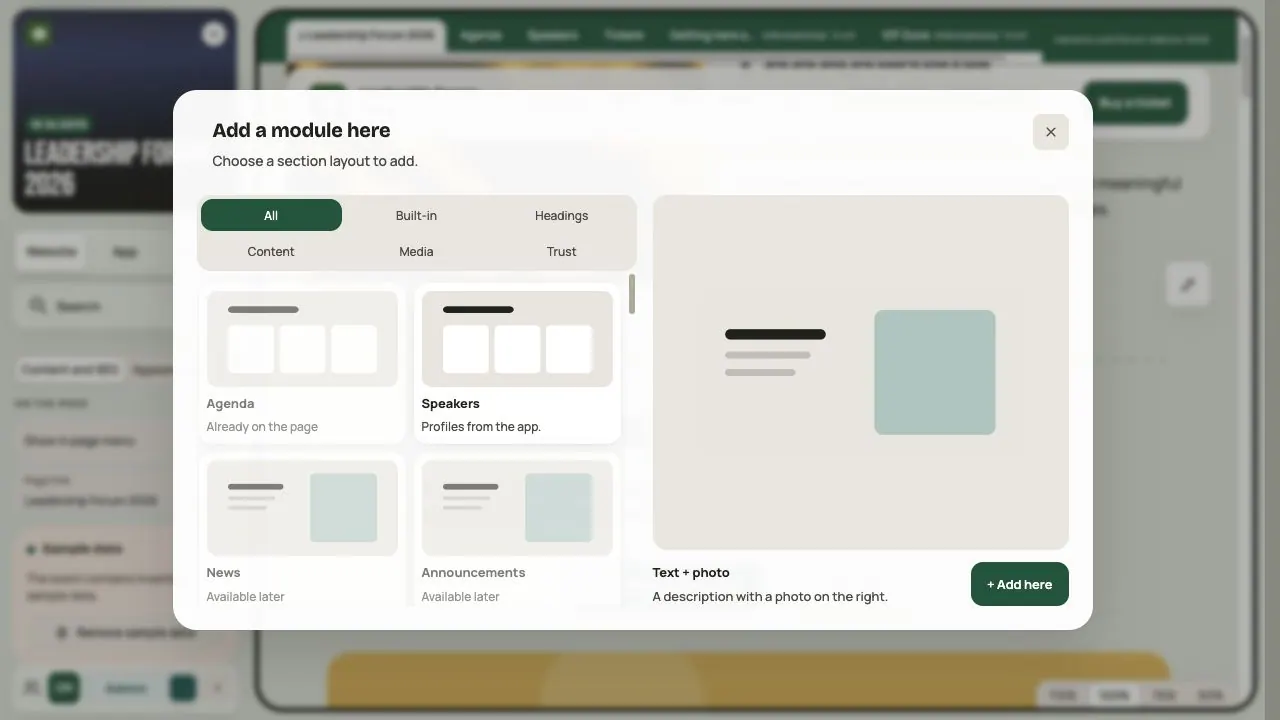
Step 3. Add modules
Click Add a module here, choose a module and click + Add here. Modules are grouped as Built-in, Headings, Content, Media and Trust.
A simple order that works:
- What the event is and who it's for.
- Why come, for example Three tiles.
- Program, speakers and partners.
- Practical information and FAQ.
- A button to the ticket or the app.
News is a working module: it shows the three newest articles from the News module and a button to all of them. You write the articles in the paid News module.
The Announcements and Tickets modules are marked Available later. You can't add them yet. The Buy a ticket button leads to the ticket shop.
Step 4. Edit a module
Click Edit on a module. In the content tab you change what it shows, and in Appearance the layout, background and width. You can also edit titles right in the preview.
Changing the layout doesn't change the data. You can show speakers as Cards, Circles or a Strip, for example.
The arrows move a module. Turning off Show this module on the page hides it in this layout. Remove module takes it off the page but doesn't delete data: sessions stay in the Agenda.
Label buttons clearly: “See the program” says more than “Click here”.
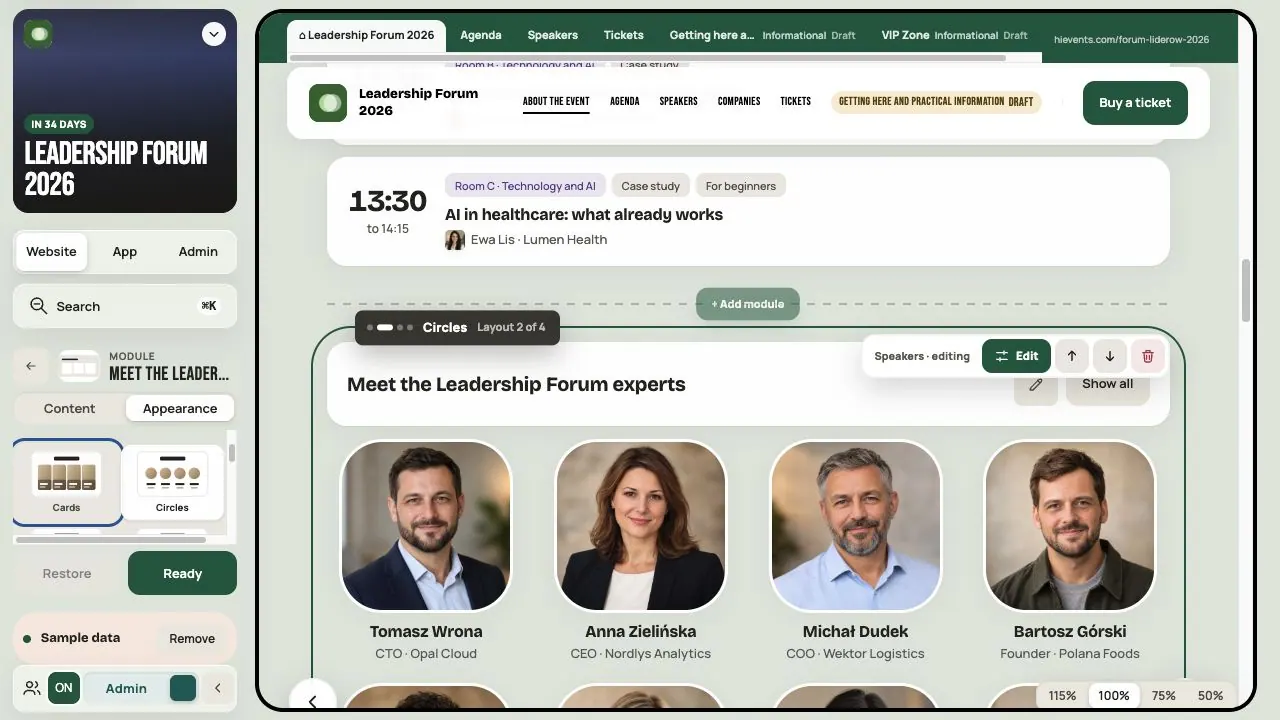
Step 5. Program, speakers and companies from the App
Built-in modules take their data from the App. You prepare the program in Agenda, bios in Speakers and logos in Business Hub. When you change something in the App, the page updates by itself.
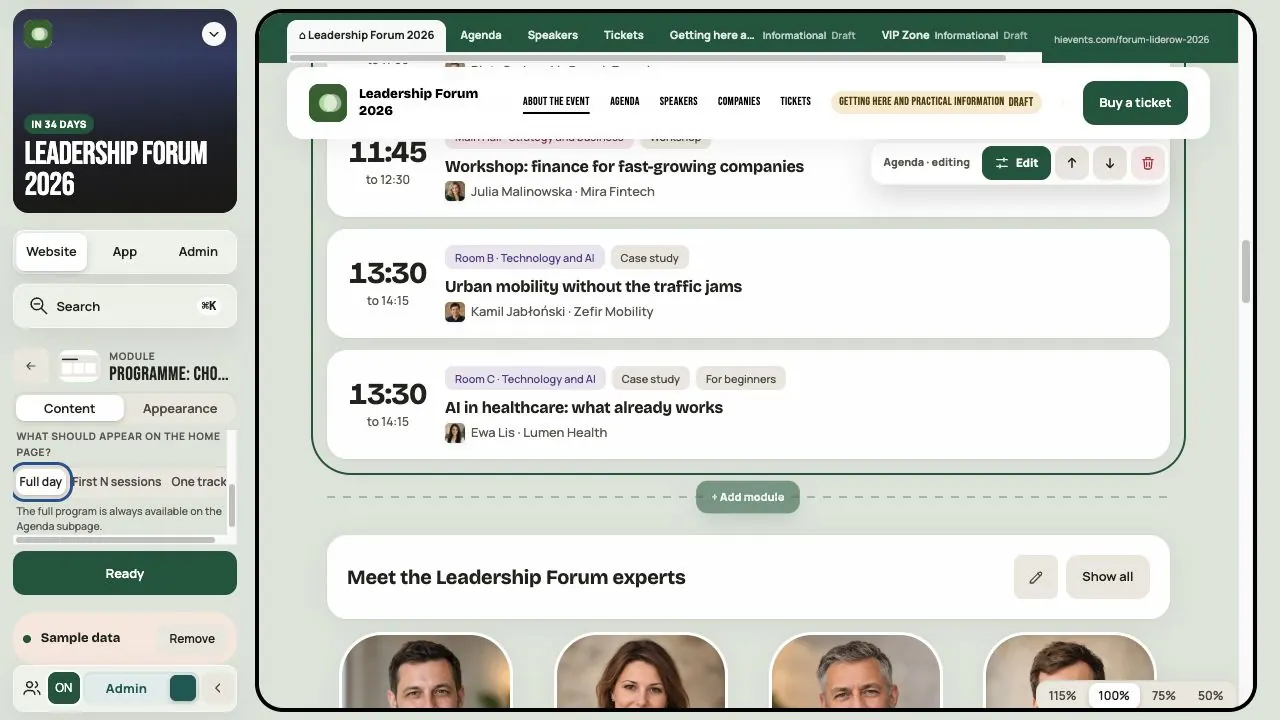
In the Agenda module, choose what to show: Full day, First N sessions or One track. The full program remains on the Agenda page, subject to module and session access. Session drafts are not part of the visitor program.
When you see Data from the App and Edit in App, you fix photos and descriptions in the App module, not in the page editor.
The website catalog’s Map section shows an address, a map image and a link. Prepare interactive floor plans, rooms, stands and QR points separately in the app’s Map module. See How to prepare a venue map.
Step 6. Add a subpage
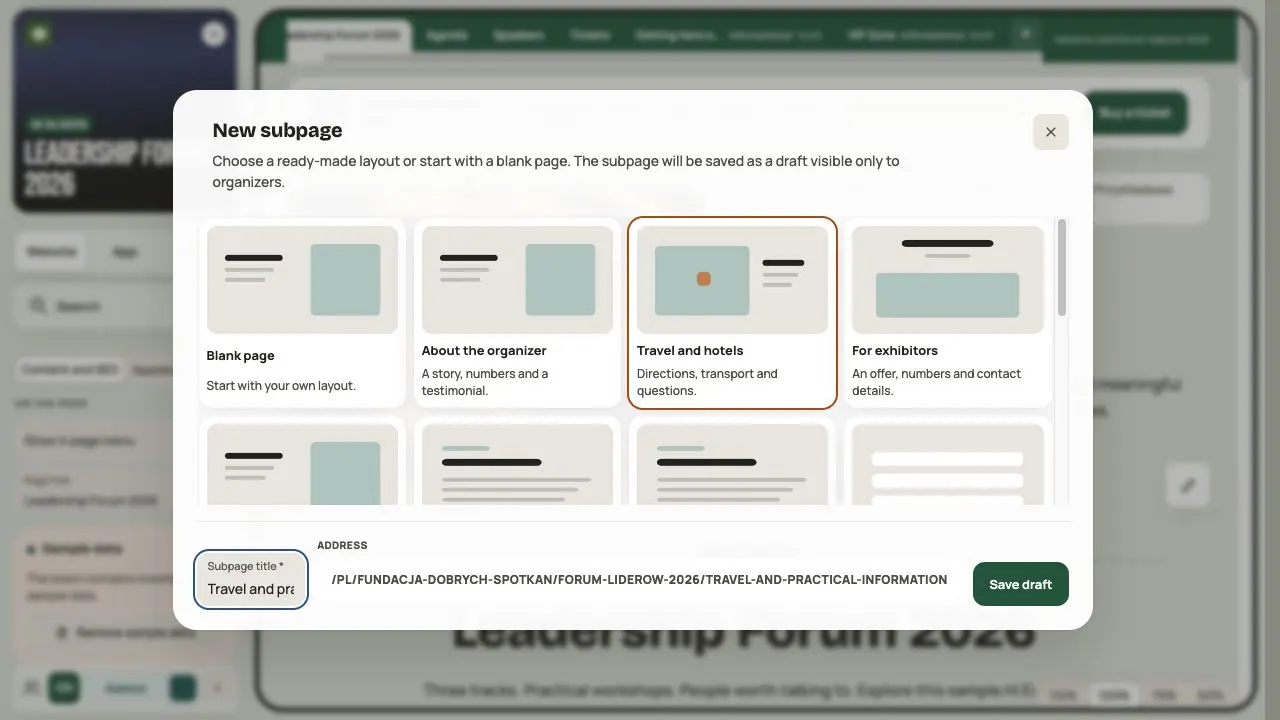
Click Add page from template. Choose a blank page or a template, for example Travel and hotels, For exhibitors, For the media, Contact or FAQ.
- Enter the Subpage title.
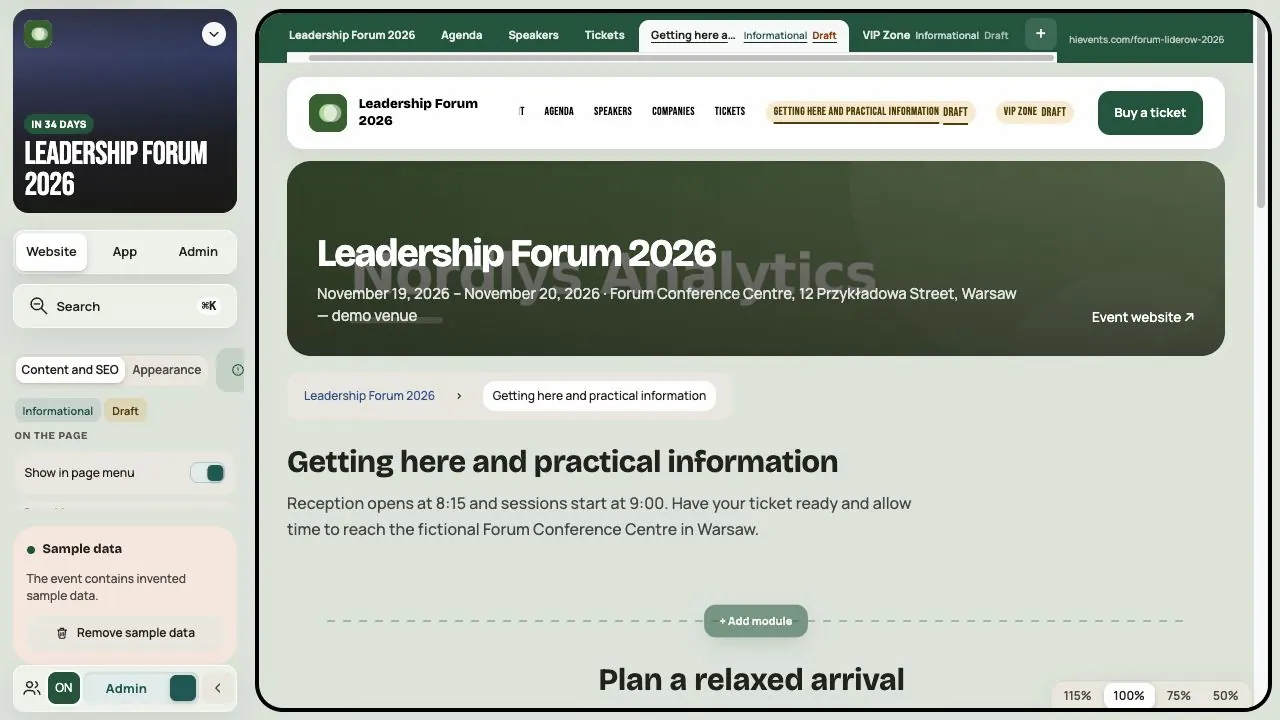
- Click Save draft. Only organizers see a draft.
- Fill in the modules and remove empty ones.
An event can have up to 30 custom subpages.
Show in page menu only controls the menu link. Hiding the link doesn't protect the content.
Step 7. Choose who sees the subpage
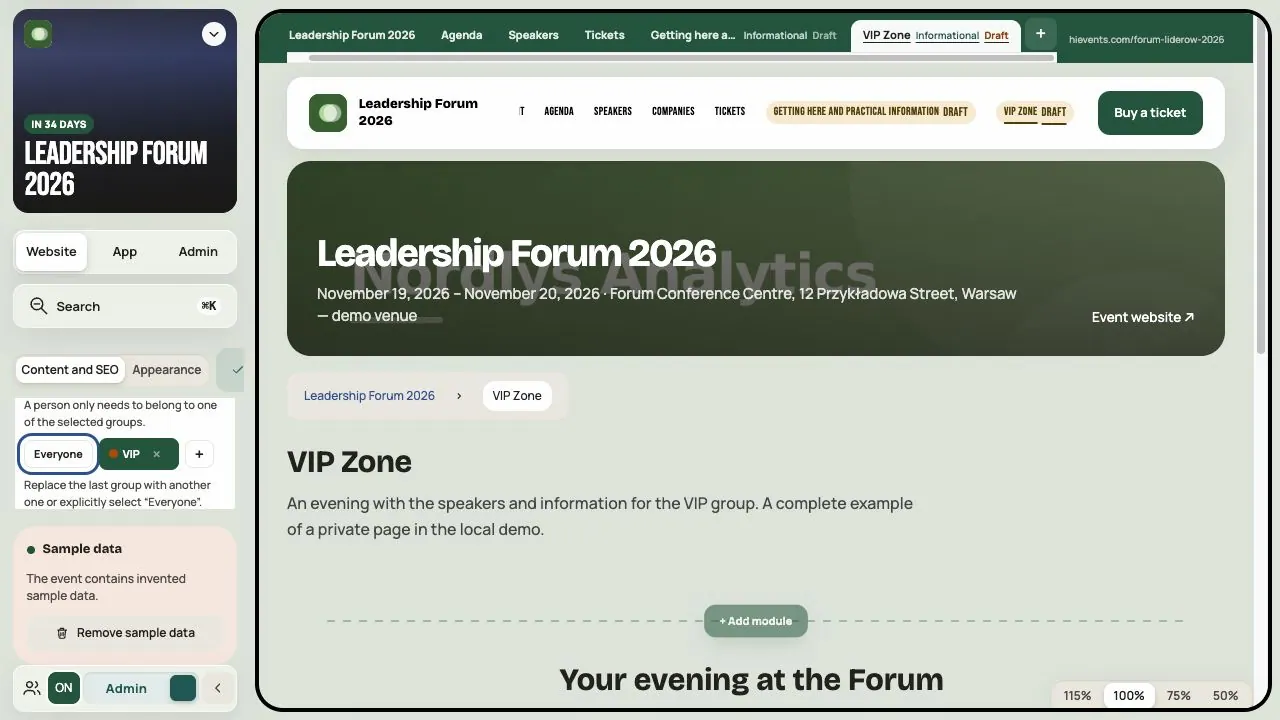
In Page visibility, choose Everyone or specific groups. Belonging to one of them is enough. Example: a VIP Zone only for the VIP group.
Click Publish when the subpage is ready. This doesn't add anyone to groups and doesn't publish the whole event.
Step 8. How it looks in Google and when shared
In In Google, set the title (up to 60 characters) and description (up to 155 characters). The preview shows how it may look in results.
- Keep the subpage address short and stable. If you change it, the old address can redirect to the new one (Old address · 301 redirect).
- Event website indexing applies to all subpages. It doesn't replace access settings.
- The Sharing image shows next to the link on social media. The best size is 1200 × 630 px.
Step 9. Check the page as a visitor
In the editor, click Ready or the completion count to expand checks for the title, content, description, Google fields, address and structured data. This helps prepare the page; it does not publish the event or replace checking its audience.
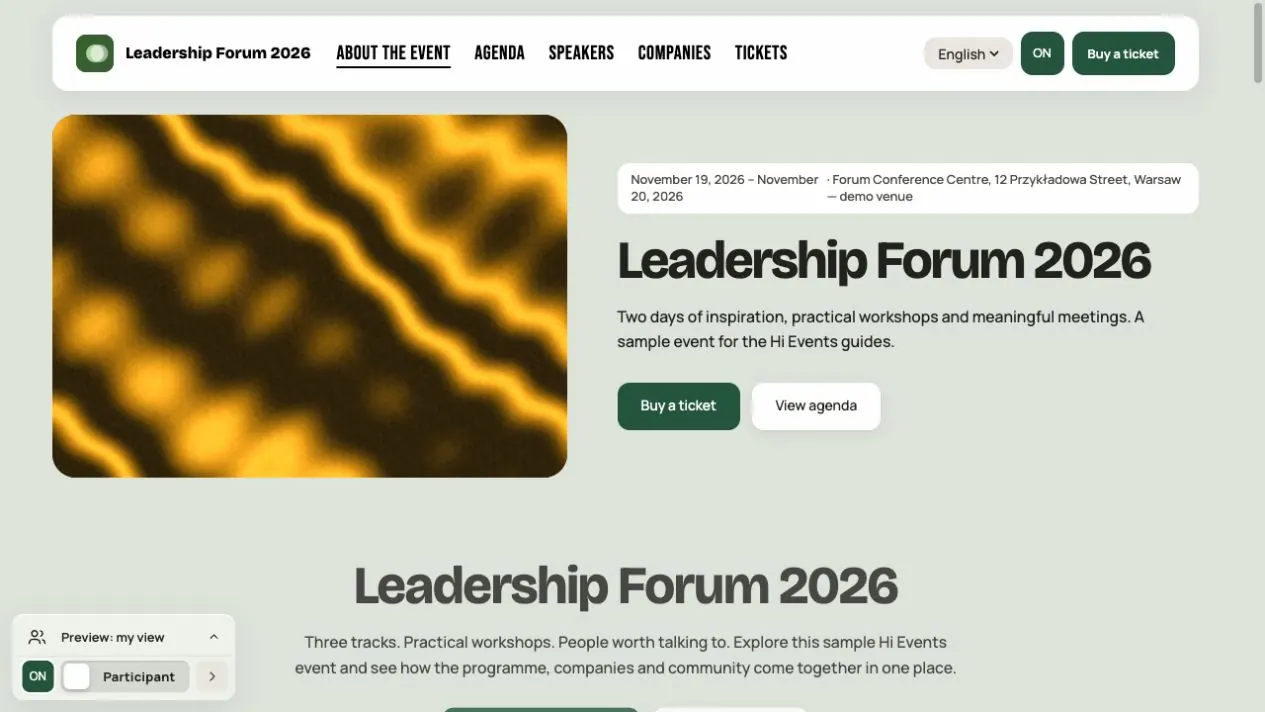
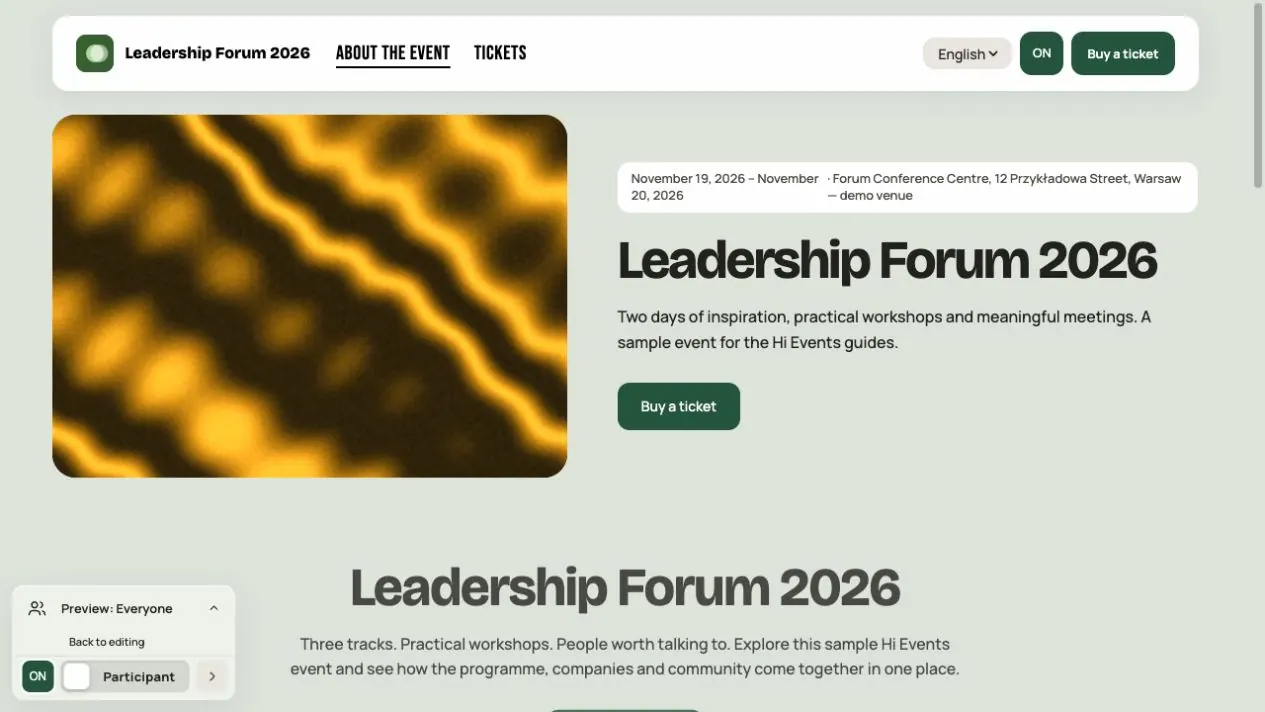
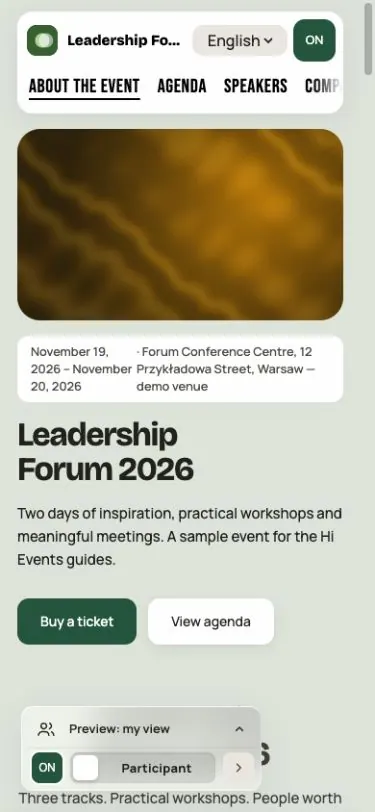
Turn off Admin mode. Check that a visitor understands the event and easily finds how to sign up. Use Preview as a group to compare Everyone with selected groups. Check the page on a phone too.
You change colors, fonts and shapes in the event's Appearance. See Appearance — give your event its own character.
A website in two languages
When the event has a second language enabled, open the same page in PL or EN. Adding a second language creates a copy of the stored page content as a starting point. It is a copy, not a translation. Complete headings, descriptions, section text, button labels and In Google fields in the appropriate version.
You can adjust section content and layout separately in each version. The page address, redirects, indexing, share image, audience and publication state are shared — change these in the primary language. Create new pages from that version too.
Complete Agenda, Speakers and Business Hub data in their own language tabs. Translating a section heading does not translate session names or profiles. A hidden language may be editable by the organizer even though participants cannot select it yet. Check both versions before making it available.
When saving fails
Keep the editor open and use Retry save. If someone edited the page at the same time, review the message and current version; your input remains in the form. Leaving the editor or switching languages does not confirm an unsuccessful save.
Before you share the page
- Title, description, dates, venue and contact are up to date.
- Program, speakers and companies have complete data in the App.
- Modules don't repeat the same content.
- Subpages have the right groups.
- The Google title and description and the sharing image are ready.
- The page is easy to read on a phone.
Frequently asked questions
Do I have to retype the program and speaker bios?
No. Add the Agenda and Speakers modules. You change the data in the App and the page shows it automatically.
Does saving the page publish the event?
No. Publishing the event is a separate step in Admin → Publication.
Does hiding the menu link protect a subpage?
No. Set Page visibility to selected groups.
Can I edit the whole website as a speaker or company manager?
That role alone gives access to work on the relevant profile. Editing the whole website requires event administrator or manager access.
Why can't I add the Tickets module?
That module isn't available yet. Add a Buy a ticket button that leads to the shop.
How many subpages can I add?
Up to 30 custom subpages per event.
Read on
All articles →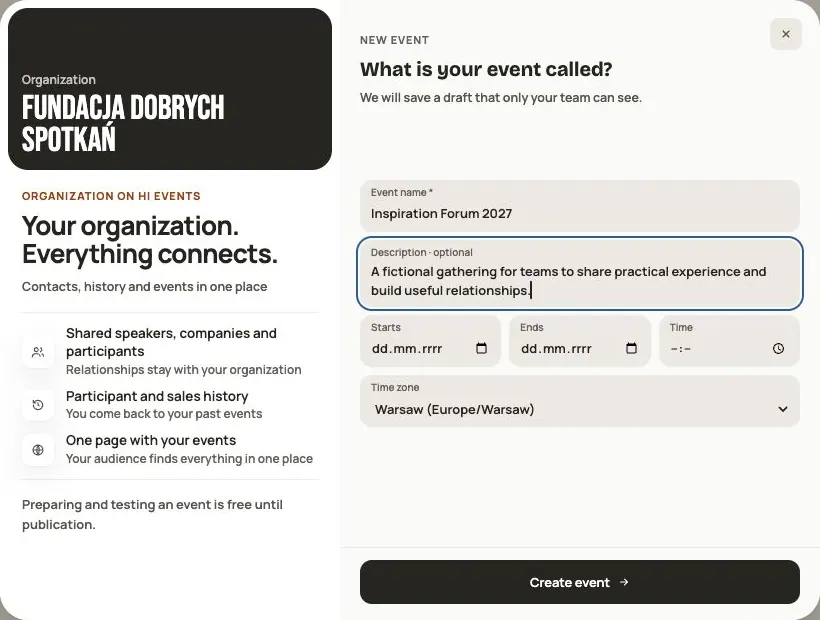 Help
Your first event, step by step
From draft to publication: name and dates, consents, tickets, content, modules, credits and the „Publish event” button.
 Help
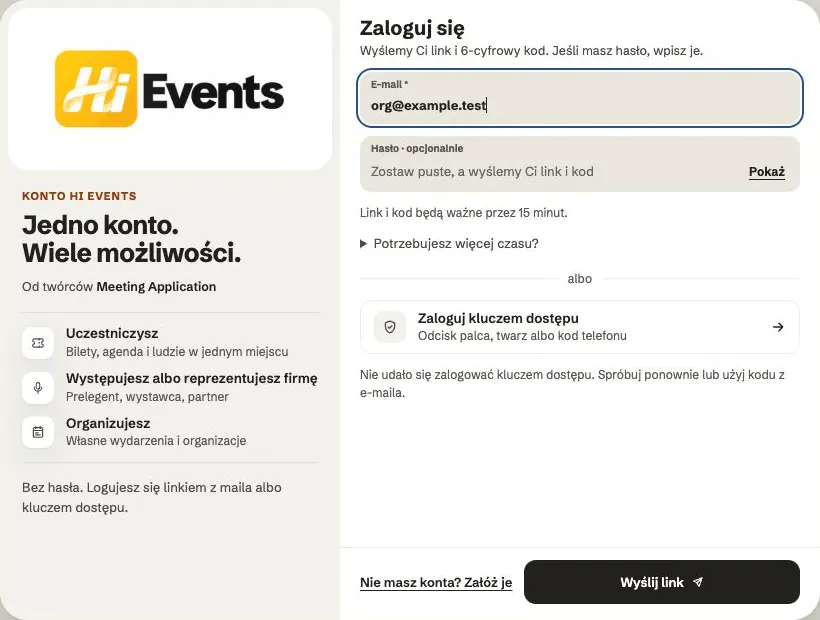
Signing in: link, code, password and passkey
Four ways to sign in to Hi Events, how to set or change your password, and how to sign in with your fingerprint.
 Help
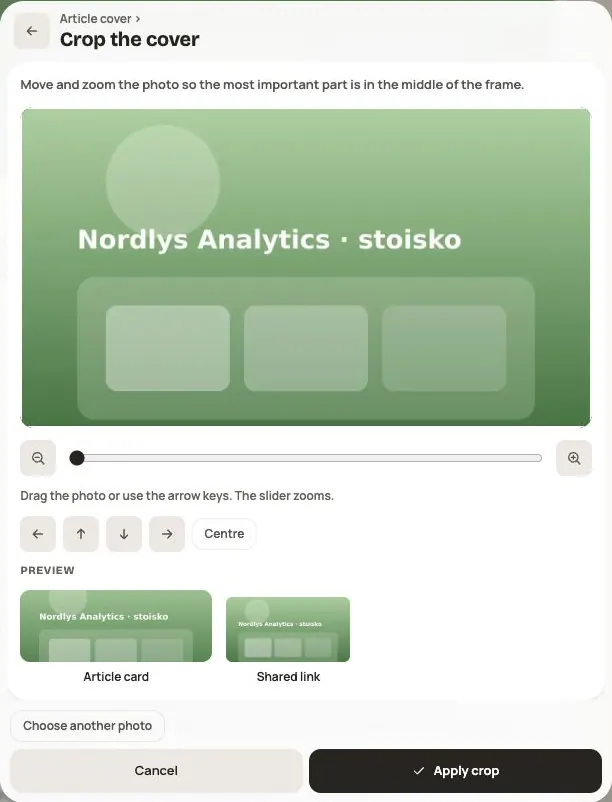
Photos and files: formats and limits
Which photos you can add, how big they can be, and what to do when a file won't upload.